
Keychron K4 V1
Because rubber is for the road: a keyboard deserves mechanical switches
Disclaimer, safety again...
Before we go on: the Keychron K4 itself isn’t dangerous, it’s just a keyboard. While some keyboards could be used as weapons, including the Keychron, I would not consider them as being "Dangerous" objects. But if you plan to take your Keychron apart, please be cautious. It contains a lithium-ion battery, and those can be very dangerous if mishandled, they can catch fire or even explode.
Do not short-circuit it. Do not puncture it. Avoid overheating it at all costs. That means: don’t leave the keyboard in direct sunlight (like inside a car on a hot summer day), don’t place it on top of a heater or furnace, don’t try to charge or use it if the battery looks swollen or damaged.
If you’re disconnecting the battery during teardown, do not use any metallic tools to unplug it. It’s incredibly easy to accidentally short the battery leads at the plug and that can go very wrong, very fast. Use a plastic spudger or your fingernails, and be gentle.
As always, if you If you’re unsure or don't know what you're doing, don’t risk it.
Why did I go "Mechanical" on my keyboard?
Why do we all mostly type on rubber dome keyboards? That was the question I found myself asking.
Mechanical keyboards were actually the original design for computers, dating back to the 1970s. The first mechanical keyboards used metal switches, which created a satisfying, tactile “click” with each keystroke. By the late 1980s and early 1990s, a shift started happening. Rubber dome keyboards became more popular as manufacturers sought to reduce production costs. These keyboards use a membrane of rubber underneath the keys, which, while cheaper and quieter, also feels less responsive and "mushy" compared to their mechanical counterparts. The switch from mechanical to rubber dome was driven largely by cost efficiency and the rise of the personal computer market, rubber dome designs were simpler and cheaper to produce at scale.
Despite this rubbery shift, mechanical keyboards never really disappeared; they simply became less common in mainstream consumer devices. Over time, they remained a favorite among typists and gamers who appreciated the superior feel and durability they offered. Today, mechanical keyboards are experiencing a revival, especially in the "custom keyboard" community. If you’re into customization, you can deep dive into the topic, there’s a lot that can be done to a keyboard that I bet you didn’t know! So, I wanted to try one, and after testing a few in a computer store, I instantly knew: I had to own one. The feel, the sound, the feedback, in my head it all just "clicked".
I went on the hunt for something with a bit of retro charm, and it had to have a numpad, seriously, my work involves a lot of numbers, and for that, I still like having the calculator on my right-hand side. Typing on the number row always ends up with me hitting the wrong keys... My first choice was the Cooler Master MK770, but I wasn’t sold on the color palettes Cooler Master offers. The "Macaron" one was too colorful, and I’d feel a bit awkward bringing it to work. The other option, in contrast, felt somewhat boring. And honestly, I wasn’t completely sure about buying something brand-new. I’ve always preferred saving old tech from ending up in a landfill rather than contributing to the endless cycle of new stuff, especially when I am unsure about something.
The Purchase Experience
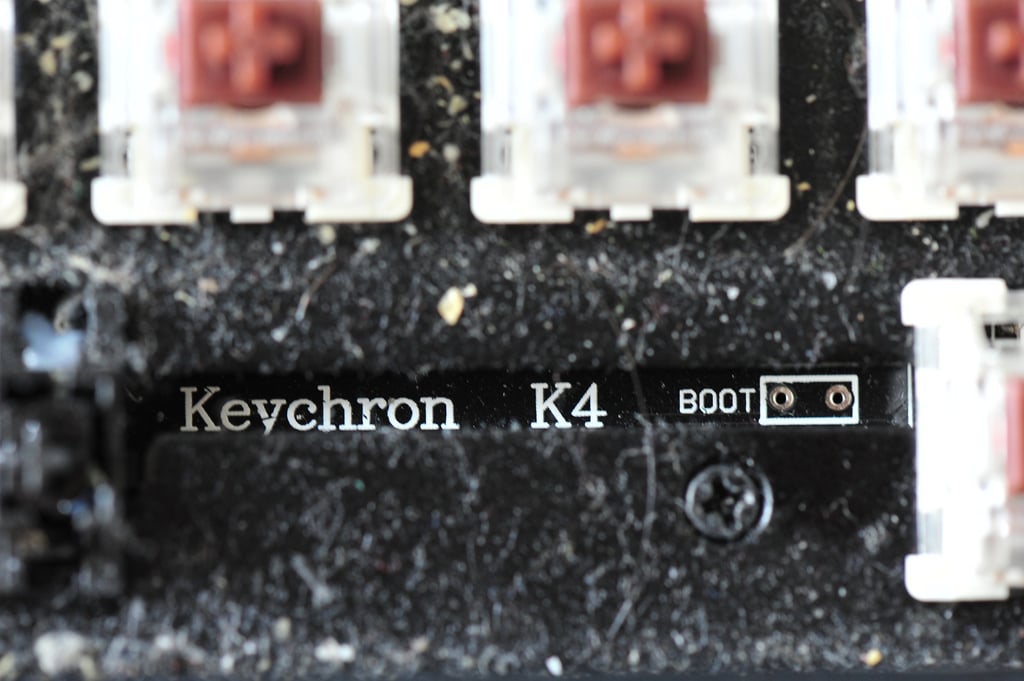
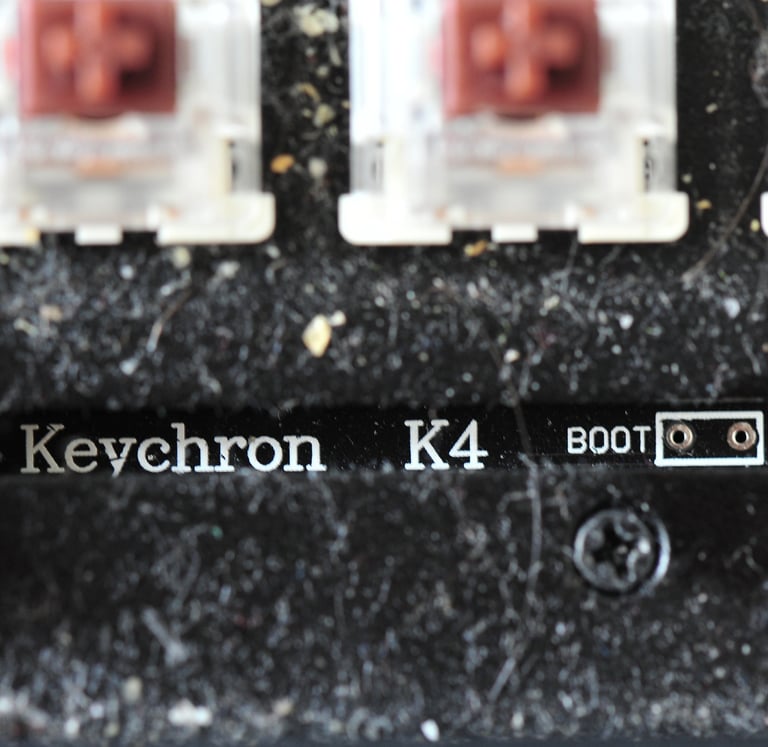
After a deep dive through the vast realms of the Internet, I finally found what I was looking for in the form of an old-styled Keychron K4 keyboard.
As it turned out, I bought the used gem in person from a very friendly Kleinanzeigen (the online marketplace here in Germany where I live) seller. I rode my scooter about 6 km across town to pick it up, and as soon as I saw it… I was instantly in love. The look, the layout, the feel, the sound, the whole vibe it had was exactly the retro feel I was after.
First Impressions
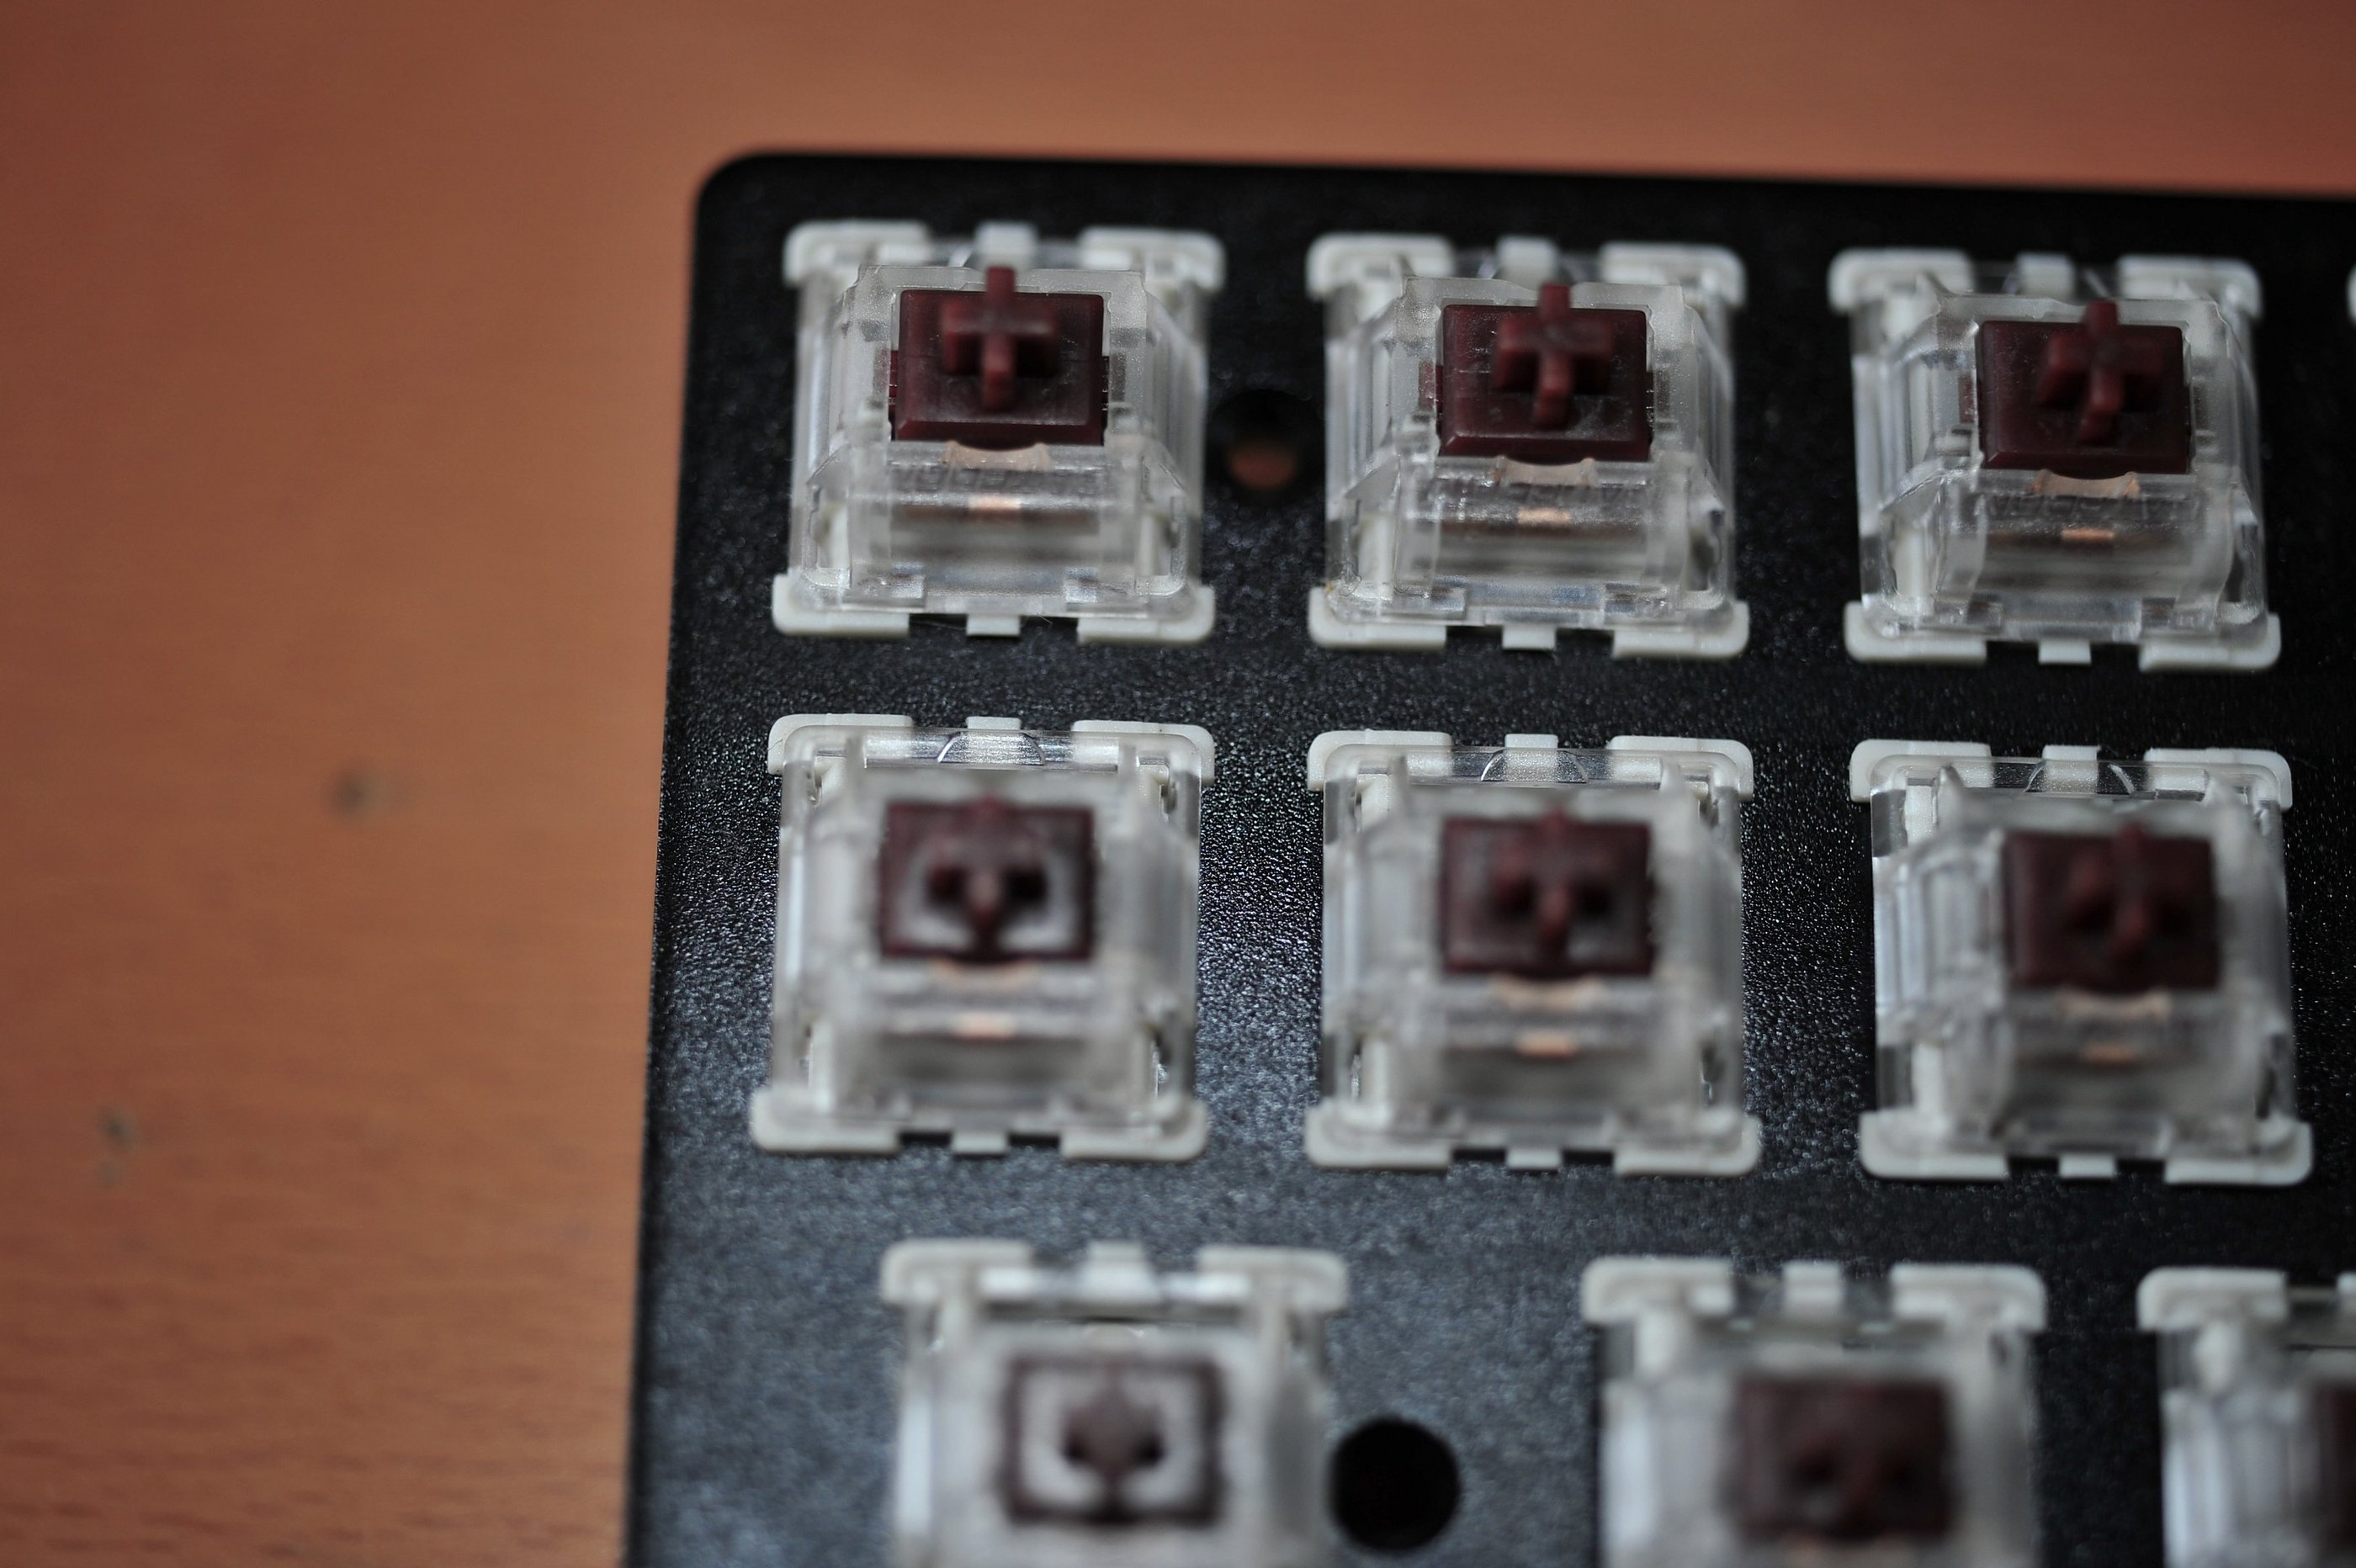
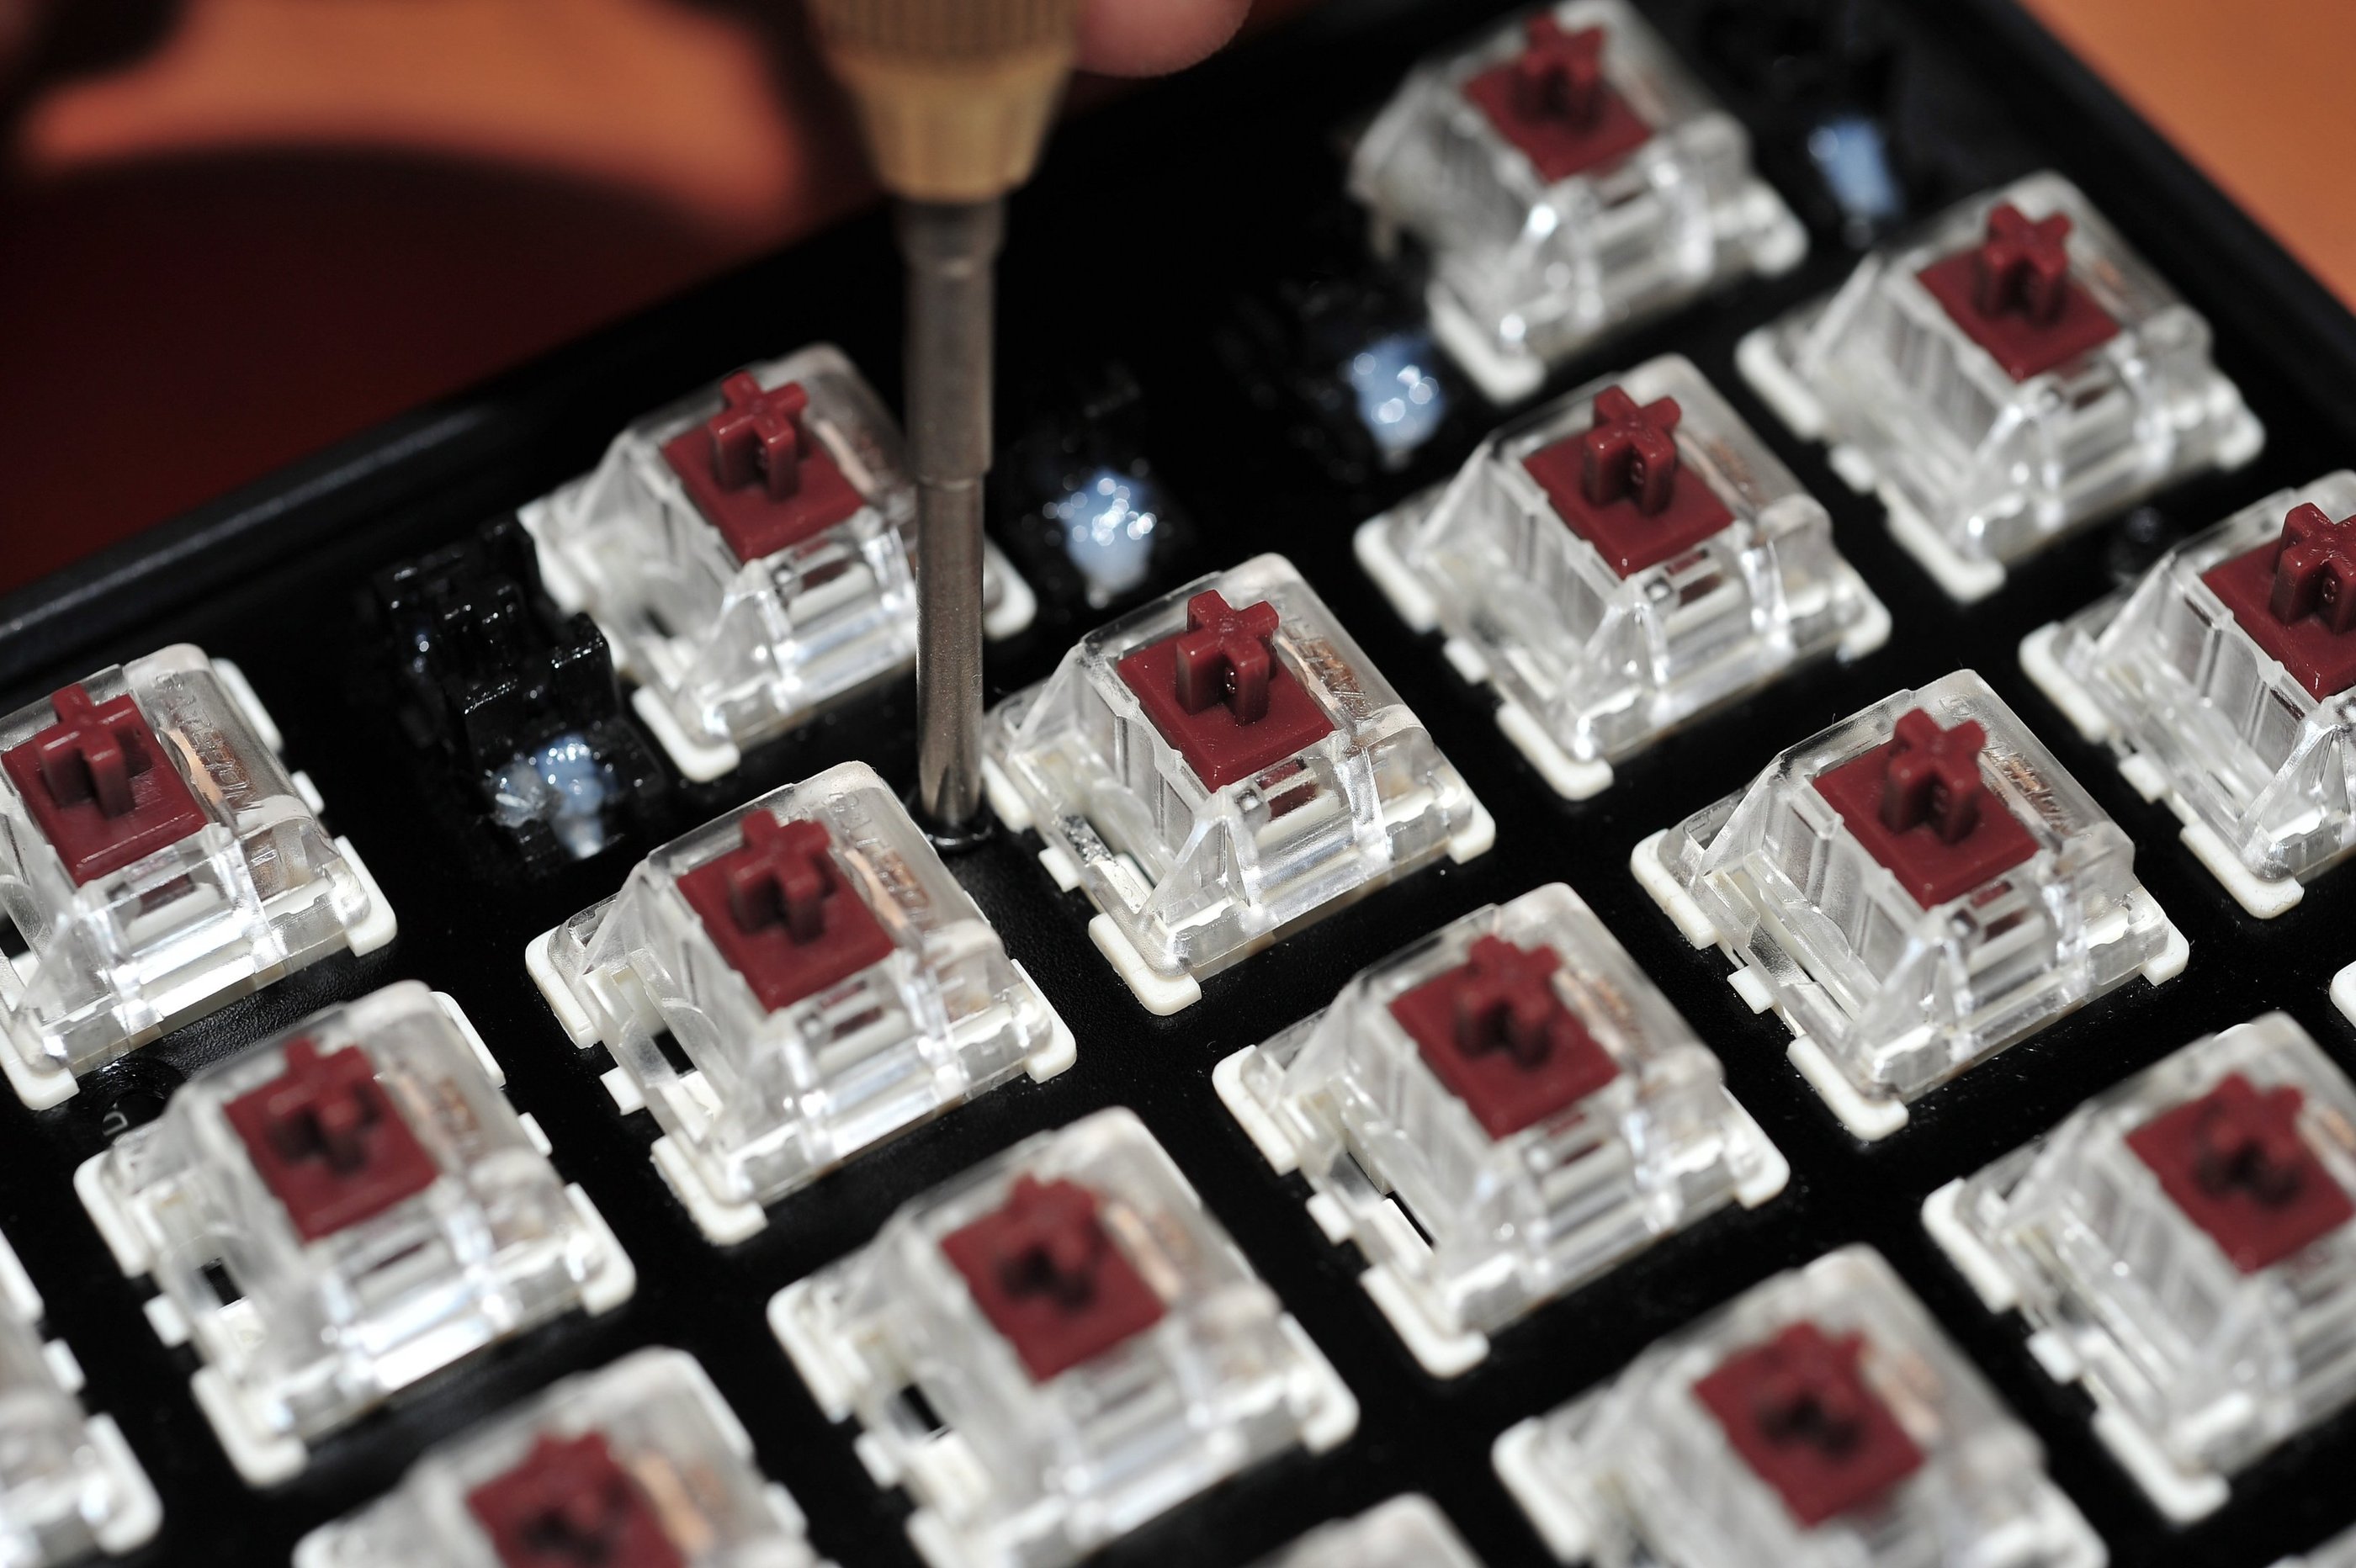
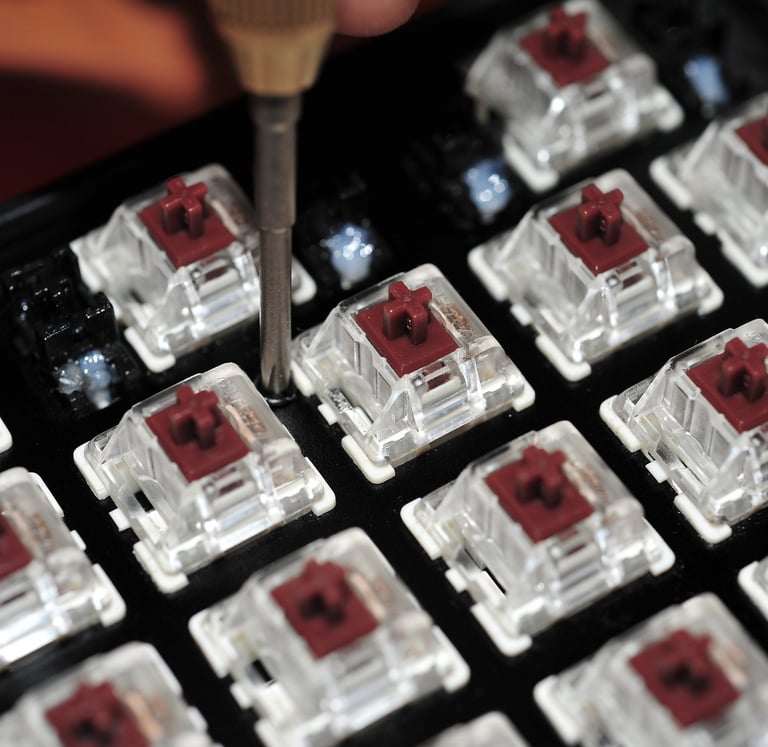
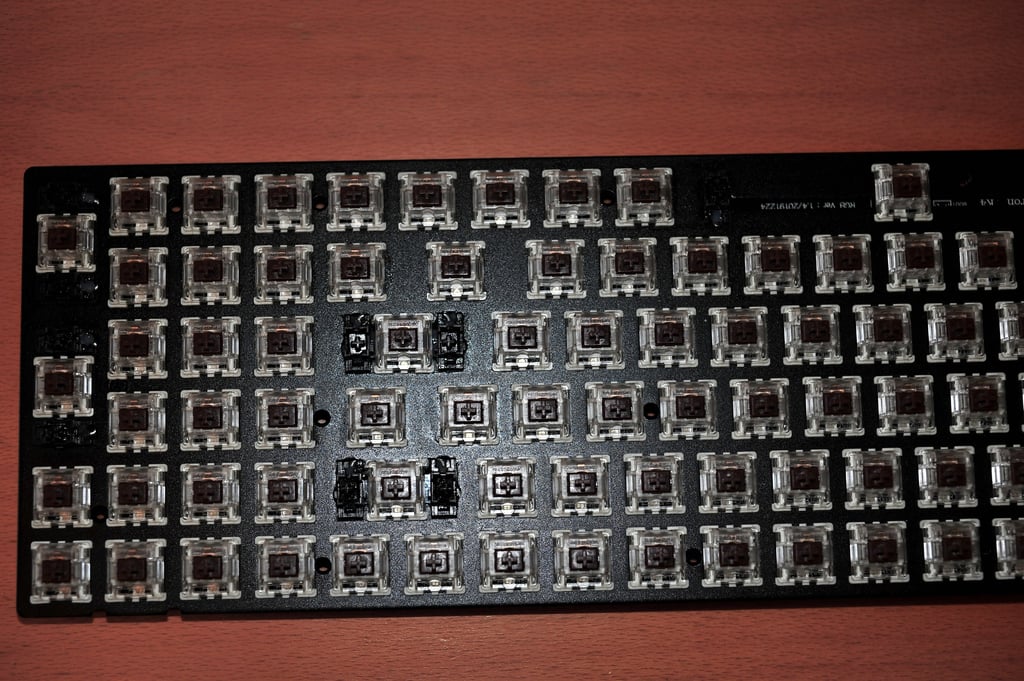
These brown switches have per spec sheet an actuation force of 55 grams ±15g, a pre-travel of 2.0 mm ±0.6 mm, a total travel of 4.0 mm ±0.4 mm and a tactile feel with a gentle, satisfying sound (whatever that means, for me the sound is caused more by the keycaps hitting something then the switches but I might be wrong...). The Gateron browns are therefore ideal for gaming/office use.
From what I can tell, typing feels really great on the K4 with the brown switches and I could not wish anything else or any other switches, to be honest. I have typed a lot on typewriters and I must say I do enjoy the typewriter feel with the clicks and the actuation. With the Gaterons on the K4 I get a similar feel without getting tired after a couple hours of typing.
As with almost every used item, there’s always some cleaning to do once it's in your hands and this keyboard was no exception. As I started taking the keyboard apart to give it a proper clean, I thought: Why not document this? Maybe my experience can help someone else avoid the same mistakes I'm about to make... As usual while reading the articles, you will be getting a head-start.
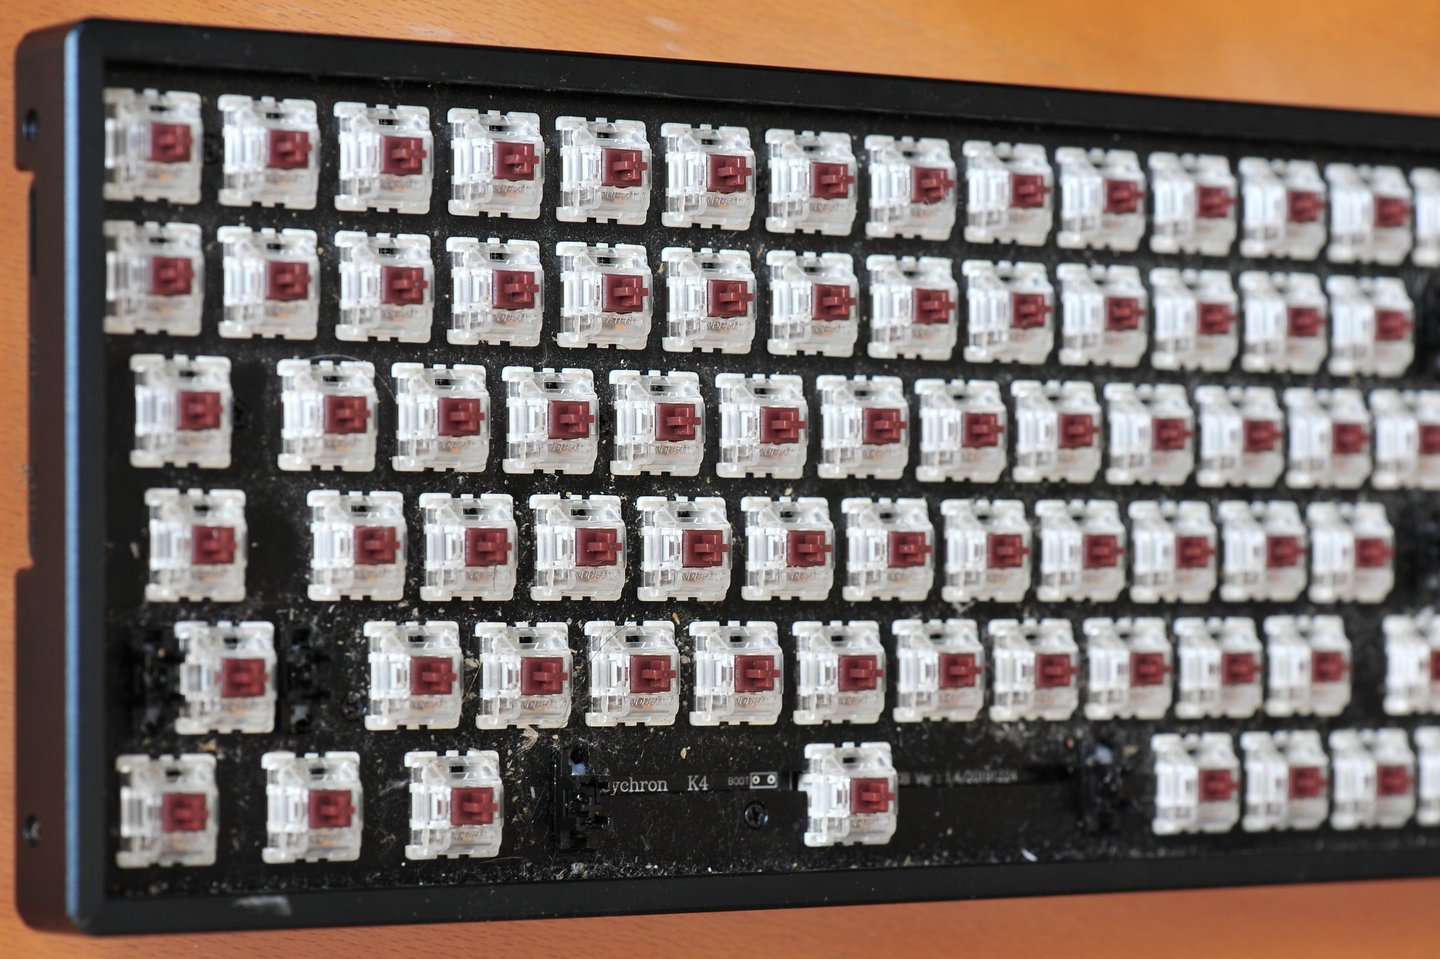
Now, removing the grime from the keycaps themselves wasn't really enough for a "proper" cleanup for me. The real “fun” started underneath, once all keycaps have been removed. Unfortunately or maybe fortunately, depending on how you look at it, the K4 V1 comes pre-lubed from the factory. The problem? That factory lube had… melted and spread throughout the inside, leaving behind a pretty unappealing layer of grimy gunk.

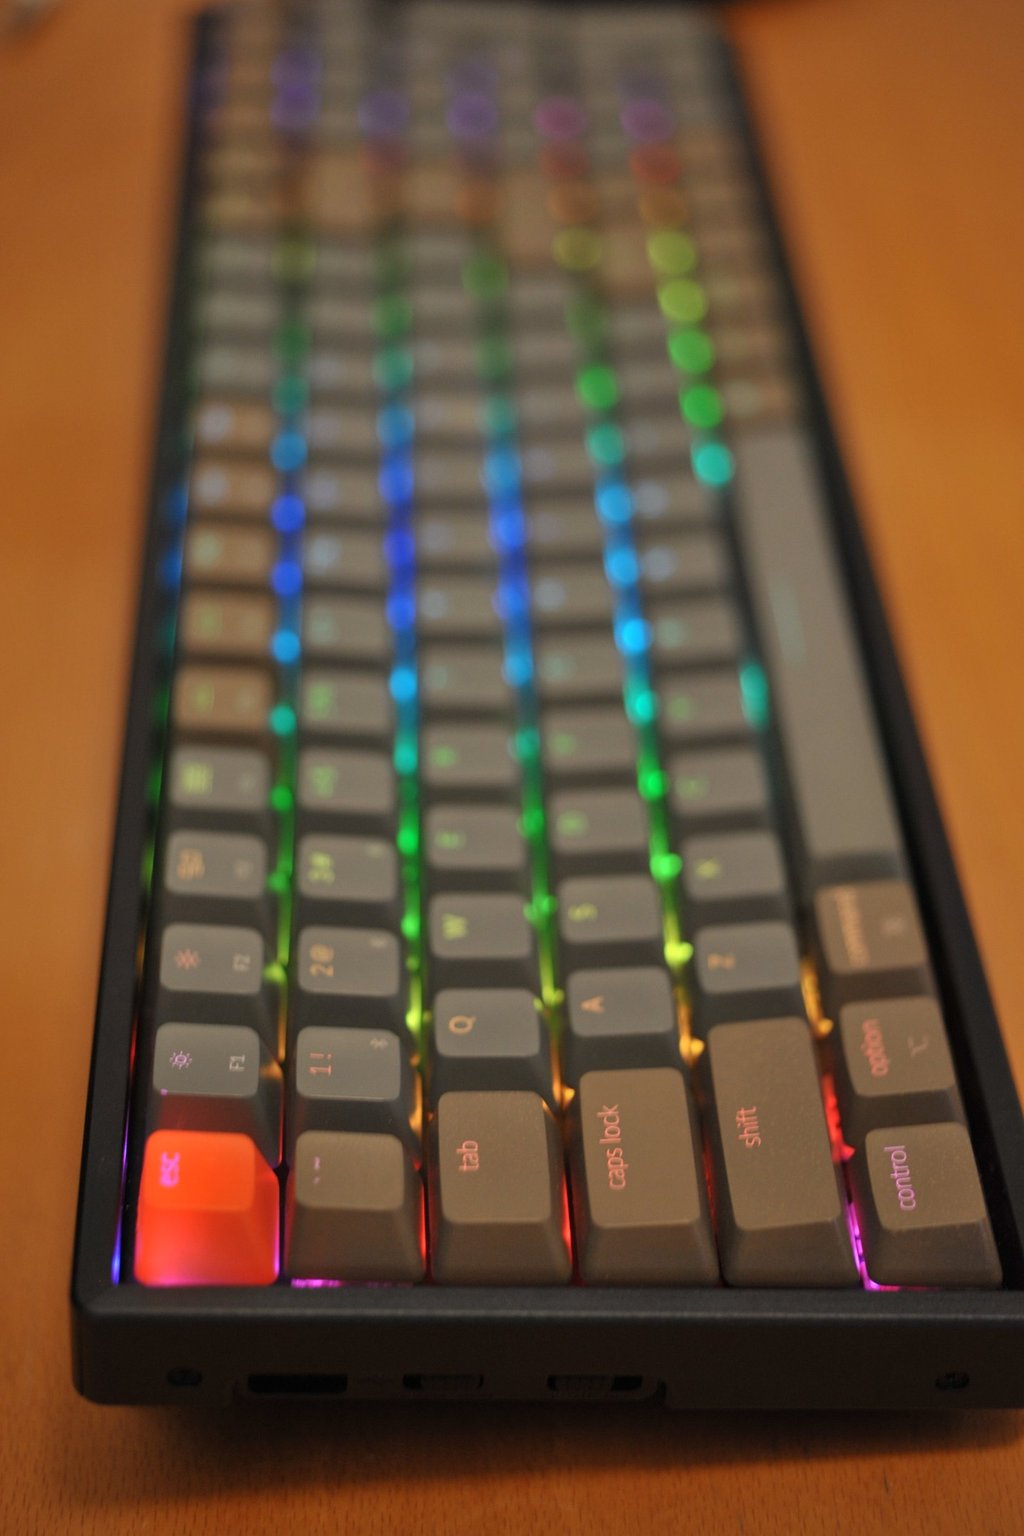
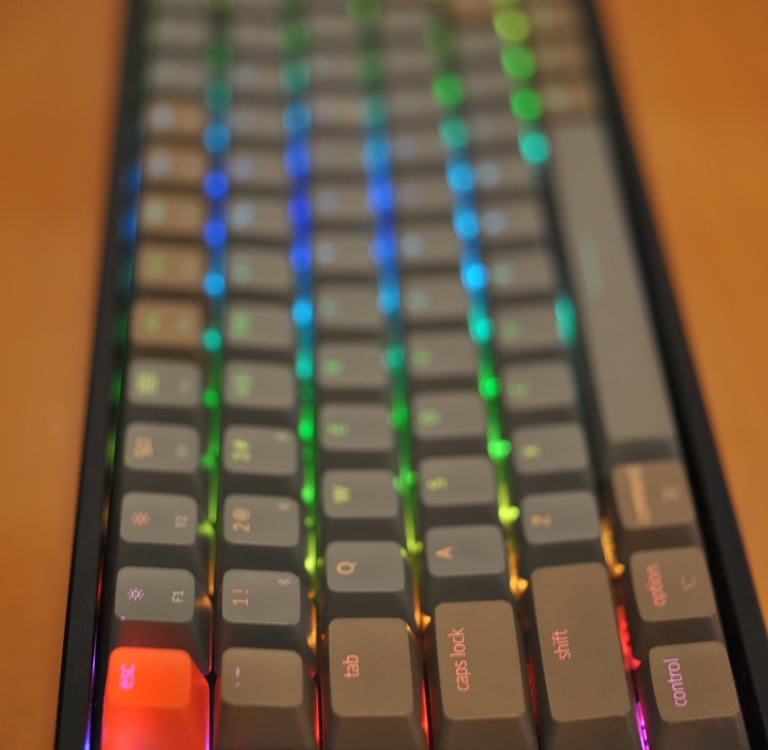
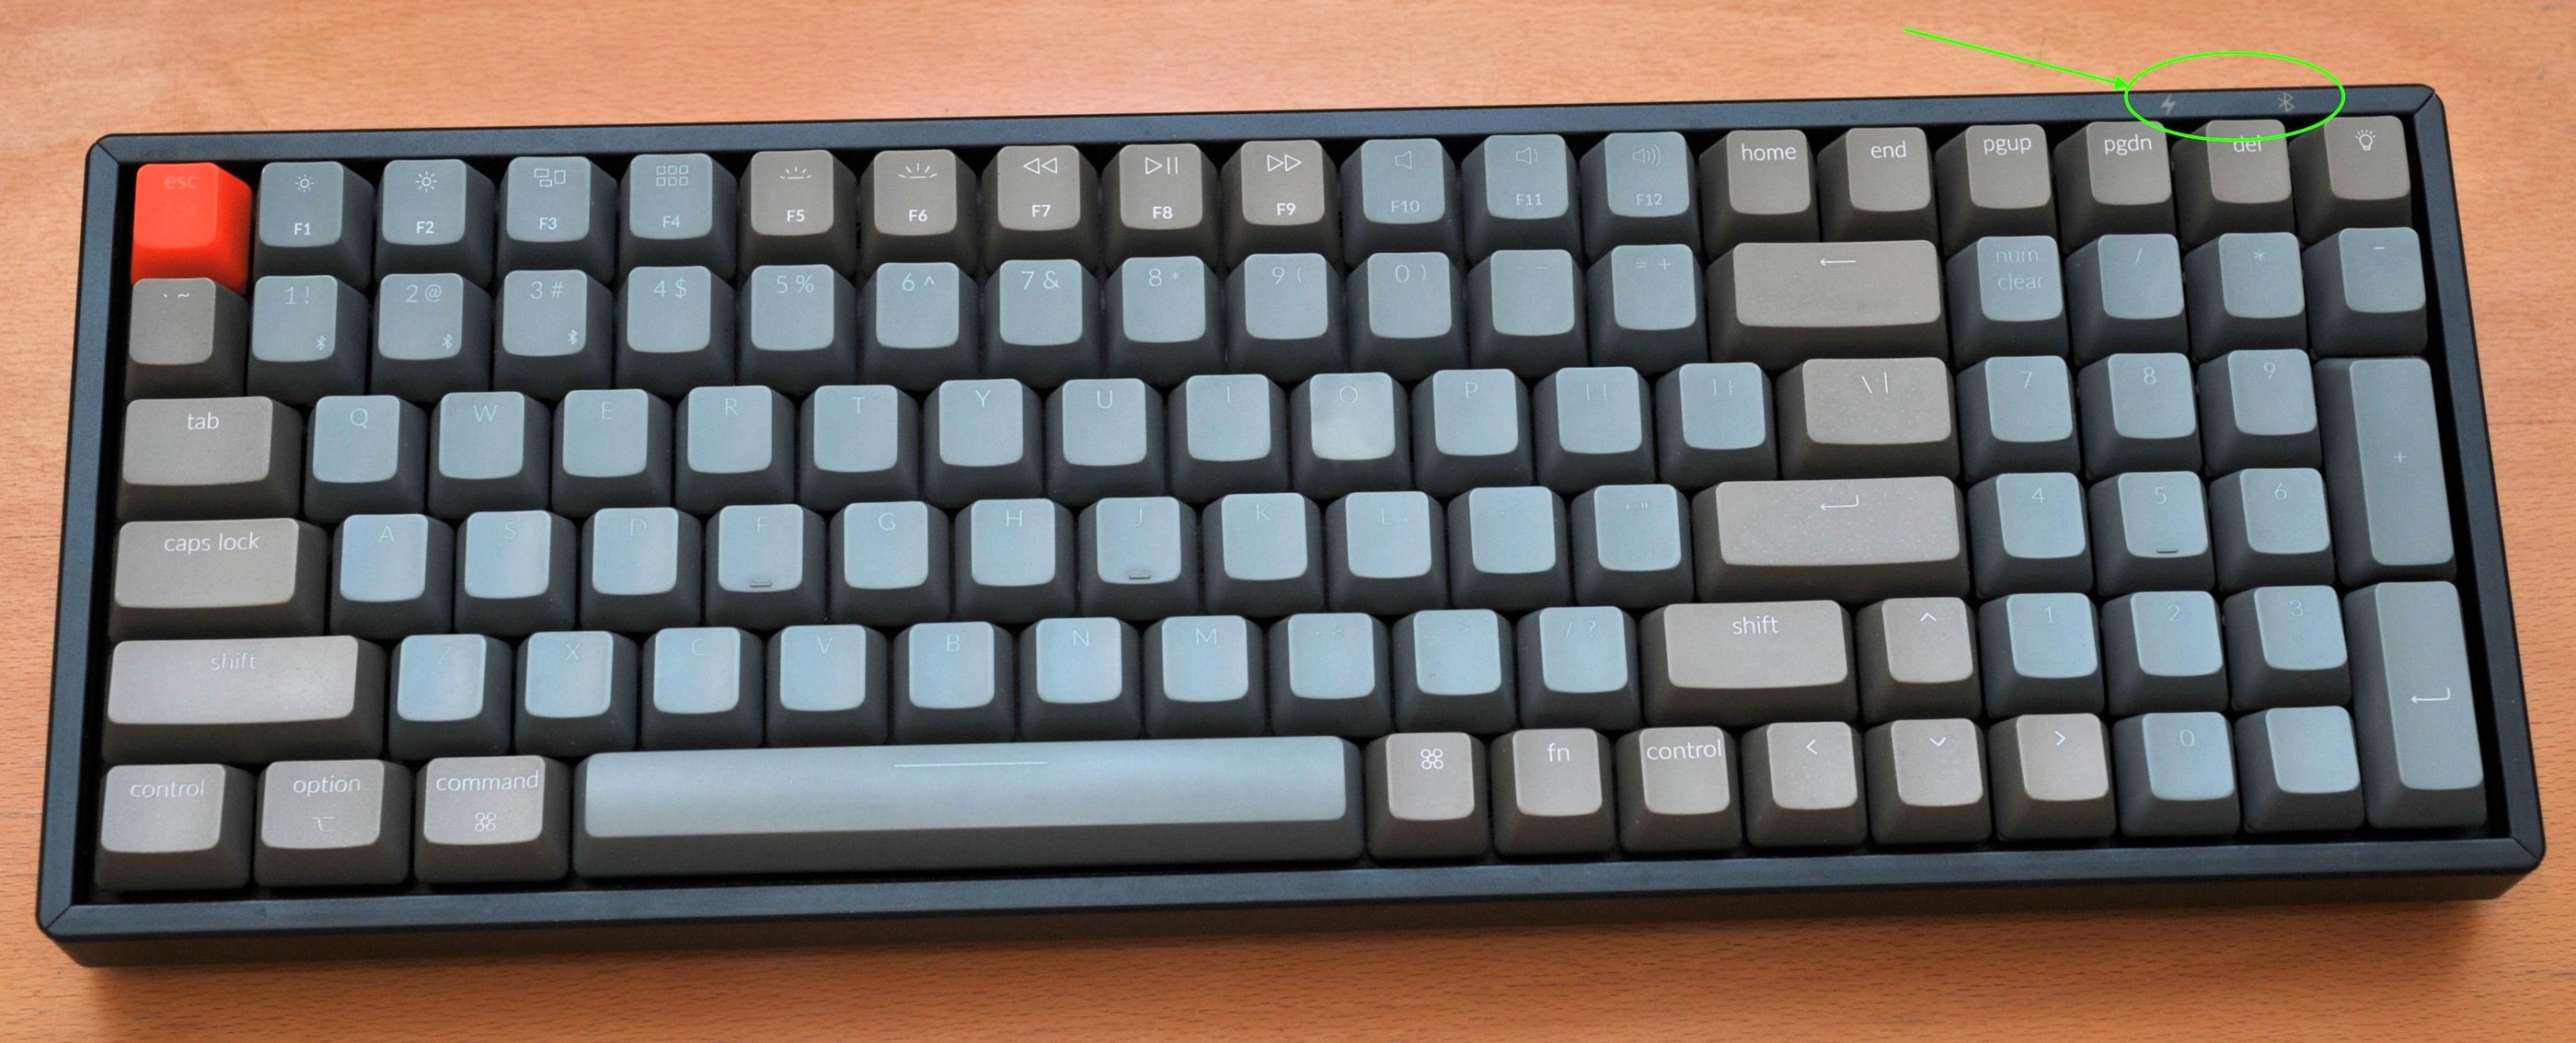
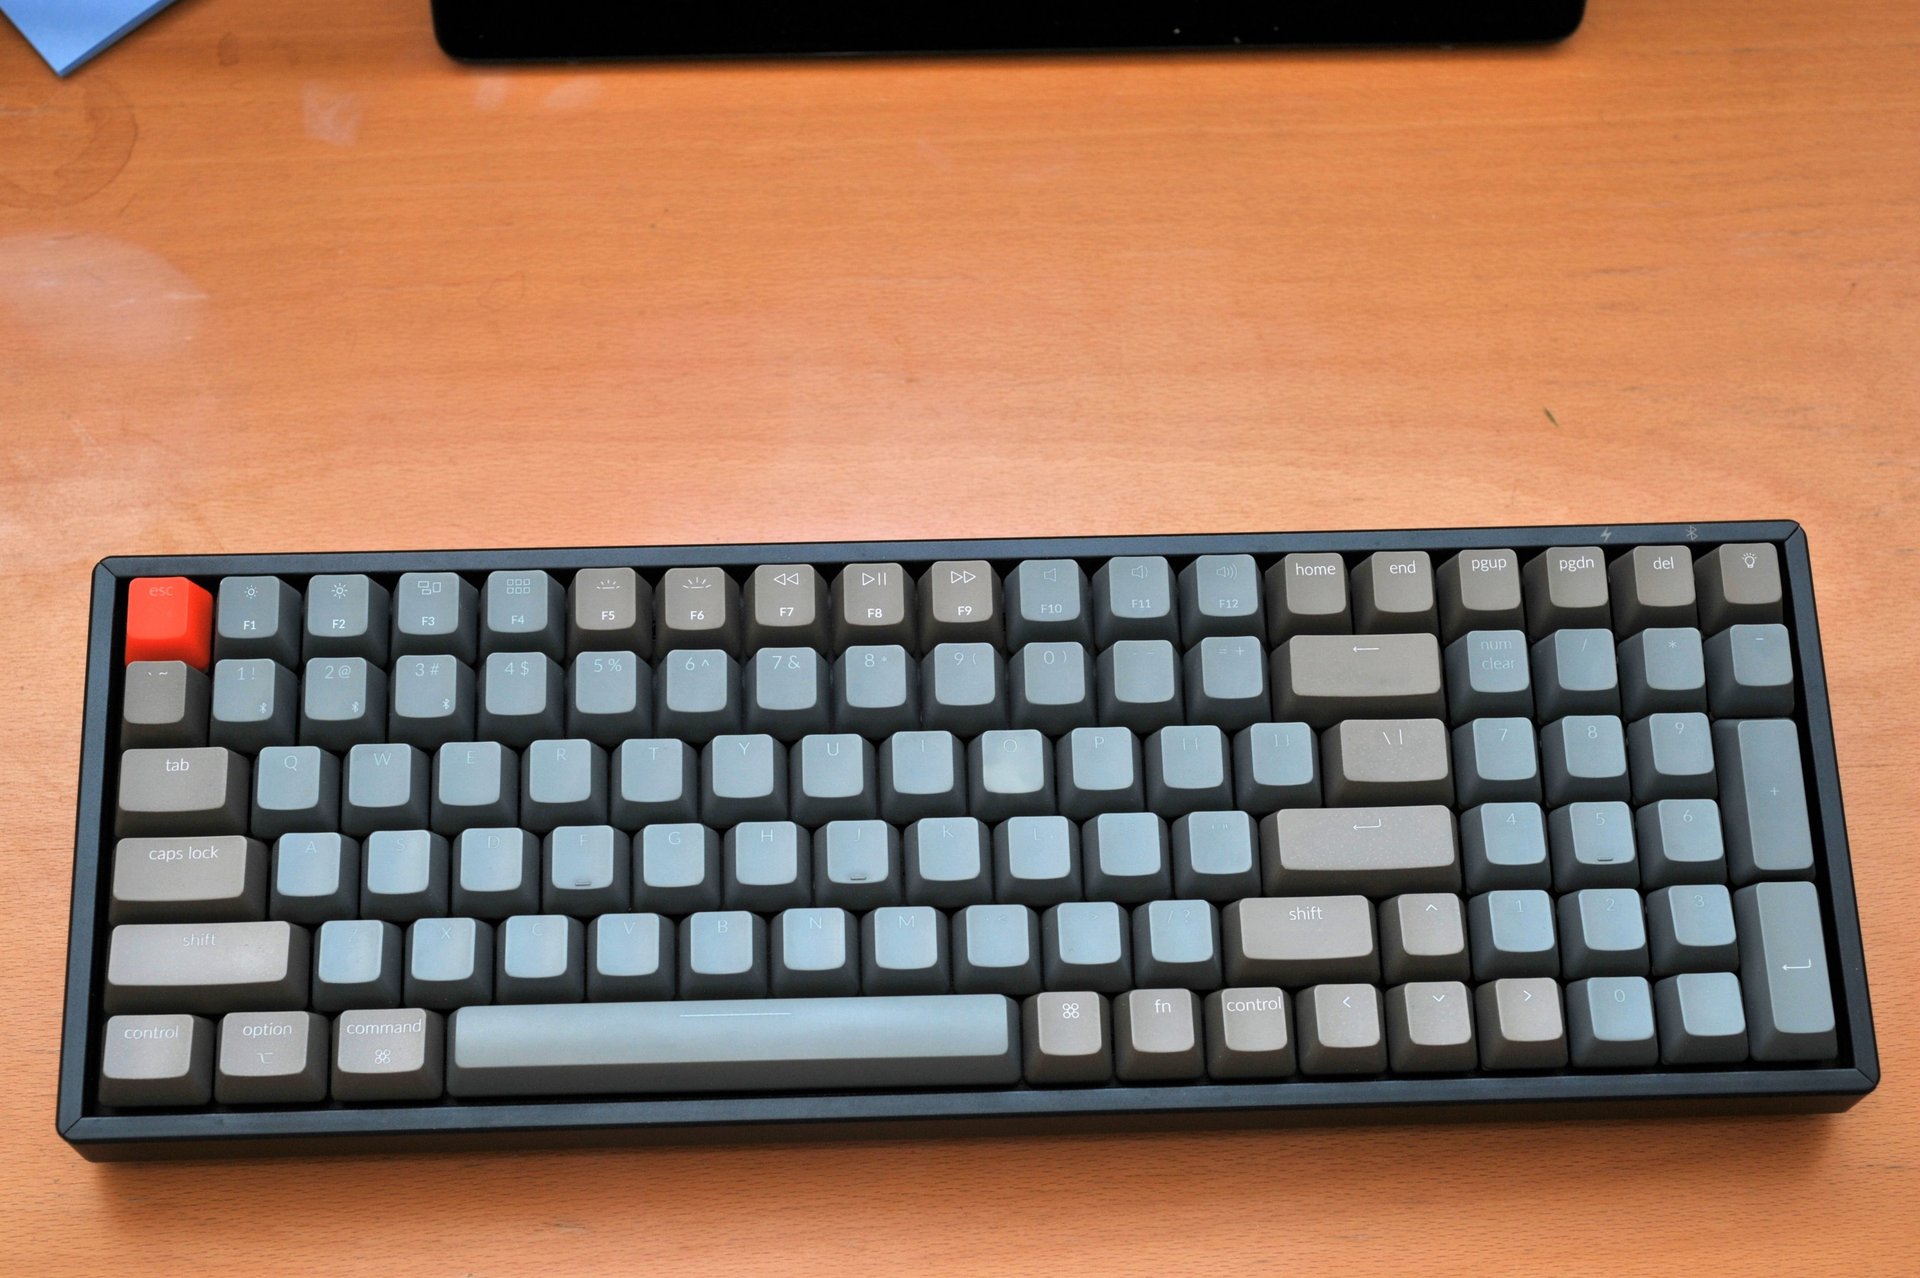
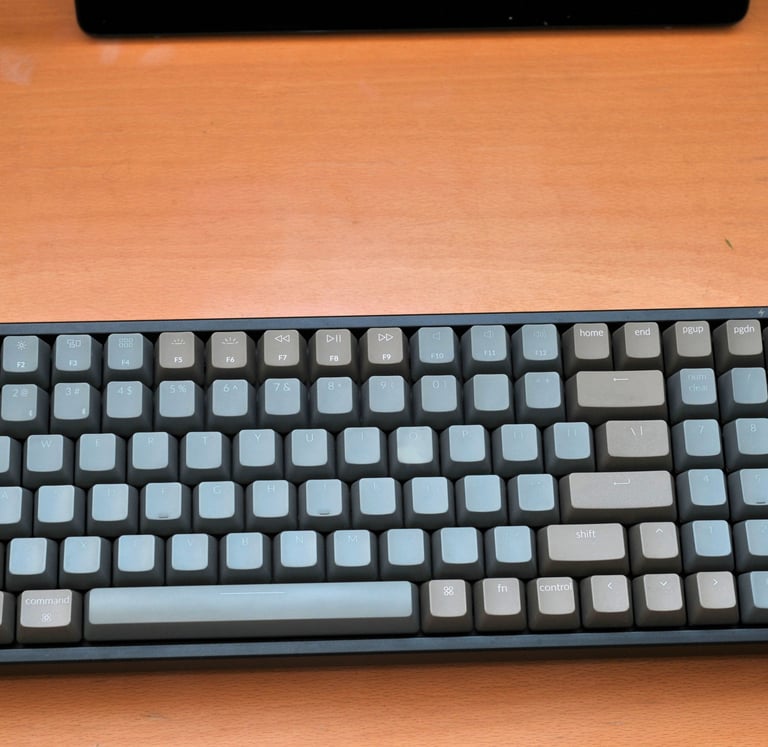
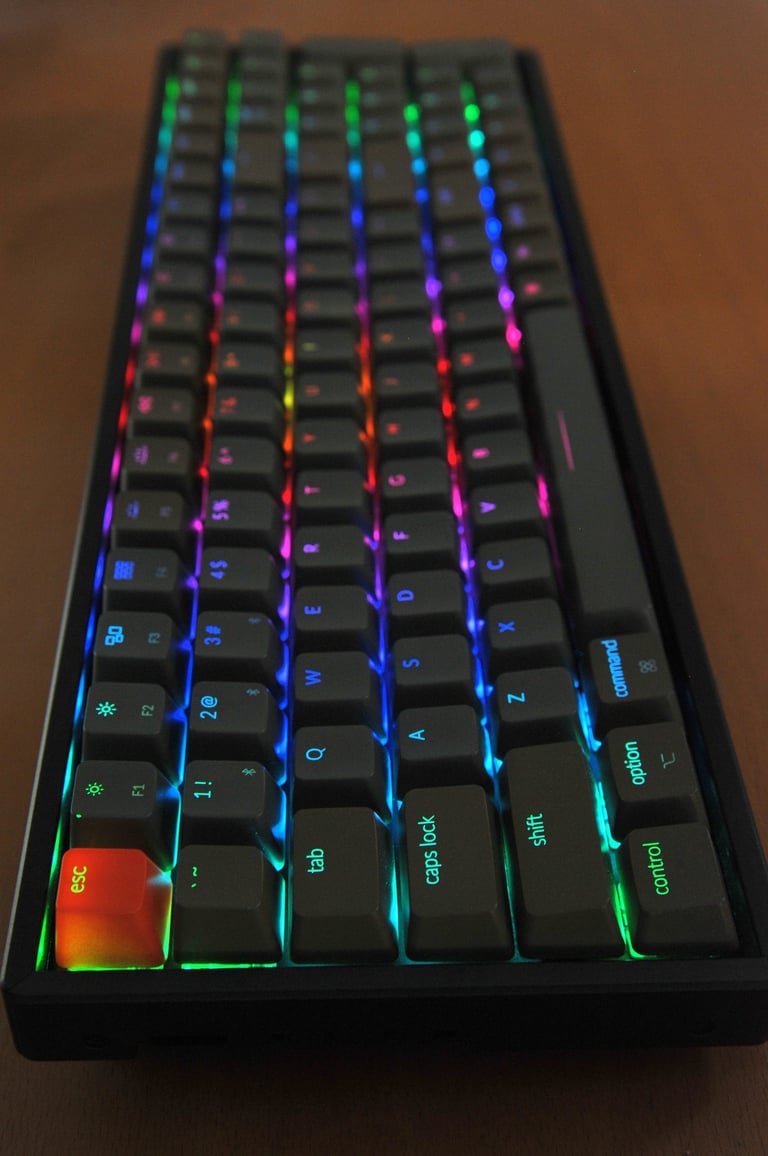
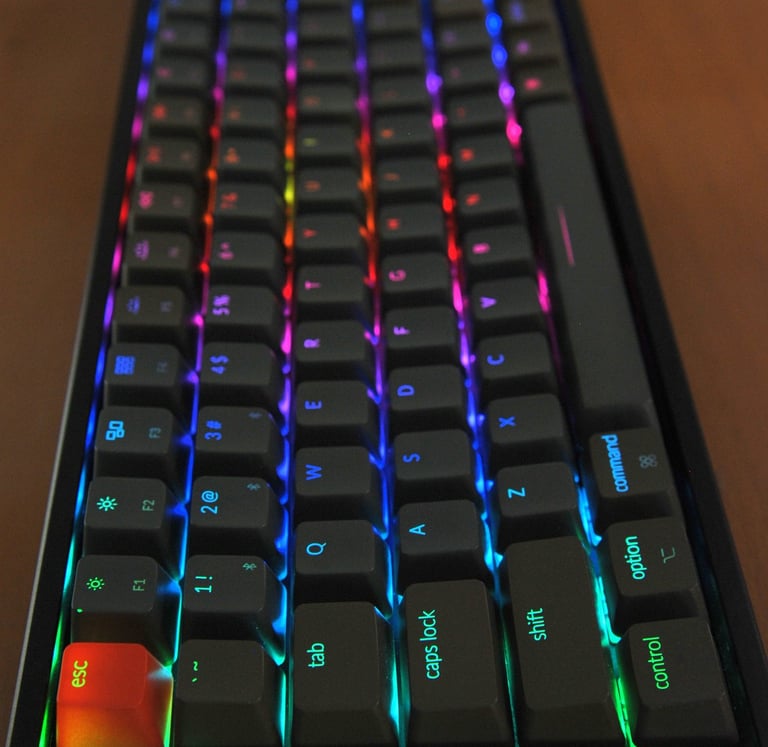
The Keychron K4 I got is a 96% US-layout (100 keys) that connects via Bluetooth to up to three devices at once (when Bluetooth fast switching is enabled, the switch between devices is really almost instantaneous). A wired connection via USB-C is also possible. The keyboard is built "like-a-tank" in a retro style with a robust aluminum frame which adds up to a weight of almost 1Kg, giving it a very sturdy, very robust and premium feel. The RGB backlighting is a nice touch and adds up to the "premiumness" of the Keyboard. Mine came fitted with Gateron Brown switches a nice middle ground between clicky and linear/silent. I must say, although the switches themselves are quite silent, the keyboard is nevertheless extremely loud and I believe this is because when you press the switches and they bottom out They are hitting against a solid surface giving out a "thunk" that reverberates throughout the room (more on how to minimize that later).
The Teardown
As already mentioned, to take this keyboard apart, the first step is removing all the keycaps. And let me tell you: this works way better if you have a proper key puller. I didn’t. I now have four very sore fingertips... Please don't do the same mistakes...
That said, yes, removing the keys without a key puller is possible. But it’s also painful and slow. And you do need reasonably strong fingers. Don’t do it. Seriously, just get yourself a key puller you’ll thank me later.
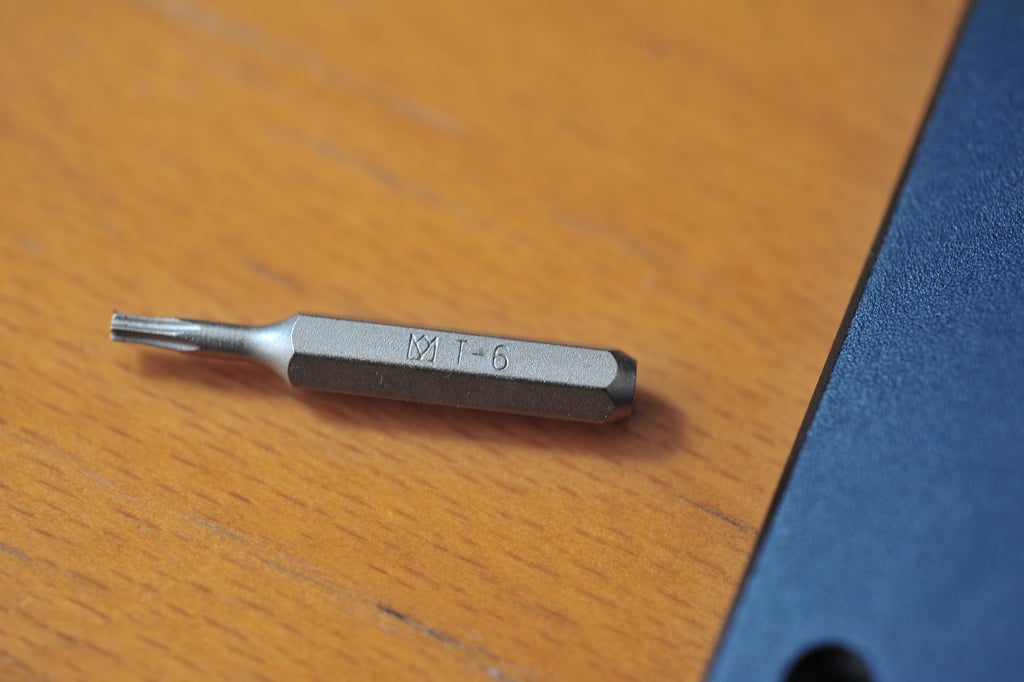
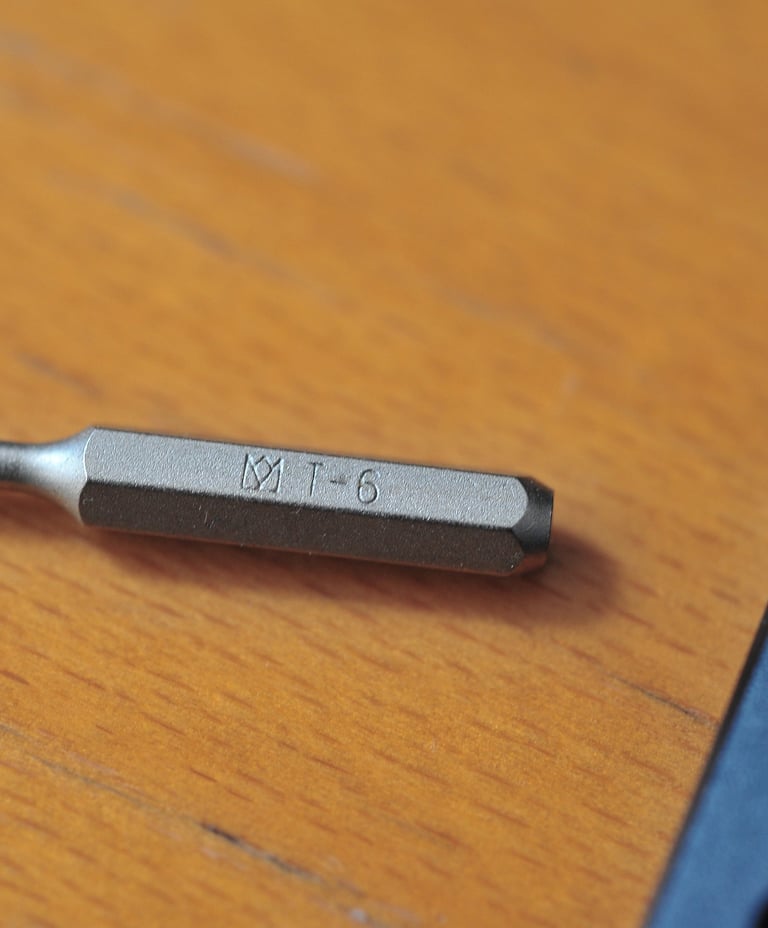
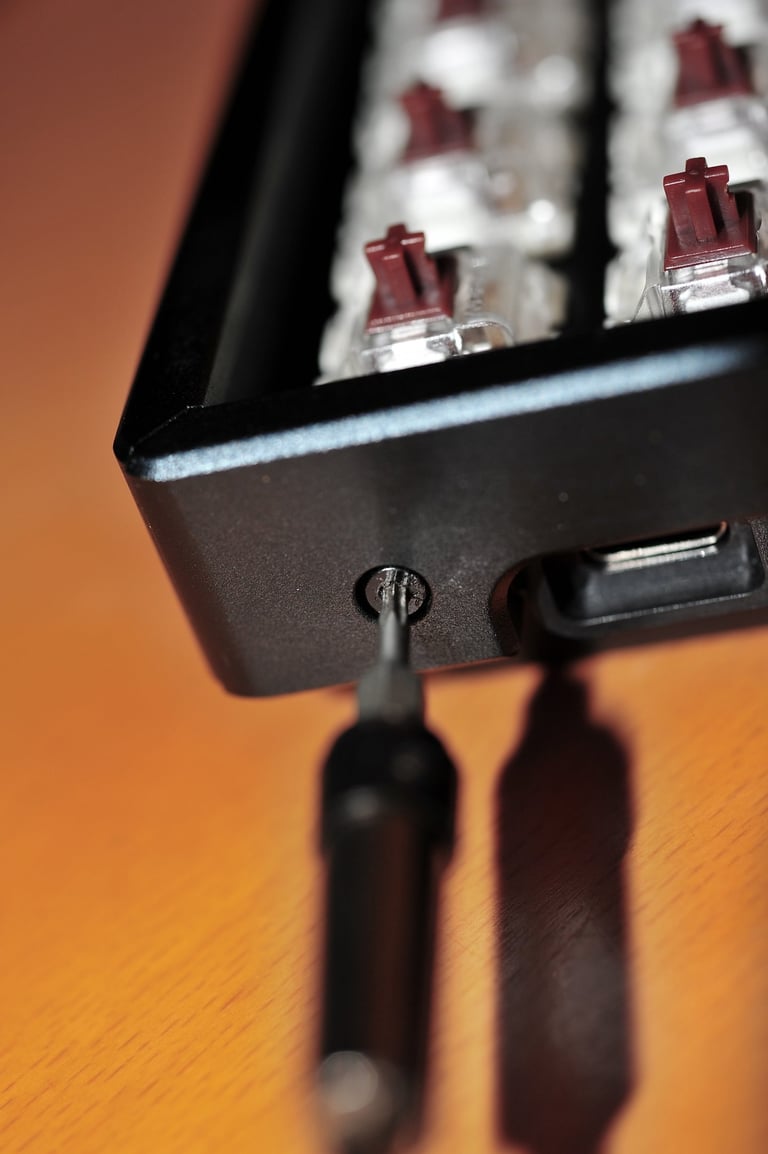
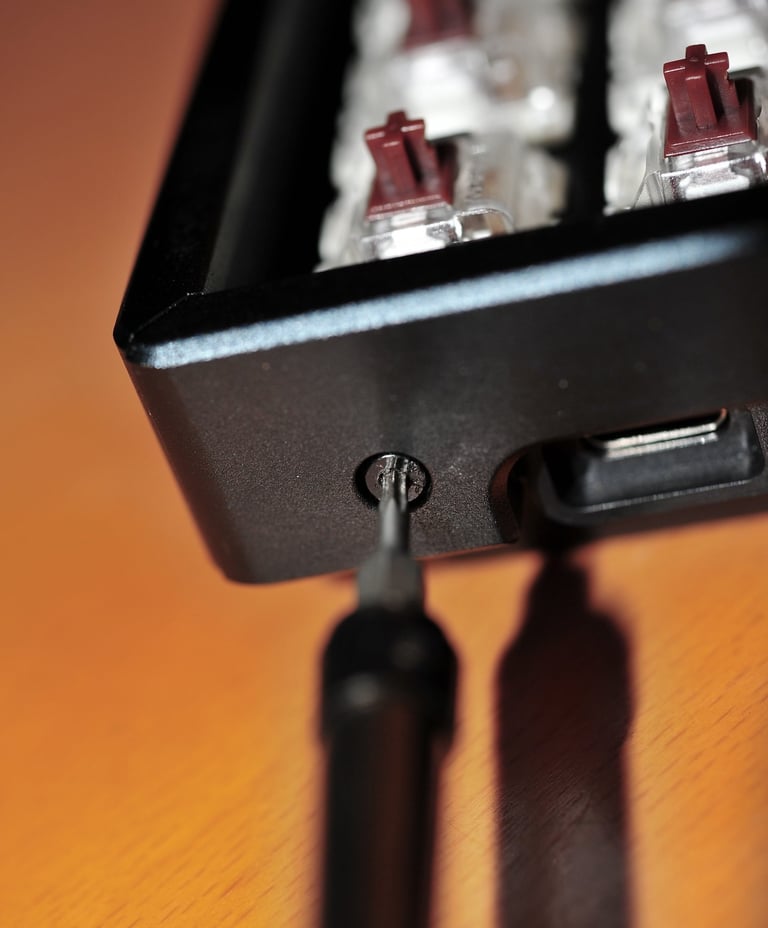
Once all the keycaps are off, it’s time to remove the side panels. For this, you’ll need a Torx screwdriver (mine was size T - 6) to take out the four screws that hold the outer side panels to the frame.
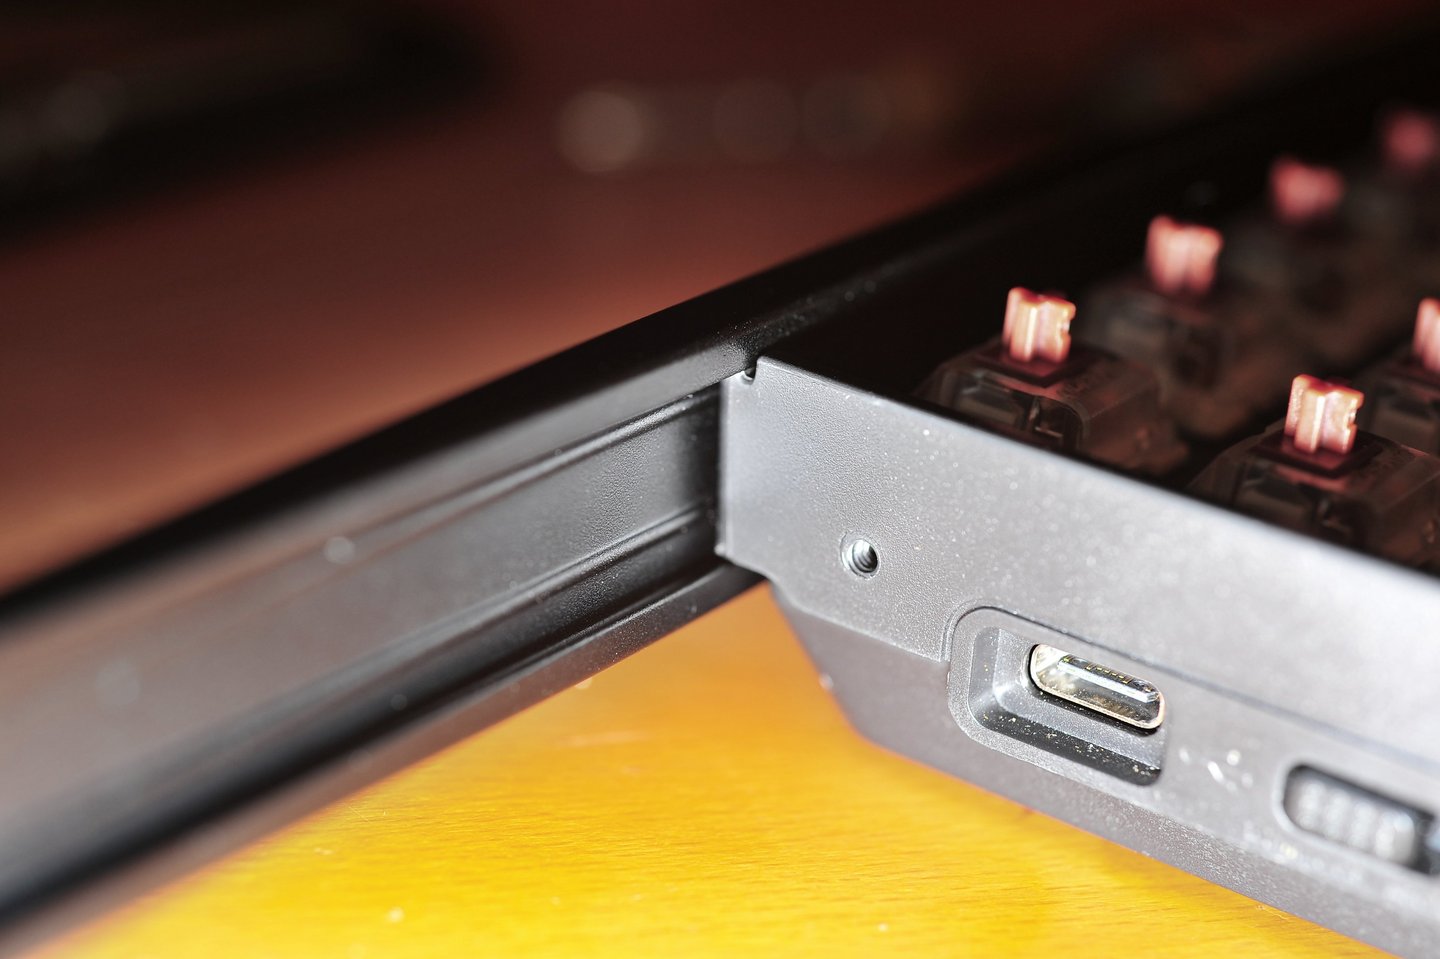
After those screws (and panels) are out, you can slide off the other two side panels from the frame. Just pay attention to the one with the Bluetooth and power symbols: it goes on top. Remember that for when you're putting the keyboard back together.
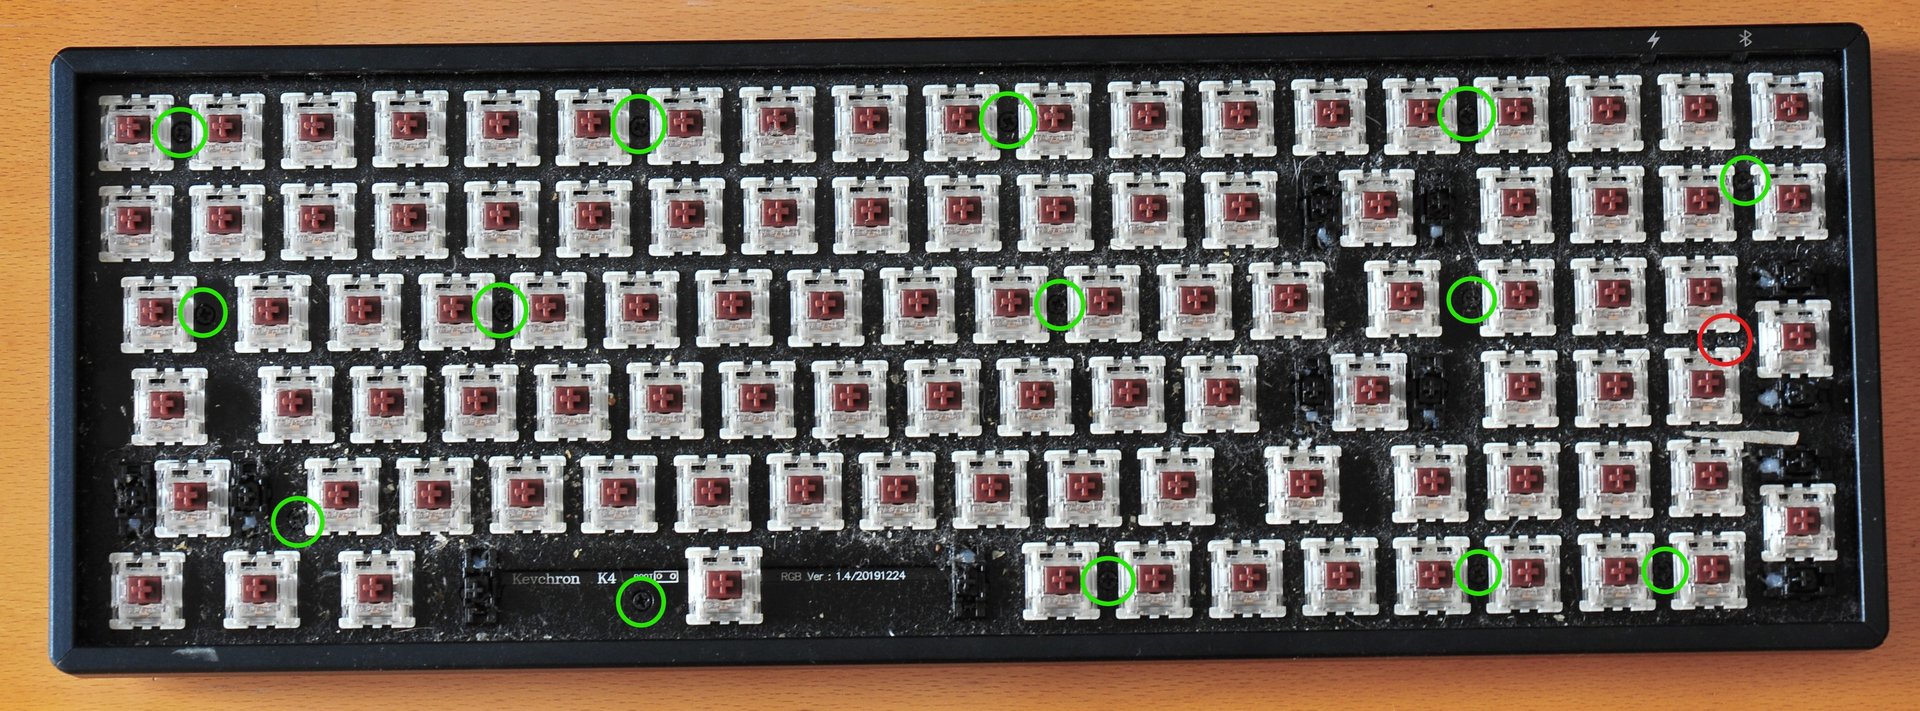
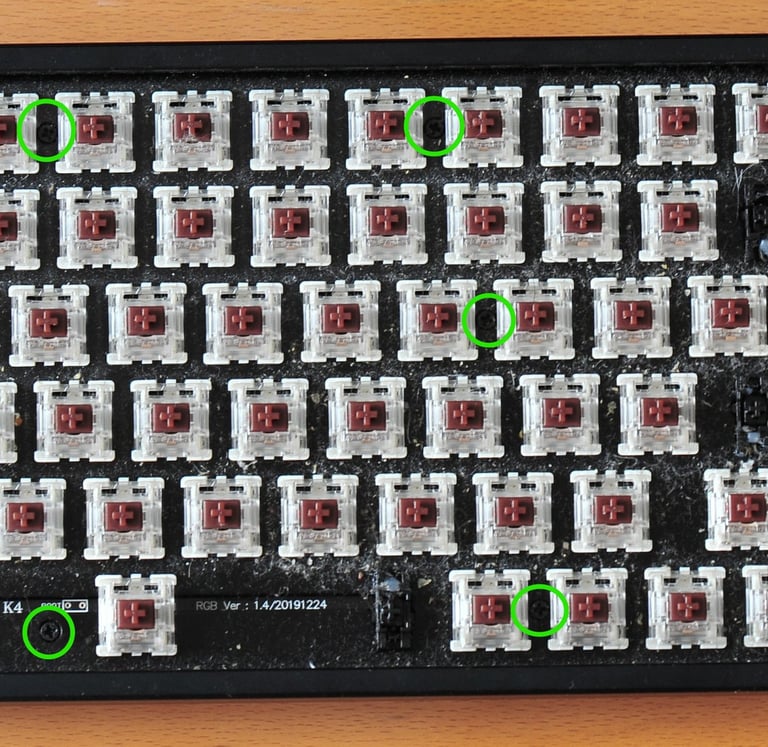
With the side panels removed, you’ll now face a series of Phillips head screws. Yep they all need to come out... well, almost all (you can remove all the "green" screws but leave the "red" one).
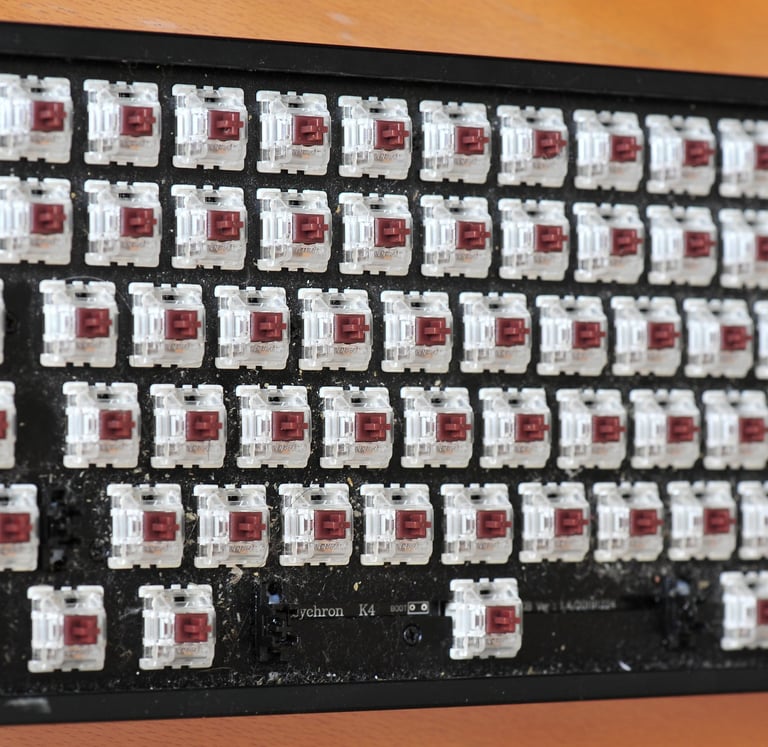
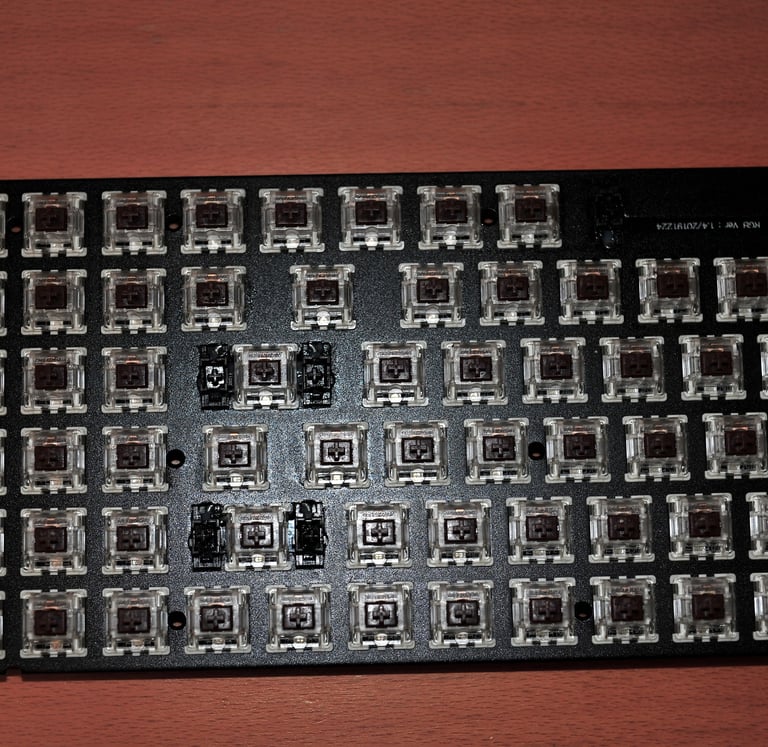
Here’s the tricky part: there’s one screw (the "red" one) that you can’t remove. It seems to be caged in between two gateron switches. I don’t know if this is just how my board was built or if it’s a "feature" of the K4 V1 design, but keep an eye out for it, if you try to remove all the screws without noticing this one, you risk cracking the board underneath. My advice? Spot it early, and leave it for last. You can give it a gentle half-turn to full-turn to loosen it slightly, but don’t push it further. Click on the image below to see in full screen where the "red" screw is (on the Numpad between the "9", "6" and "+" keys). I might have missed a green screw or two, but the main message should be clear, I hope.

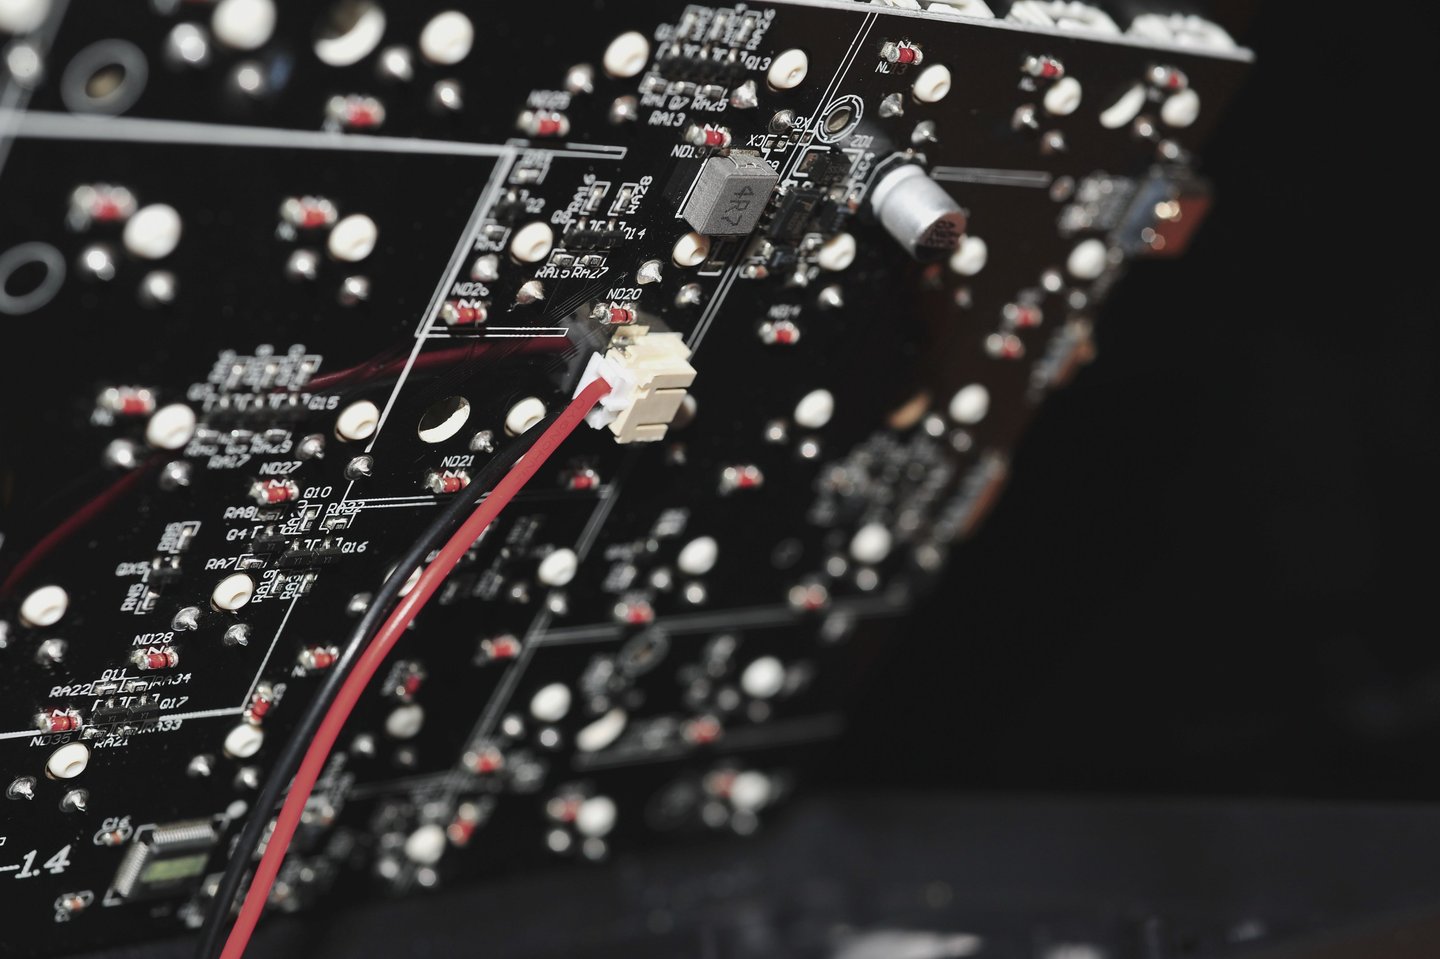
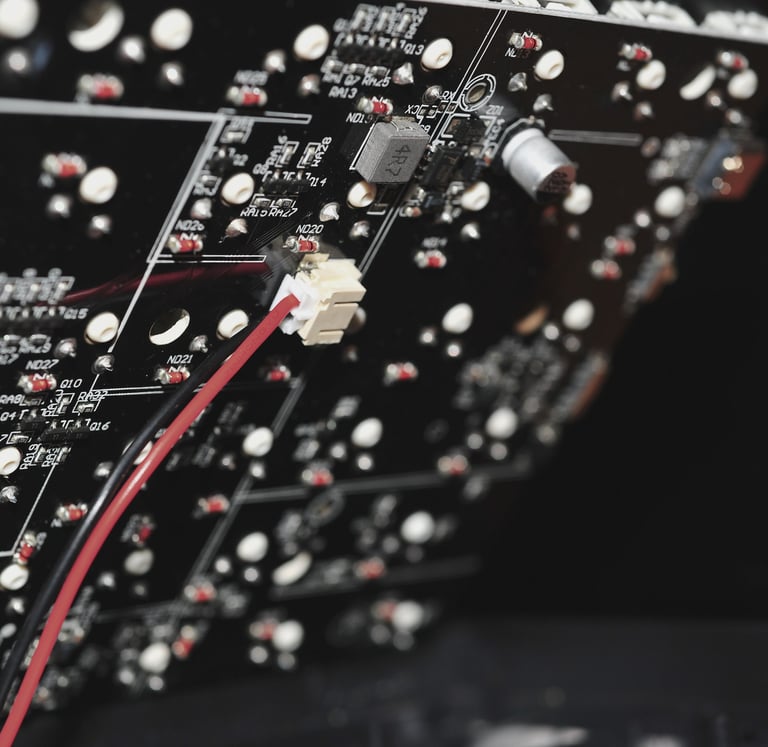
Once you’ve removed all the other screws, you can now unscrew the last one (the “red” one). This will cause the board to lift slightly from the keyboard frame. At this point, you can carefully remove the board either by placing a keycap back onto one of the switches and gently pulling upward, or by turning the keyboard upside down and letting gravity help. Either way, go slowly and be very cautious as there is a battery cable still connected to the bottom of the board! If you yank too hard, you risk ripping the cable or the connector right off the board, this no es bueno!
When you’re ready to unplug the battery, be gentle. Don’t use any metallic tools! You don’t want to short the contacts, remember? Also, don’t pull on the wires directly. That could damage the cable or pull it out of the connector. I used a small plastic tool, like a spudger or even the edge of a credit card, to carefully pry between the male (battery-side) and female (board-side) connectors and separate them.
The Cleaning
Don’t do this. Seriously.
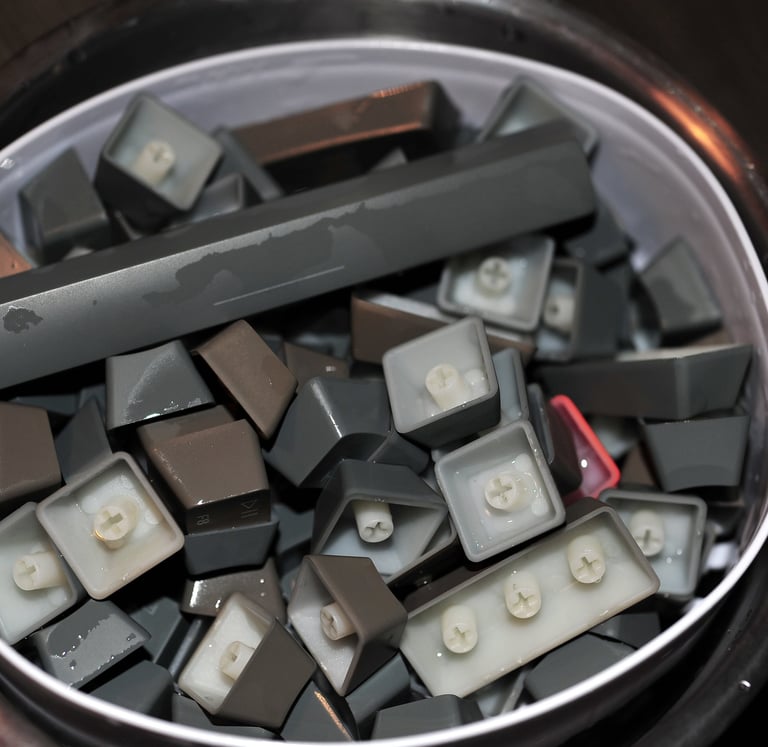
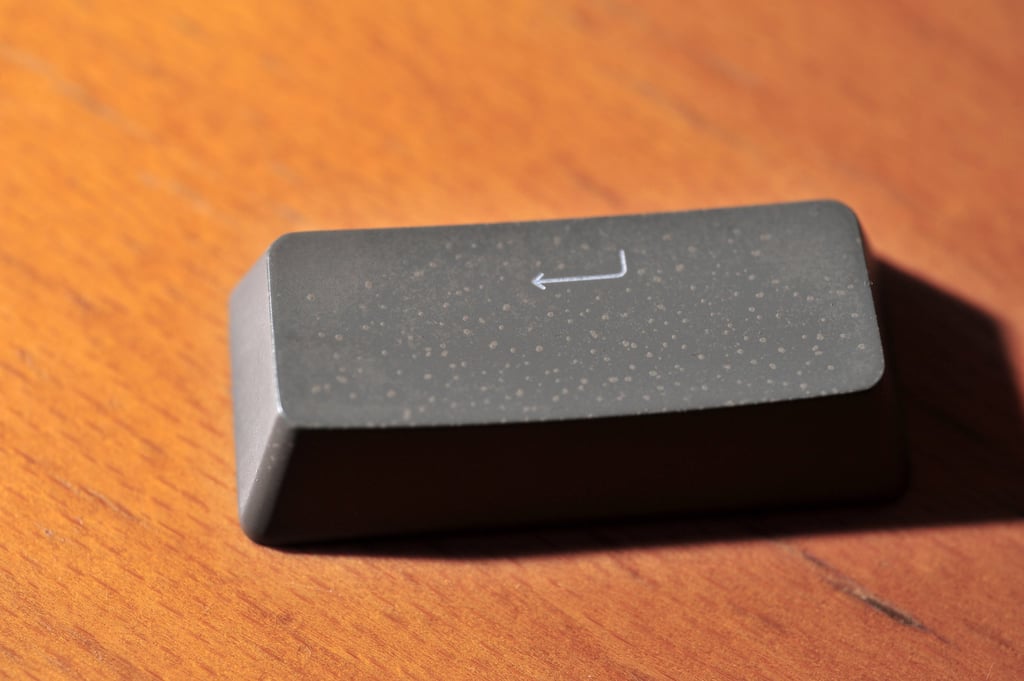
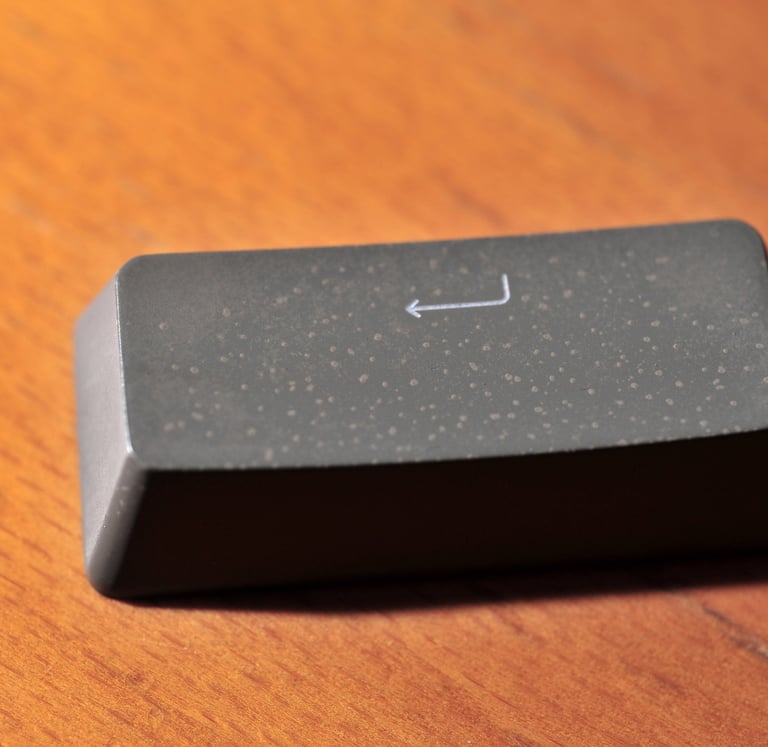
I threw the keycaps into a soapy-water ultrasonic cleaner, thinking it would be a quick win. Bad idea. While the ultrasonic cleaner did clean them, it also damaged the lacquer coating on top of the keys, leaving them with this strange, marbled look — kind of like faux marble or “Marmor.”
Oddly enough, the effect actually suits the retro look of this keyboard, and I ended up liking it. But make no mistake: ultrasonic cleaning will absolutely ruin pristine keycaps. Don’t do it. If you want to clean yours safely, just soak them in warm soapy water and give them a gentle shake every now and then. That should do the trick without the risk. If the grime is too much you might need to scrub it off after it has been soaked in for a couple minutes using a microfiber towel or such, but you get the idea, right?
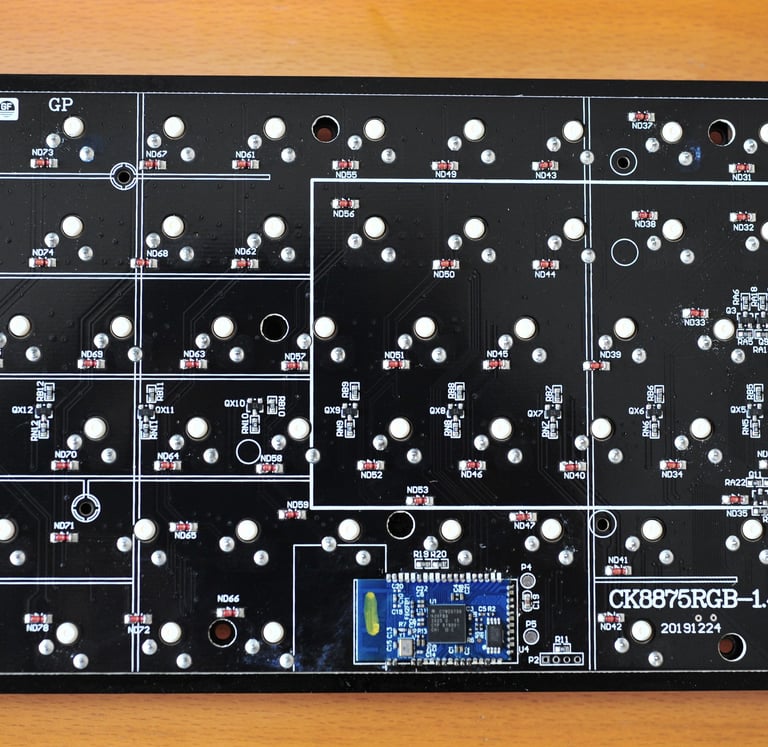
As for the board itself, my first attempt was to vacuum it — which only helped a bit. The main issue wasn’t dust; it was grease, probably from the melted factory lube that had spread across the entire PCB and plate. Next, I moved on to isopropyl alcohol (IPA) and a bunch of Q-tips. That worked far better. I used them to carefully wipe away the grime from one side of the board, and then tackled some weird sticky residue on the other side.

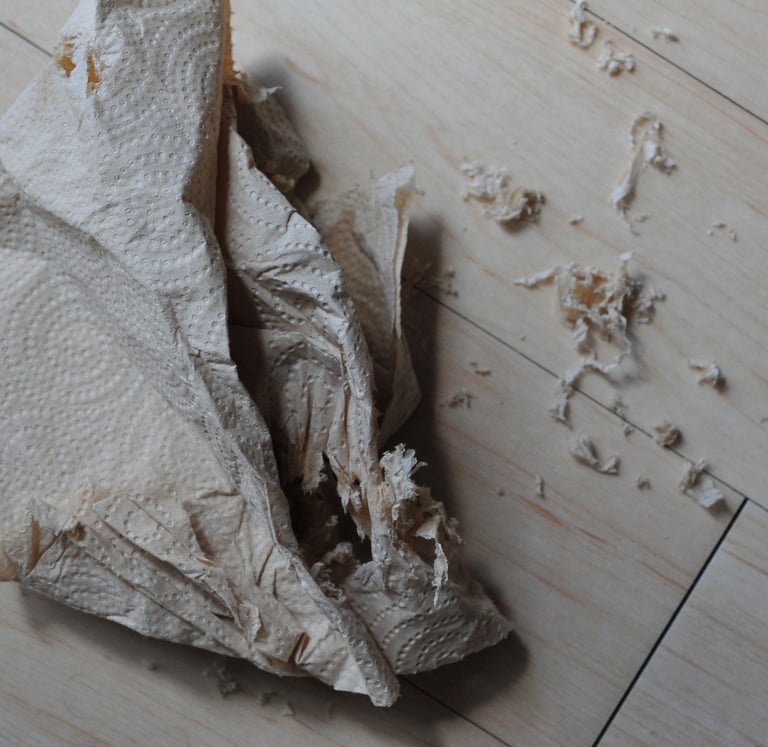
For the final pass, I sprayed a bit more IPA and wiped everything down with paper towels — which, in hindsight, might not have been the best choice. The IPA evaporated fast, but the paper towels? Not so much. Tiny bits of paper ended up scattered across the room, leaving me with a fresh little mess to clean up.
Lesson learned: microfiber cloths are your friend.


The Noise Reduction Process..
Everything was now clean, neatly put back together, and working as it should. But there was still one issue that made this keyboard unusable for what I had originally planned: bringing it into a work environment.
As much as I liked the sound of the mechanical keys hitting bottom, it simply wasn't possible to use the Keychron in an office setting. The noise this thing makes is typewriter-level loud. After getting a few compliments on how cool the board looked and a few complaints about how noisy it was... I knew I had to do something.
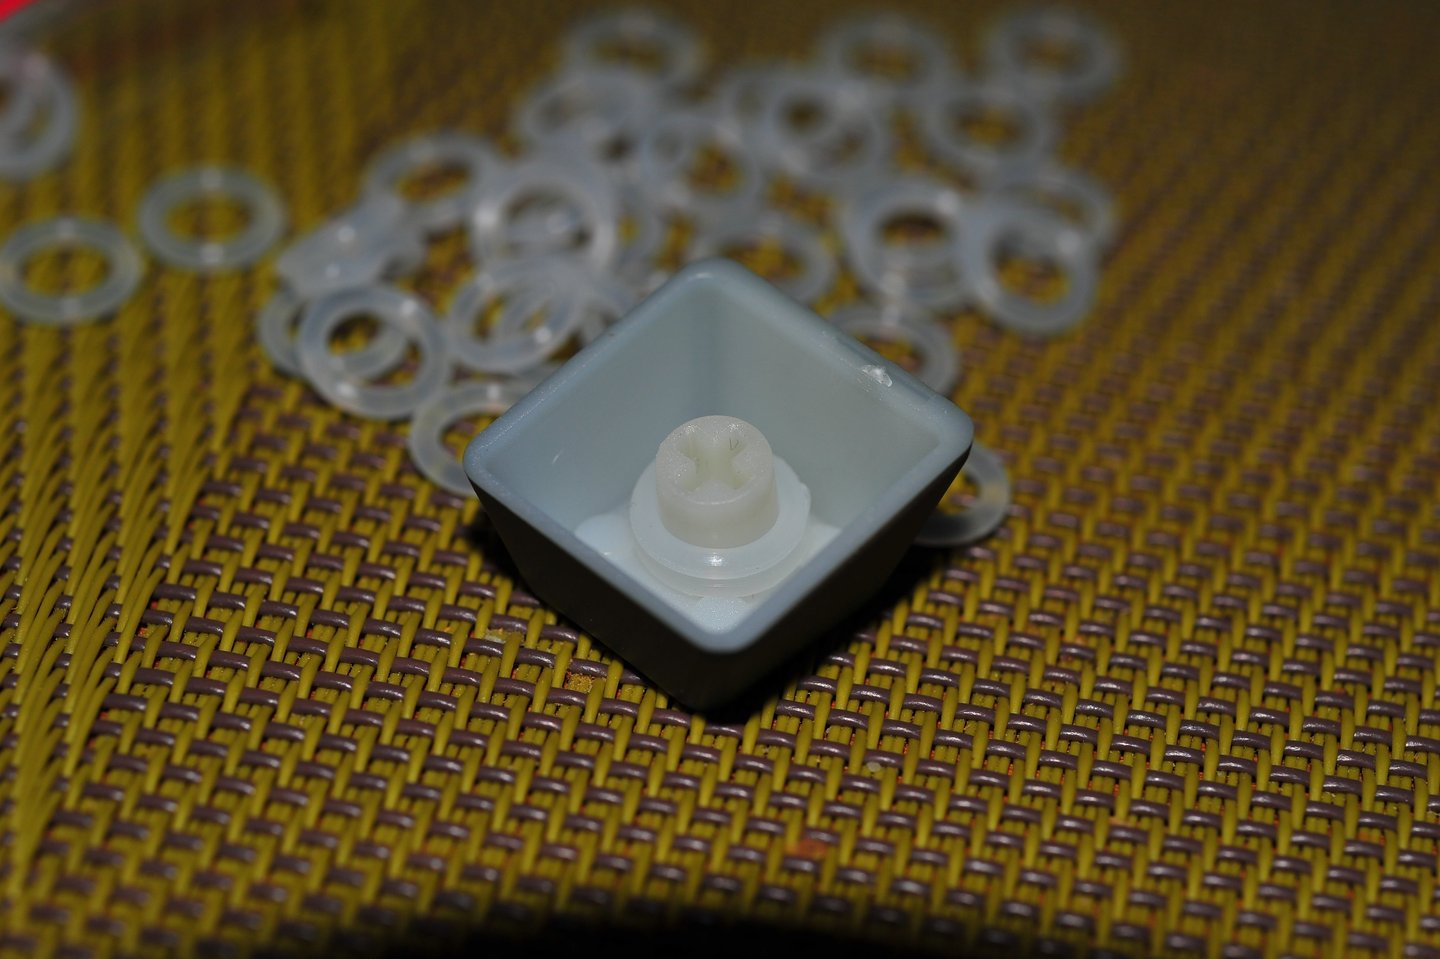
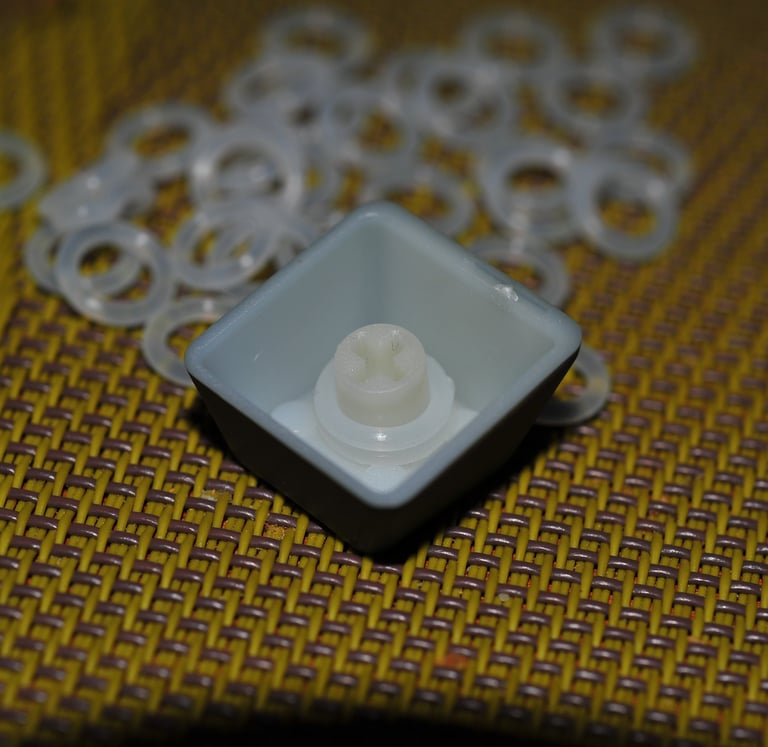
As usual, the internet had most of the answers. It showed me that small O-rings can be installed to dampen the sound of key presses. The idea is simple: you place the O-rings onto the stems of the keycaps, reinstall the keys, and then hear (and feel) the difference.
In case you were wondering I bought my O-rings here:
https://www.ebay.de/itm/385324417659
The typing experience changes noticeably as the keys no longer fully bottom out, which eliminates most of the clunks. But there's a trade-off: the keys end-of-travel is not a hard surface anymore, it is rubber. So the feel of the keystroke changes significantly, and if you stack too many O-rings, the key may lose too much travel, making it harder to actuate, or in some cases, not register at all, whereas if you don't stack enough O-rings, the key might still sound too loud.
In the end, it’s about finding a balance between noise reduction and typing feel/key actuation. Here's a tip: try doing it systematically. Start by removing one key from each row, for example: command, Z, A, Q, 1, F1, and experiment with different numbers of O-rings on those first. You’ll notice that each row of keys is built a little differently. Some are deeper, taller, or have a different profile, and will therefore need more or fewer O-rings to achieve the result you want. Once you've figured out what works best for each row, it's just a matter of copying that configuration across the rest of the row.
There might still be a few exceptions, keys like Tab, Caps Lock, Shift, Enter, and Spacebar often need extra O-rings because of their size, weight, or travel profile. Tweak as needed.
I decided to leave the numpad keys without O-rings to have a clear A–B comparison and really hear how much quieter the rest of the keyboard had become, and so I could still enjoy that original Keychron “clunkiness” whenever I felt like it.
Final Thoughts
I set out wanting a more "mechanical" keyboard, something to escape the rubbery feel of membrane models. But in the end, the "oppressive" societal and office norms led me to make compromises, and the result became something in-between.
While I still enjoy that distinctive mechanical typing feel in terms of key travel, I now have a bottom-out experience that’s much closer to a rubber dome keyboard.... All in the name of noise reduction.
The ideal solution? A keyboard that delivers the full mechanical feel without the cool but loud clunkiness of the K4 V1. For me, the K4 V1 is like a V8 muscle car: undeniably cool, great-looking, built like a tank, fast to type on, but just too loud for the modern office world. A world where smoking is banned, and the once-iconic sound of typists hammering away on typewriters has all but vanished...
In other words, the Keychron K4 V1 is a fantastic keyboard that, unfortunately, doesn't quite conform to societal (office) norms.
Maybe the Cooler Master MK770 or the Keychron K4 V2 is up for that task?

Contact Me
If you are interested in nerding out about photography or want to see a bit more of my pictures, kindly leave a message in the form below. I'd also appreciate it if you let me know about any typos or errors you find on this website.
Subscribe
Or mail me at:
info@thiago-silva.com
If you are interested in ordering prints, calendars, or cards, or if you'd like to book me for product or event photography or photography workshops, kindly leave your contact along with your request. This way, we can discuss your needs in detail and ensure everything is tailored to your preferences. I'd also appreciate it if you let me know about any typos or errors you find.