
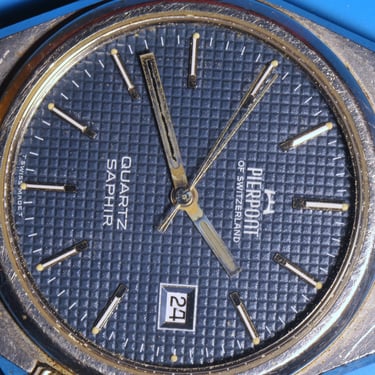
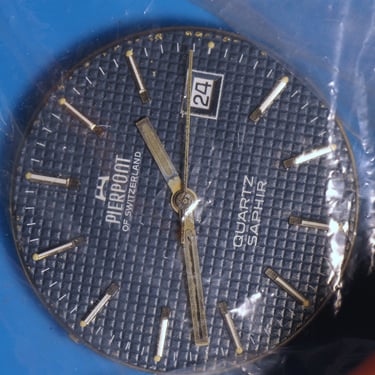
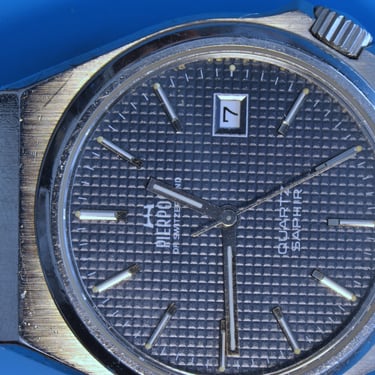
Pierpoint Saphir
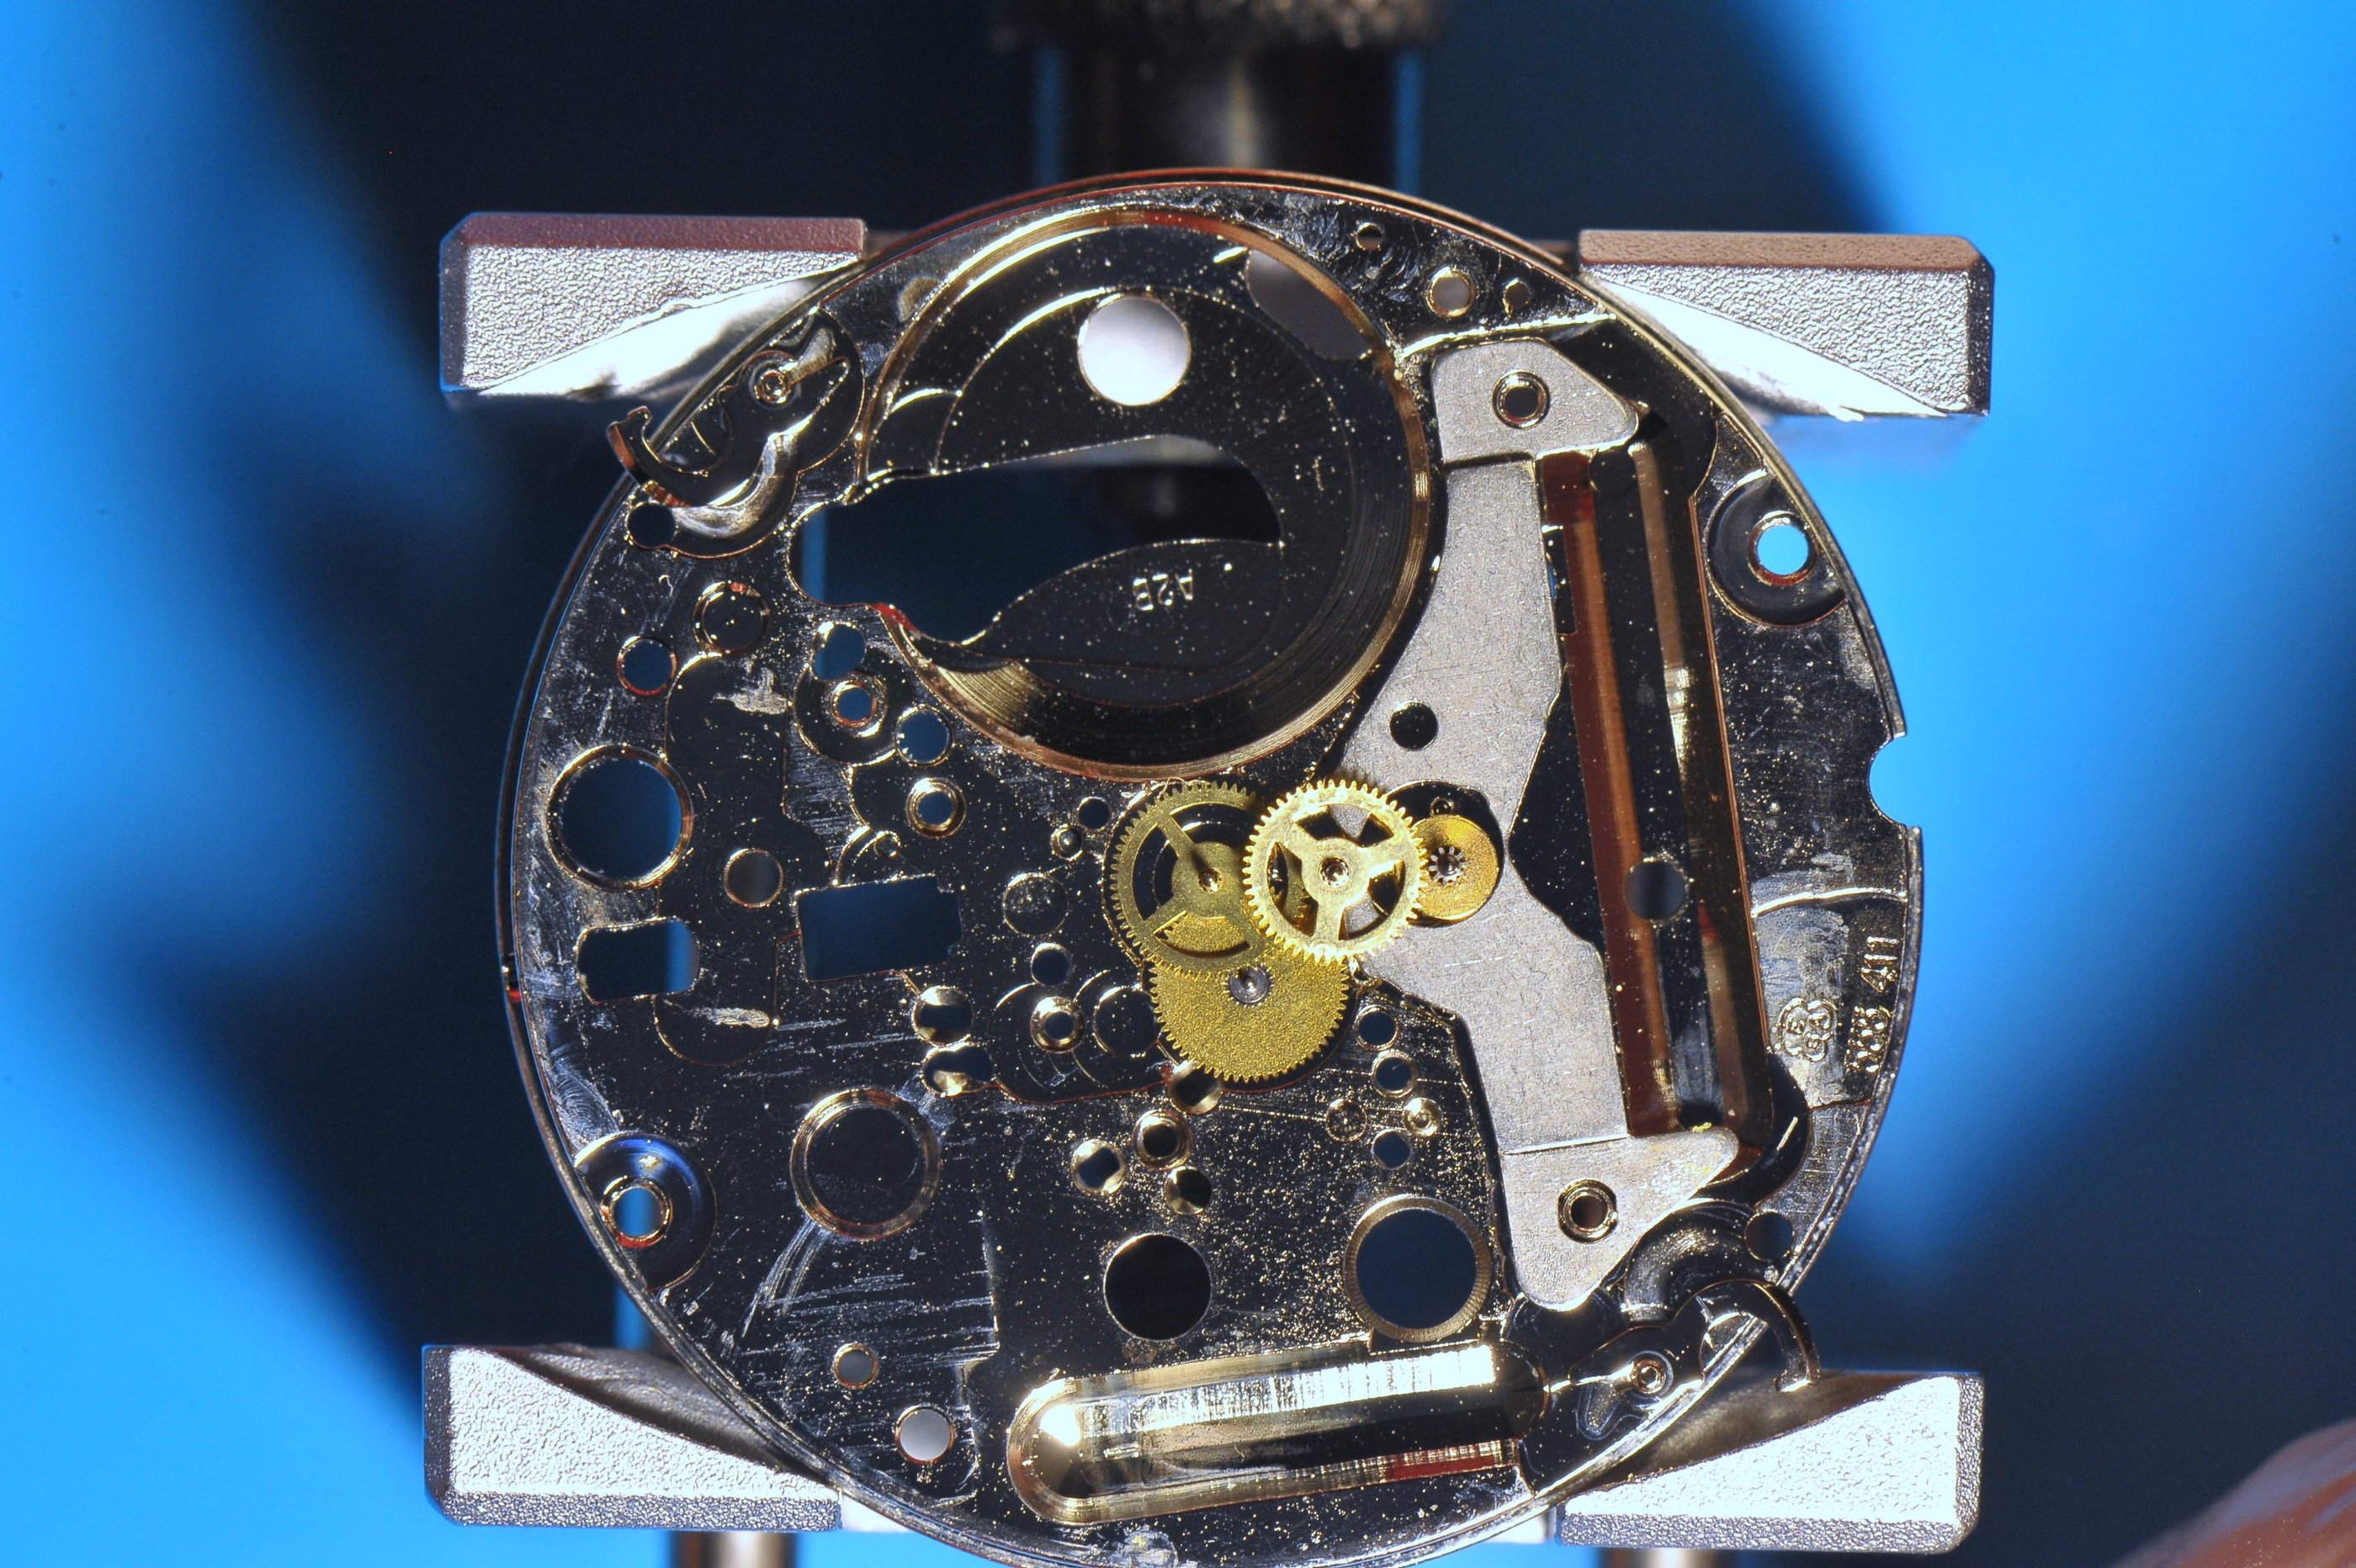
ETA 555 411 an indestructible caliber inside an indestructible watch!
Disclaimer...
I am not a watchmaker.
I am not a watchmaker.
I am not a watchmaker.
I’m just a hobbyist who has read a few books, watched a bunch of videos, taken apart a couple of watches, and works with a very limited budget for tools and supplies. I’m not saying that what I do is the right way—I’m simply sharing what I did, how I did it, and what results I got. Maybe this can serve as a guide, but honestly, I write these articles mostly for entertainment.
Now, a quick word of caution: this watch has some tiny, springy parts that could fly across the room—or worse, into your eyes. Please know what you’re doing and don’t get hurt.
Be safe—and enjoy the read!
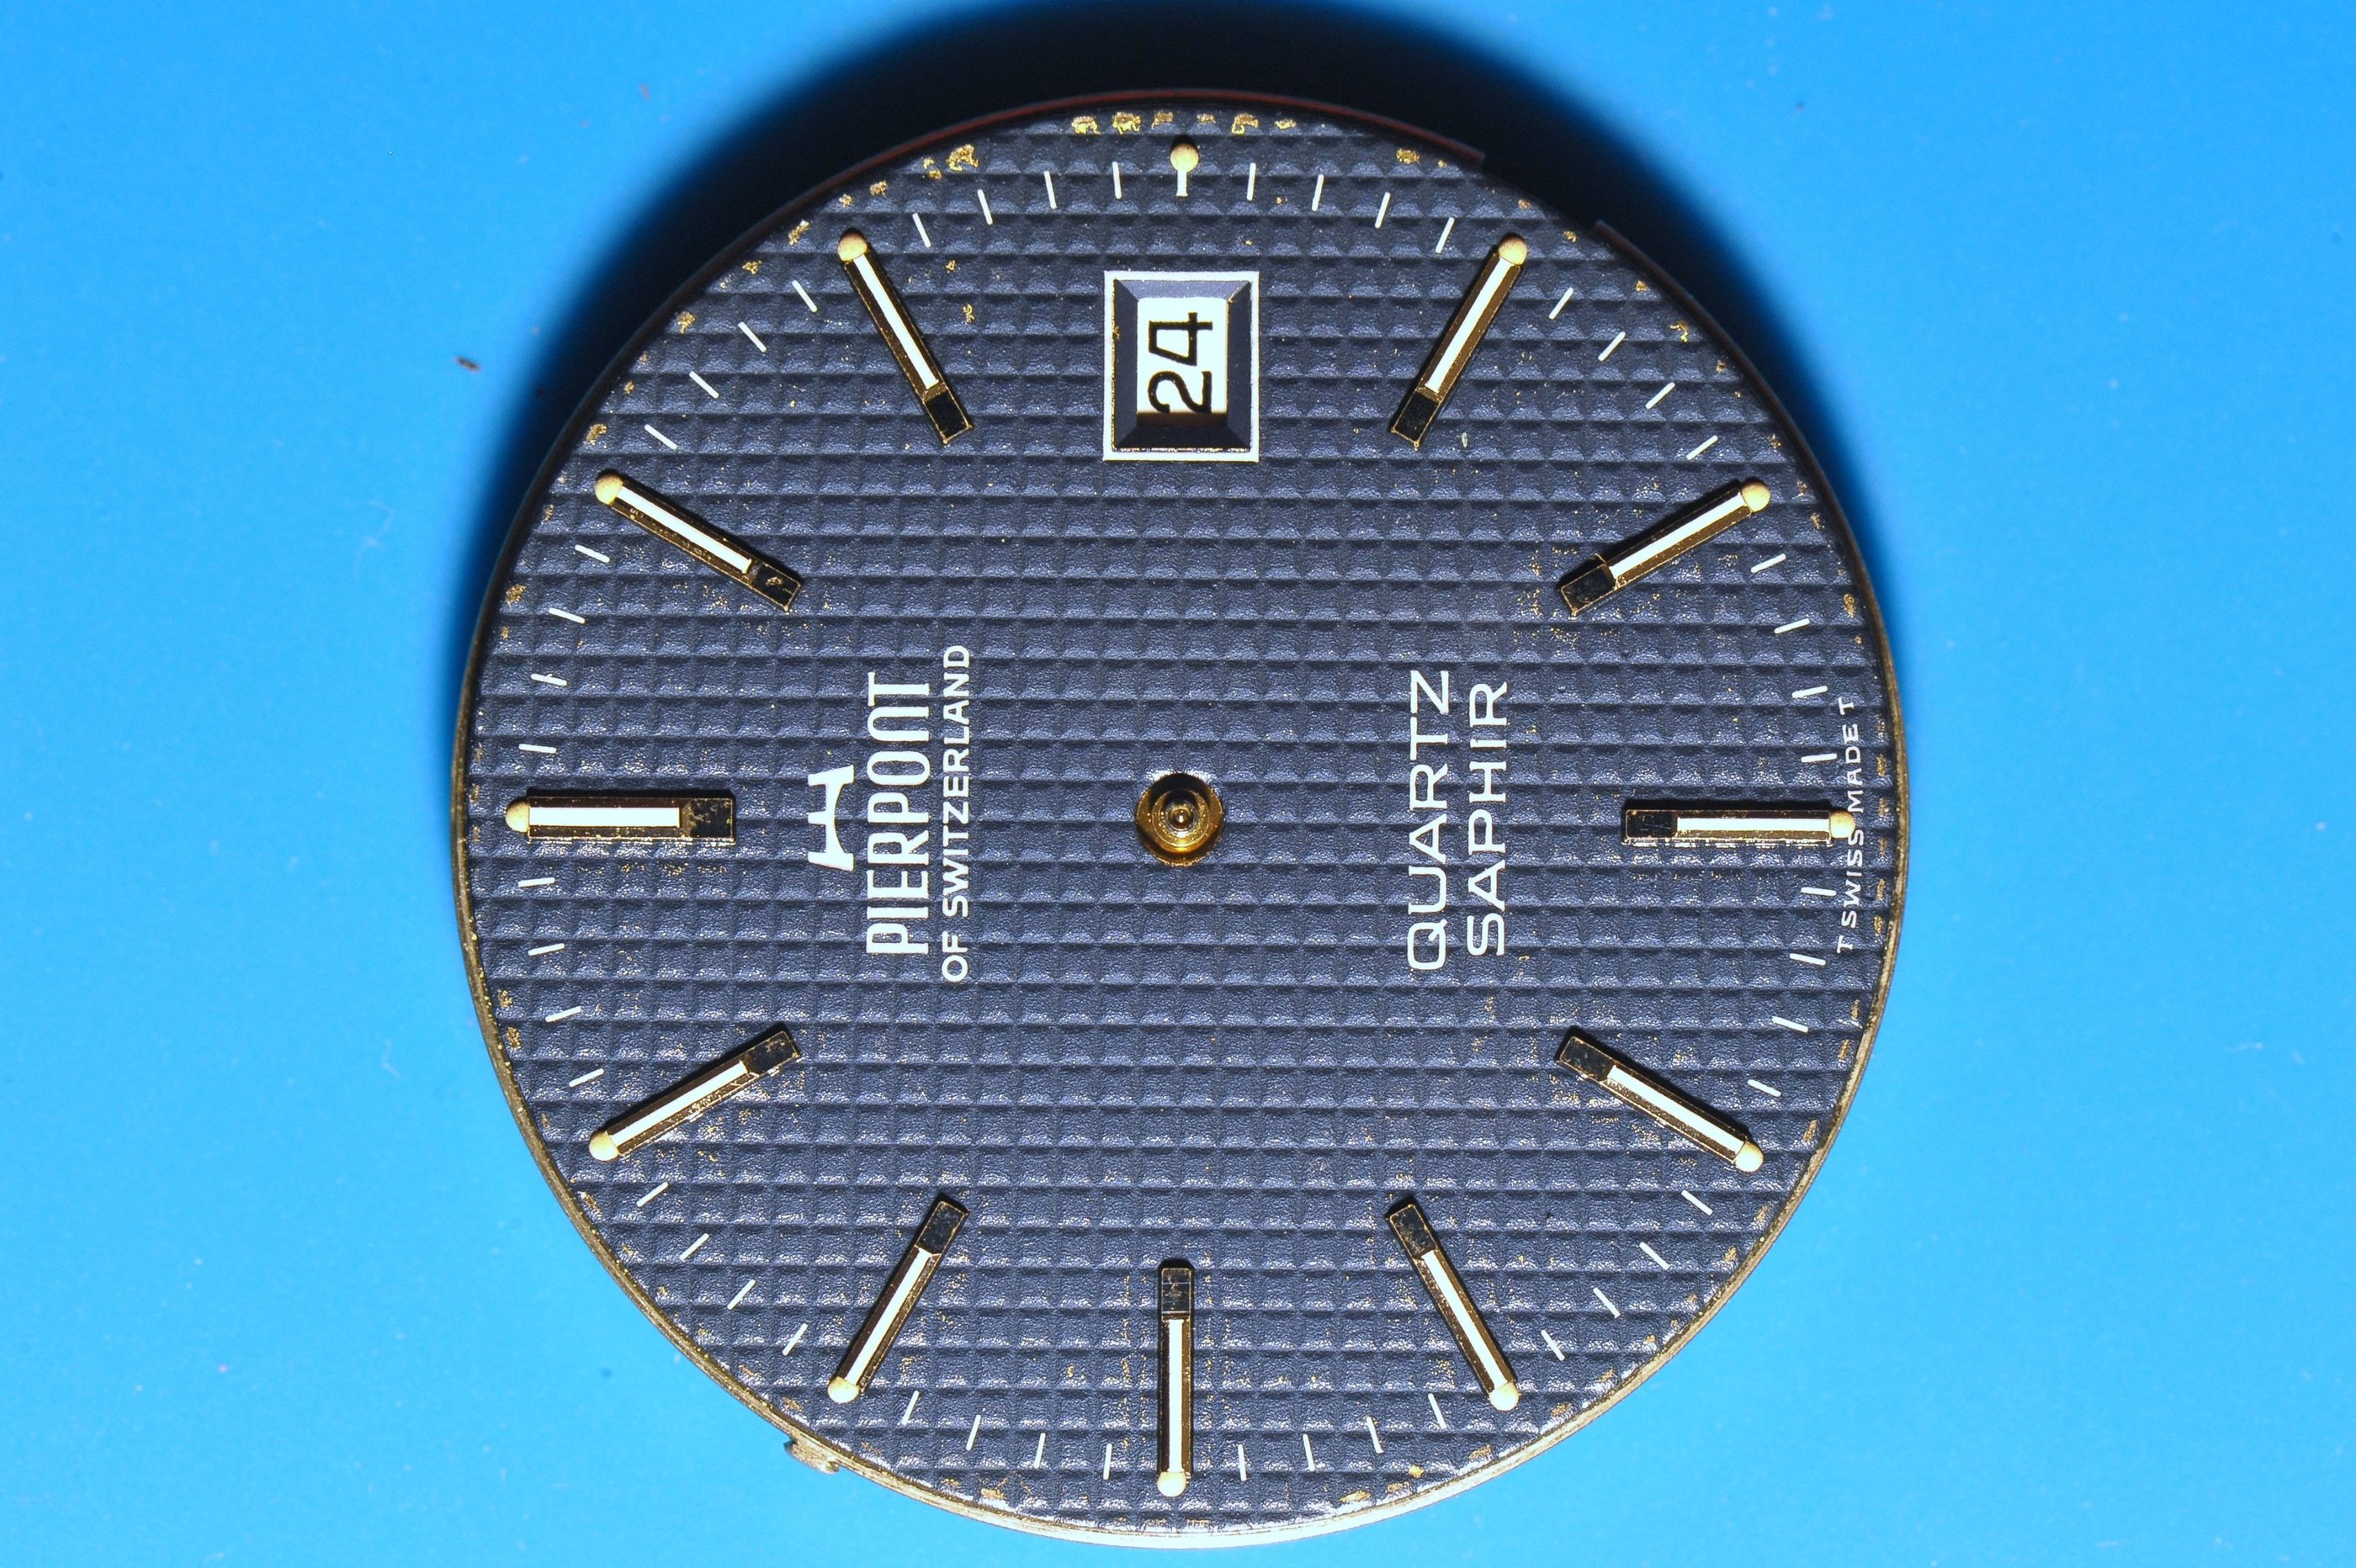
Danger! Radiation! Yes. This Tissot, with a "T SWISS MADE T" contains Tritium.
Radiation is a concern with this particular model, some older watches contain even more harmful stuff like Radium, or other radioactive elements. Radium, in particular, is extremely toxic. The body mistakes it for calcium and stores it in the bones, which led to the heartbreaking tragedy of the Radium Girls. If you haven’t heard about them, look it up—it’s sobering.
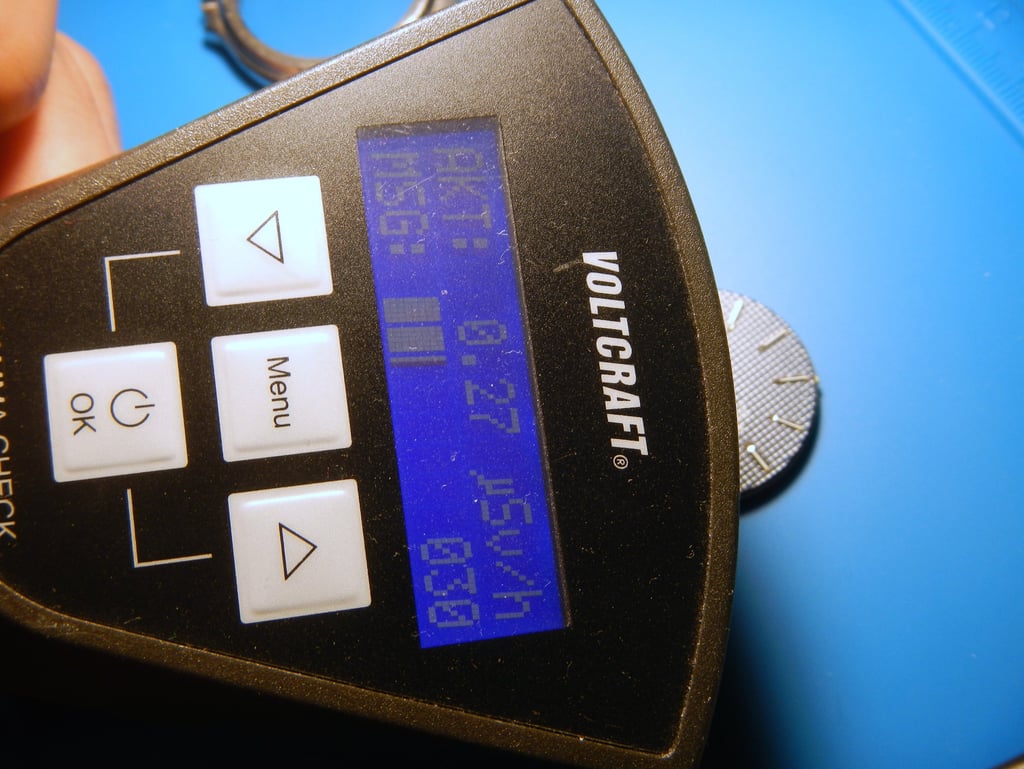
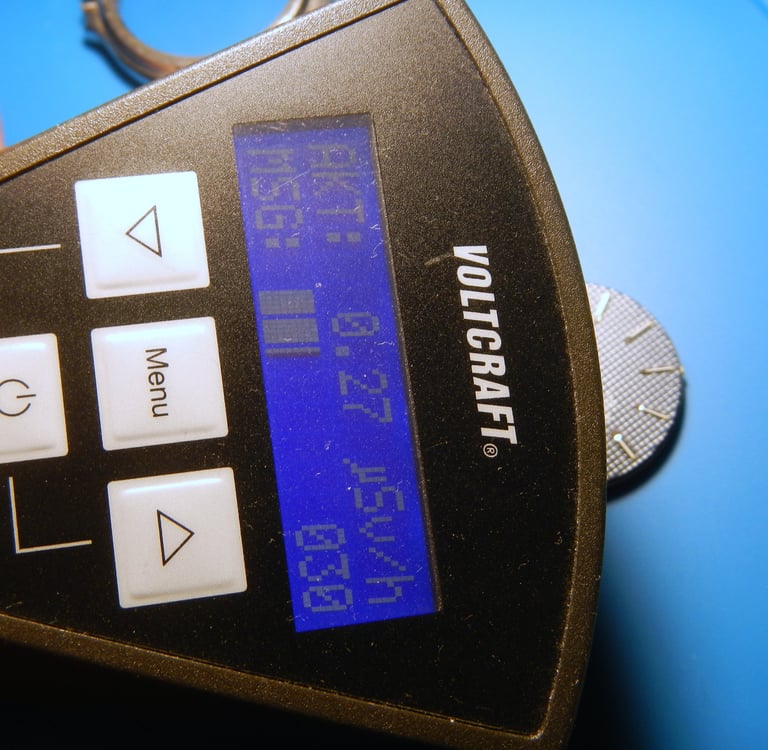
So before you crack open a watch, make sure you know exactly what you’re dealing with. Take proper safety measures, and when in doubt, use a Geiger counter to check how “hot” a watch might be.
Once I opened this Pierpoint I had a "sniff" with the Geiger counter and the max I could get the meter to climb was to 0.27µSv/h, which is neglectable actually. This is how the math goes:
The allowable annual dose of radiation for the general public is 1 mSv (millisievert) per year, or 1000µSv (microsievert) per year, therefore: 1000µSV / 0,27µSv/h = ~3704hours
1 mSv is reached after about 3,704 hours or 154 days of continuous exposure at this rate. I don't plan to work on this watches dial for that long. And once the dial is enclosed in the watch case, there is no more measurable radiation coming from it. But if someone (a baby) eats the dial or inhales the Tritium dust, then this becomes a whole other story! Be careful especially with the inhaling part!
The owner and his tool
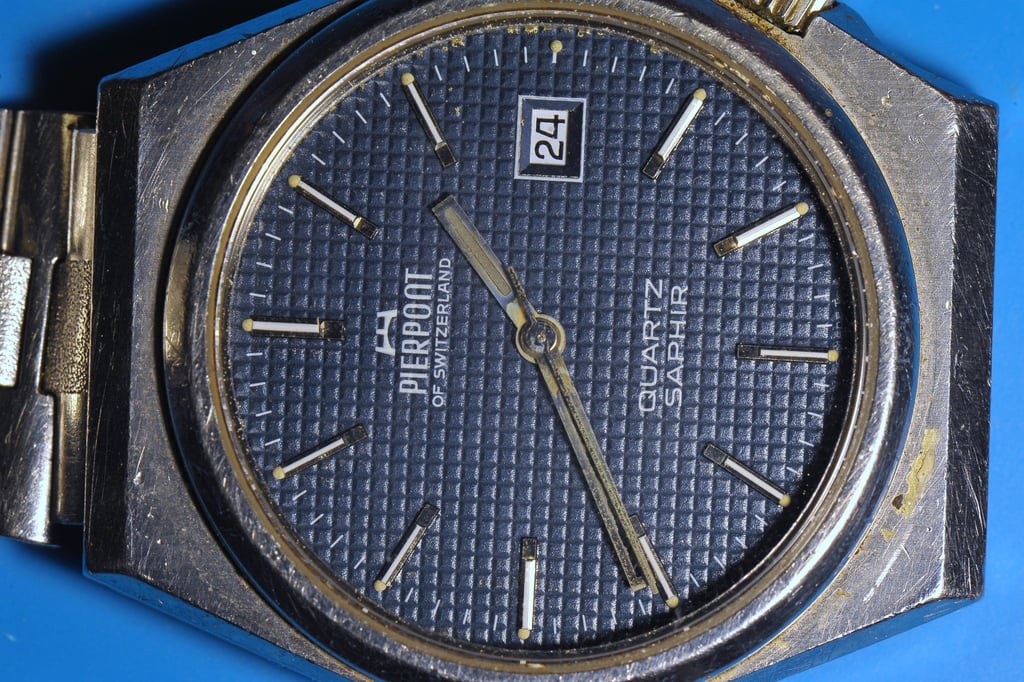
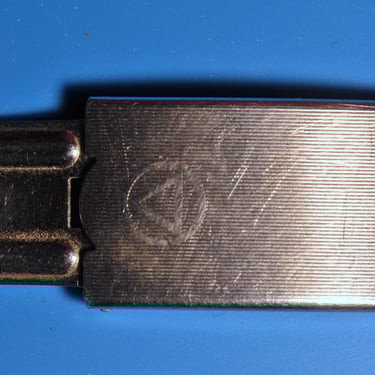
This watch is special. It’s one of those timepieces that has truly seen “combat.” It belongs to someone very dear to me—a carpenter (not a car painter!), 3D printer, and designer who spends his life creating things, helping people, working hard, and yes, drinking beer.
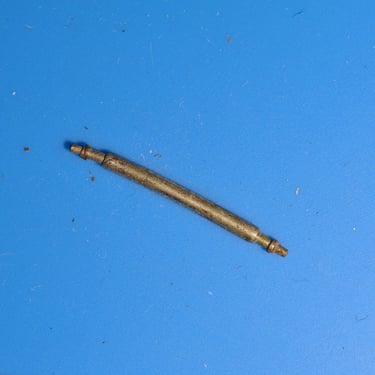
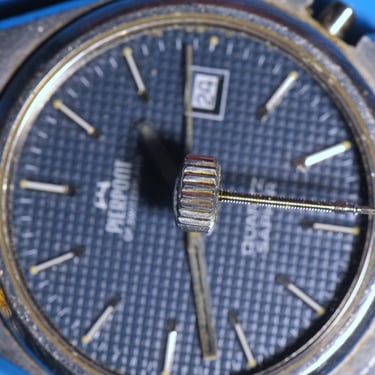
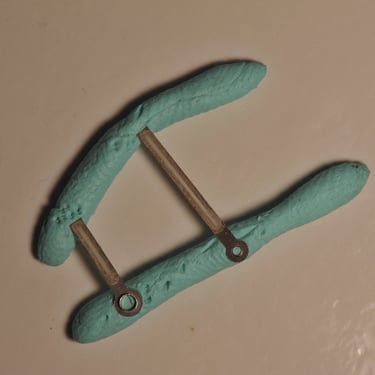
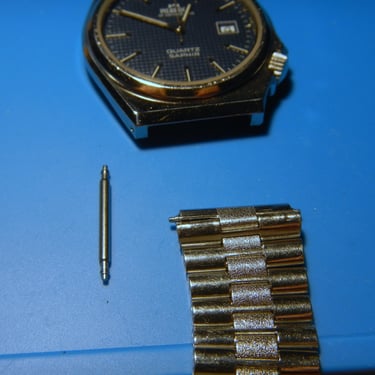
And through all of that, this watch has been there—on his wrist, taking every scratch, dent, and layer of grime like a badge of honour. Just look at the gallery below: it’s amazing to see a tool being used for exactly what it was made for—not as a fashion statement, but as a reliable everyday companion that tells the time under the harshest conditions, without complaint. One sign of the hard life this watch had is the bent spring bar (the other side was missing its spring bar), I image this watch got caught in some door or furniture or tool and the force of his arm tugging on the watch was enough to "bananize" the little pin. By the way, this is one of the ways watches fall from wrists.
Honestly, I’m sure it would still tick for another decade if I had simply put in a new battery, as I did to test if it was running and sure it was. But in recent years, it’s been left behind. Since the smartphone era began, its owner mostly checks the time on his phone—he even joked with me, “Look, this is the watch I wear now,” pointing at his iPhone.
Still, I decided this watch deserved better. So I gave it a full service, a proper clean-up, and a light polish—keeping the patina, but freshening it up just enough. Now it can proudly say to all those safe-box Rolexes out there: “Guys, I’ve seen the world. I’ve scratched more walls, tables, roofs, and beer cans than you fancy watches will ever see in your lives.”
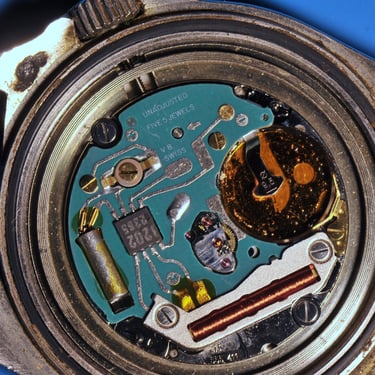
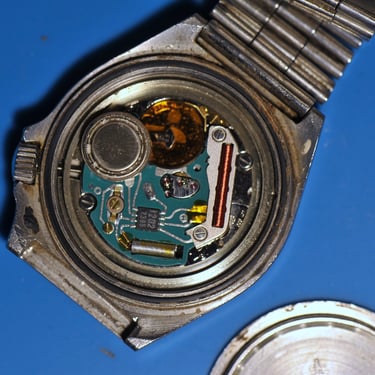
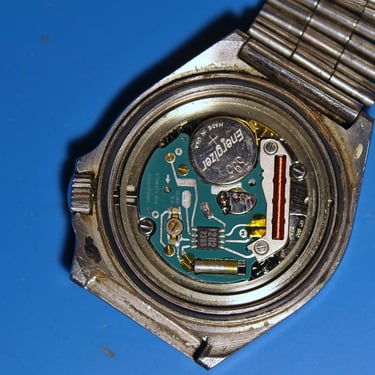
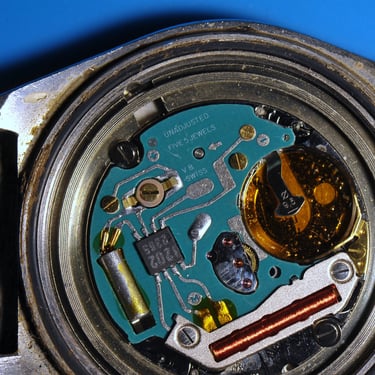
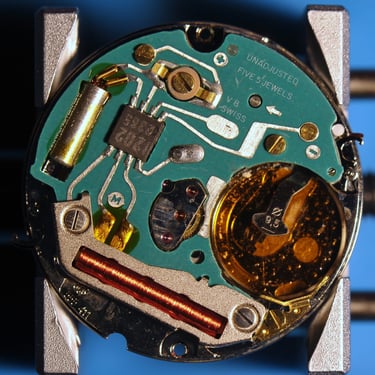
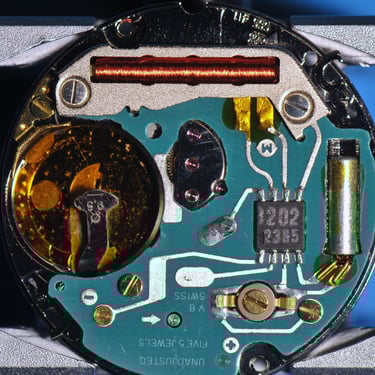
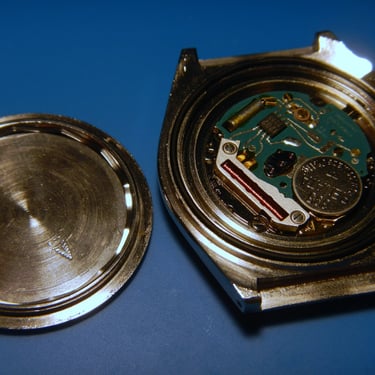
And yes, for sure the battery had leaked a bit inside the movement, but this movement simply doesn't care and the damage, if one can even call it that, was minimal.
These ETA quartz movements are simply among the best of the best. I’ve never had one refuse to run after a service—many, like this one, would even run while filthy and grimy before servicing! The only gripe I have is that so many come with a non-replaceable coil. Slip up with a screwdriver and damage the coil on a budget-friendly Miyota movement? No problem—pop in a new part and keep going. But with the pricier ETAs? You’re basically stuck spending 50 bucks or more on a whole new electronic module (part 4000)—coil and all. That’s exactly what I had to do when repairing a Tissot. Apparently, the last “watchmaker” while replacing the battery, tried to press the caseback on and, slipped and damaged the coil, effectively turning a perfectly functioning watch into a hunk of trash.
Beer Point? Pier? Point? What? Ah you mean, a Tissot?
Pierpoint is one of those Swiss watch names that came up around the turn of the 20th century, founded by Sauter Frères & Cie in Biel/Bienne. The trademark was officially registered in 1918, and from then on Pierpoint quietly built its reputation with solid watches for both men and women.
Their main years were from the mid-1910s through the 60s and into the 70s, and depending on where you lived, you’d see the brand under a different name: “Pierpoint” in the UK and Europe, “Geneve” in the US — I guess Pier Point does not really sound like just one think in English. Either way, the watches had the same thing going for them — straightforward, well-made, dependable. Some of them are even considered rare and collectible today, for it being a lesser-known Swiss brand.
Like many other brands, Pierpoint hit a wall with the quartz revolution. By the early 2000s the name had disappeared, leaving behind only the watches themselves as reminders of a time when Swiss makers were everywhere, each with their own story and their own take on how to build a good watch.
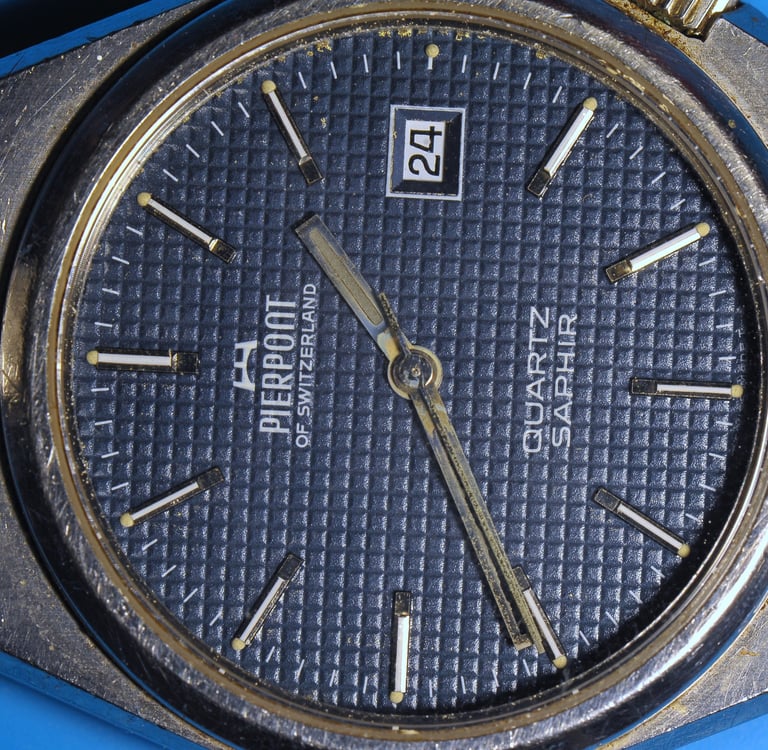
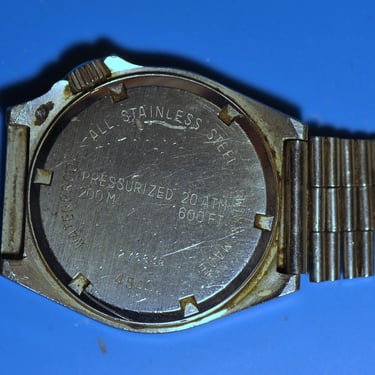
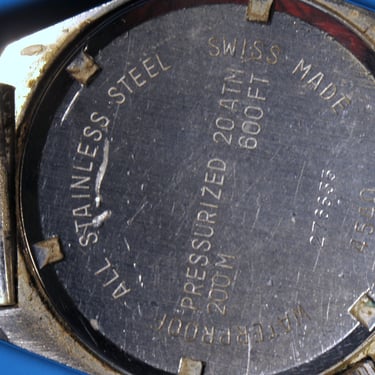
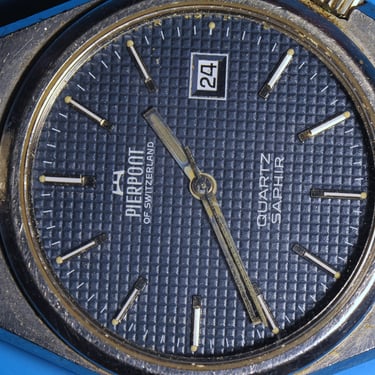
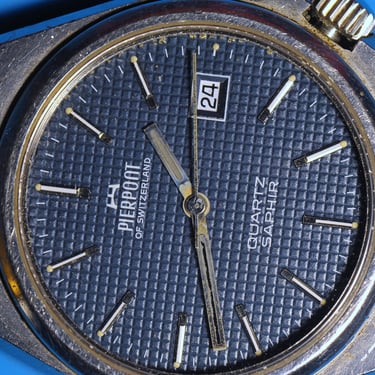
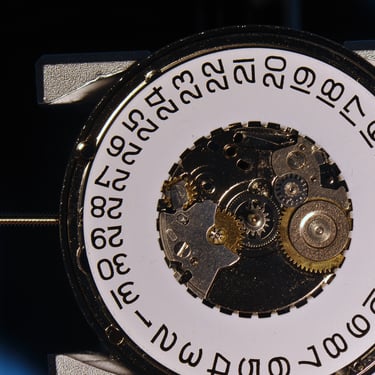
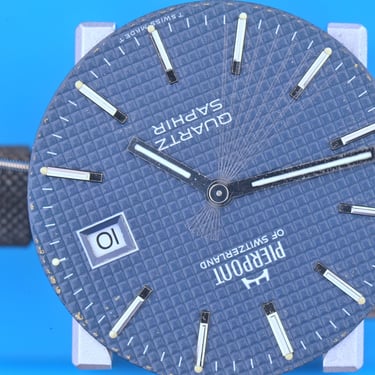
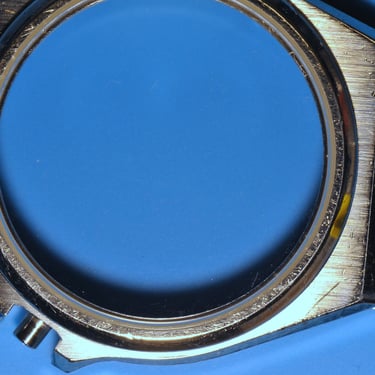
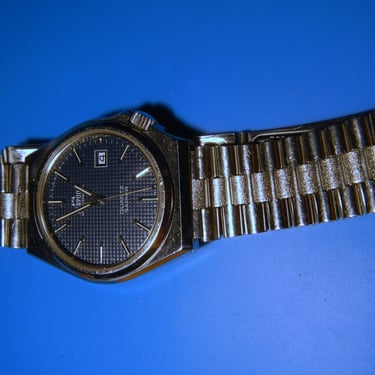
This particular Pierpoint doesn’t really seem to belong to any official collection, at least as far as I can tell it was produced in the 1970s or 1980s. What it does remind me of, though, is a Tissot PRX — not just in the overall look, but in the way the case is put together. It’s a three-parter: removable back, removable top glass plate, and the middle case in between. Solid, straightforward engineering.
And here’s the part that really impressed me: after all the years of use (and let’s be honest, abuse), the glass is still spotless. No scratches at all. The only thing I could find, and only under a magnifying glass, is a tiny dot — most likely from the watch slamming into something sharp and hard with some real force. That’s Sapphire for you. Tough as nails. A true warrior of a watch.
Restoration goals. Not much really...
I’m a sucker for patina. I get the NOS crowd—New Old Stock has its own appeal, I can understand that. But to me, it usually means something went wrong. When I see a watch, a camera, or even an old TV that’s 30, 40, 50 years old and it looks untouched—no scratches, no dents, no stories written into its skin—I can’t help but wonder: why not? Why wasn’t it used for what it was built for? Because the way I see it, the more an object gets used (and sometimes abused), the more life it has lived, the more memories it has helped create. Take a camera: if it’s flawless, chances are it didn’t see the beach, the mountains, the family holidays—it probably spent its decades shut away in a closet, alone in the dark. Nobody (no thing) wants that fate.
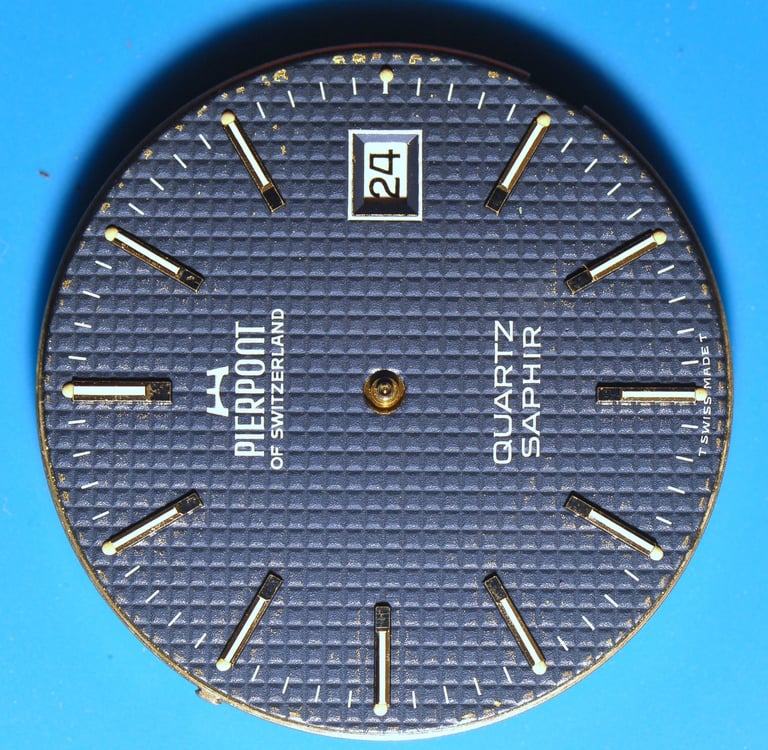
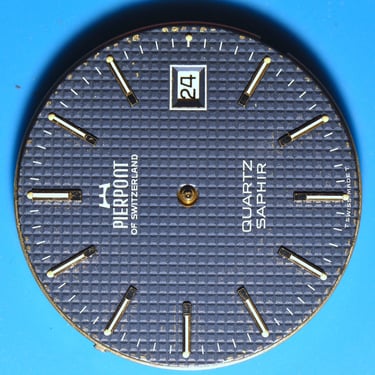
That’s why I wanted to keep the feel and the vibe of this Pierpoint alive. I didn’t want to “polish away” its history and make it look like just another, albeit rare, blue-dial Pierpoint with sapphire glass. So I went for a softer approach: a light polish to "clean" the steel, leaving the scratches and scuffs exactly where they belong—like wrinkles on a wise old face.
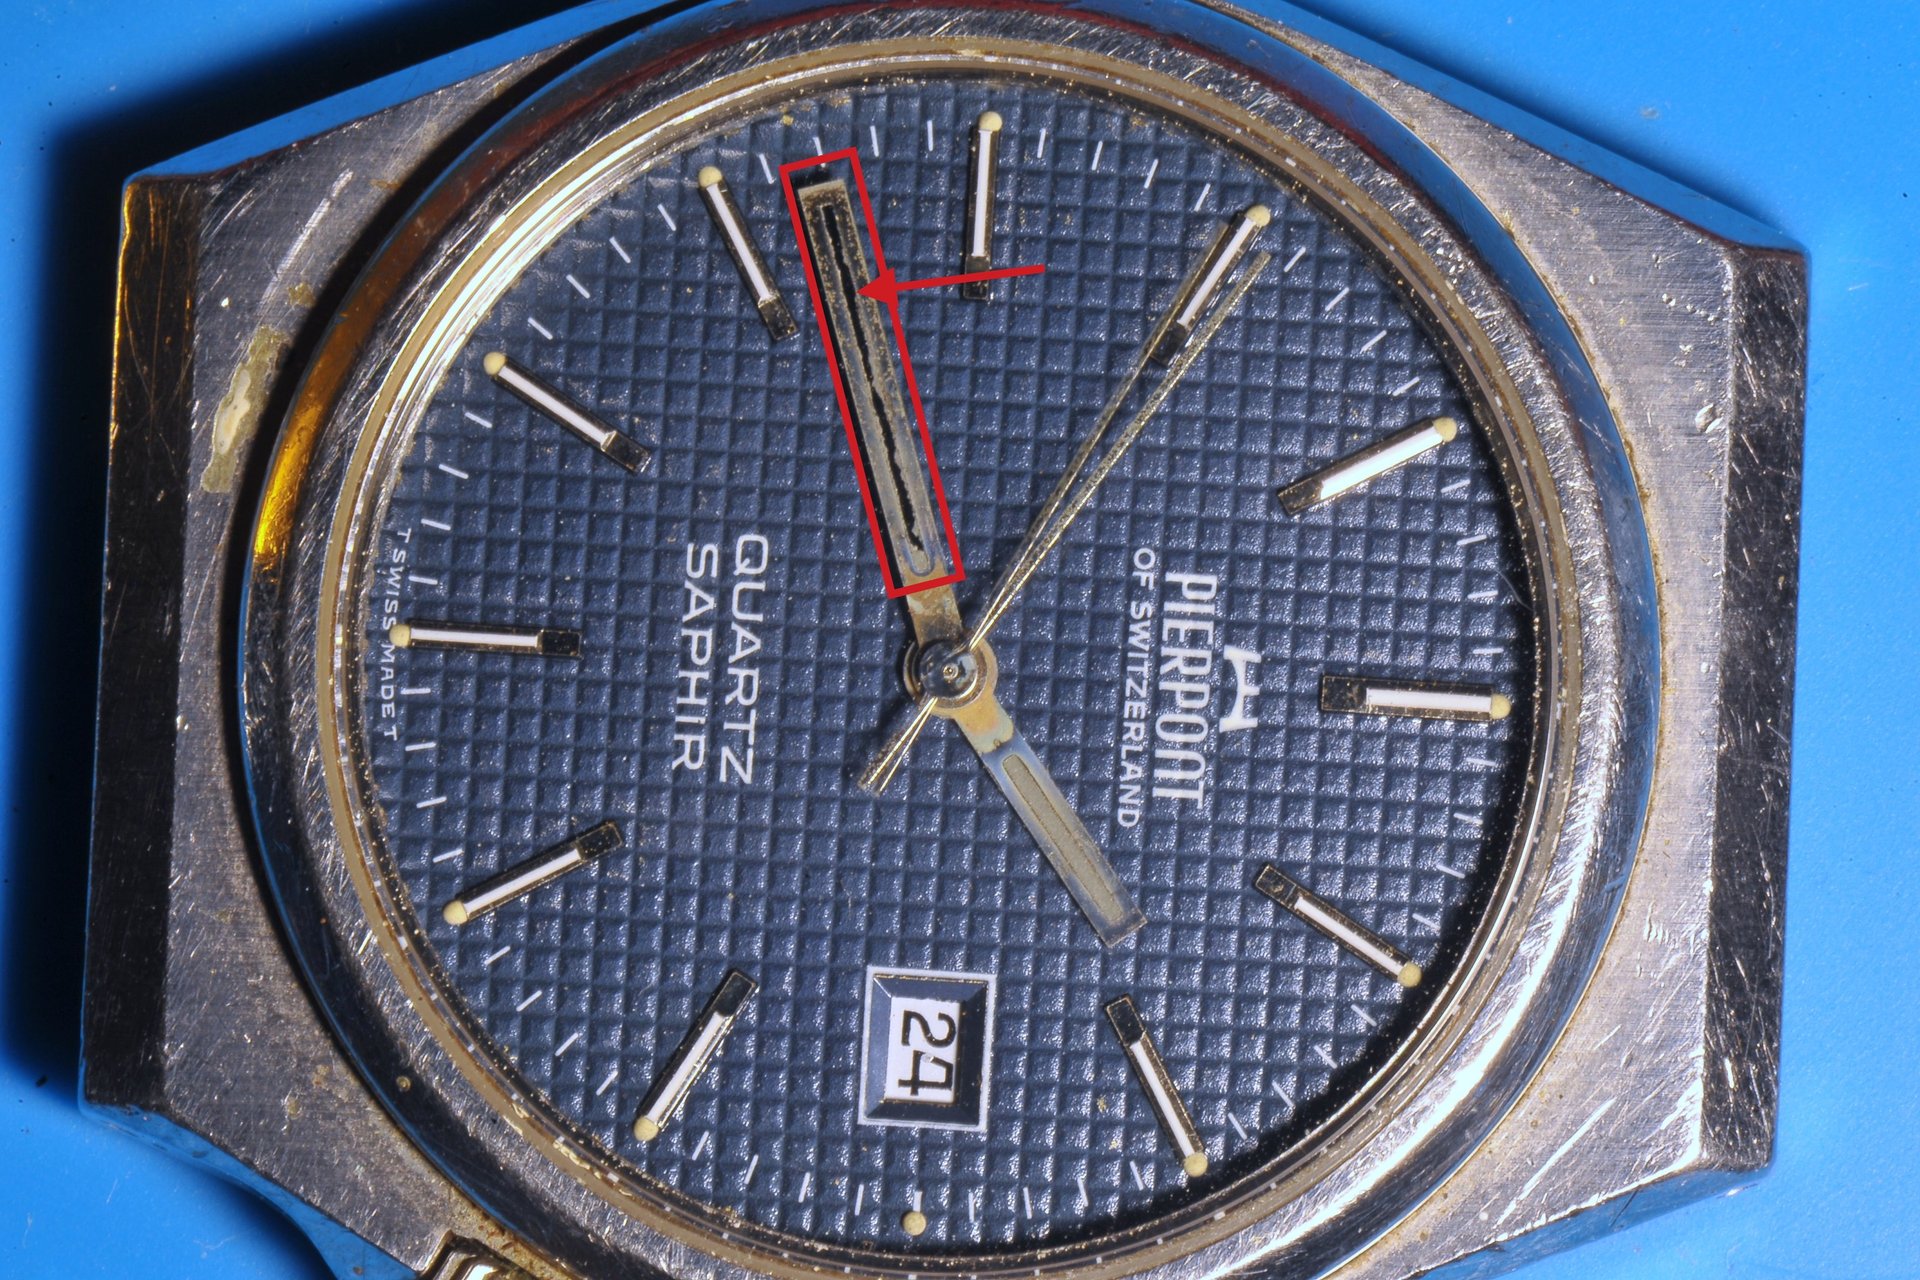
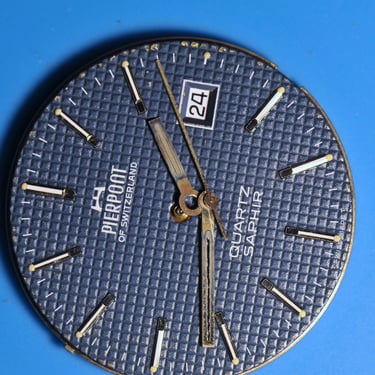
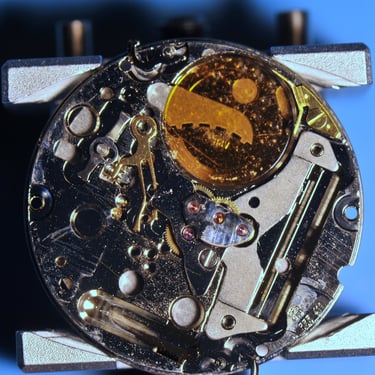
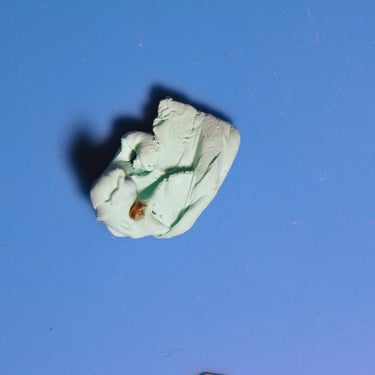
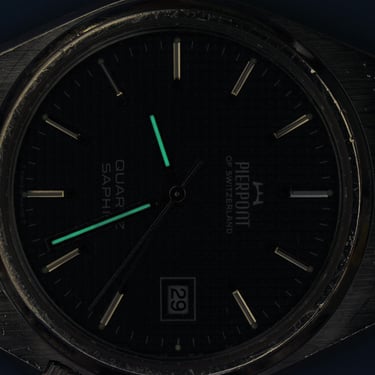
As for the dial… that’s where things got tricky. The minute hand tells its own "story" of moisture sneaking inside the watch case (probably while fixing someone's roof under heavy rain). The lume basically dissolved, and the residue (with thorium in it) ended up scattered all over the dial and movement, leaving the minute hand with a big Hole in its middle. And that, to me, really ruined the look of the watch.
So I had to do something. I ordered a re-lume kit and gave the old Pierpoint a bit of a facial surgery.

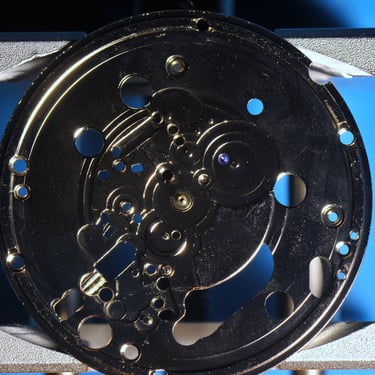
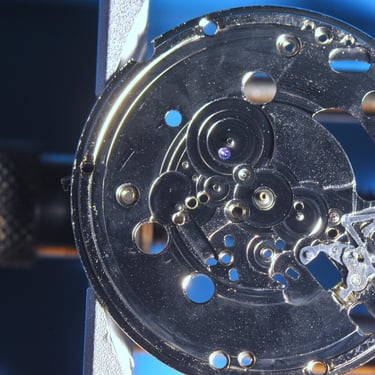
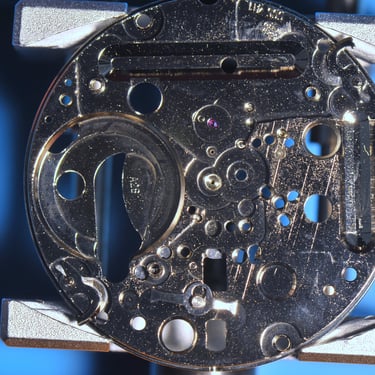
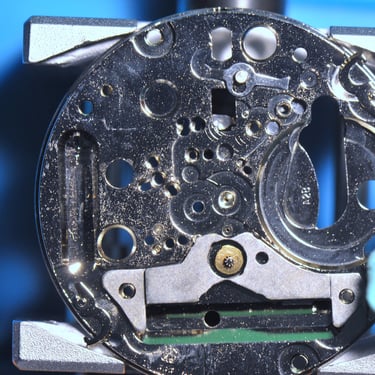
Disassembly
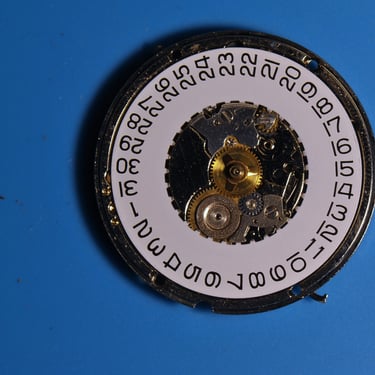
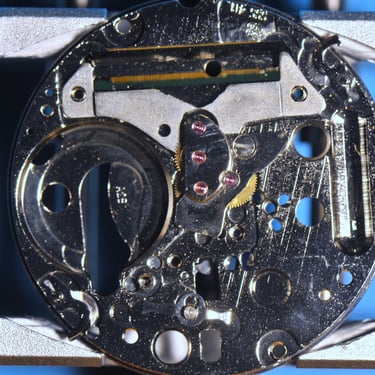
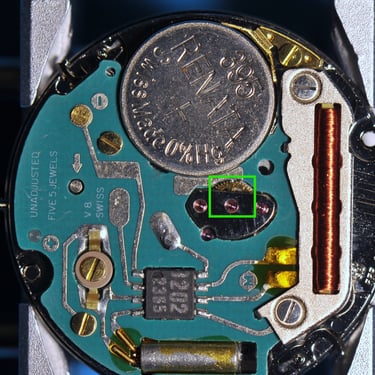
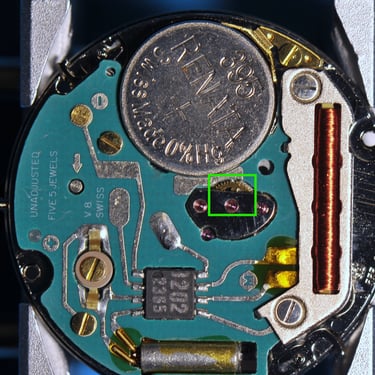
ETA quartz calibers are a dream to take apart! Generally in these calibers there are only three things that are tricky and require a bit more attention.
1. They keyless works, and especially the retaining spring that goes on the other side of the dial as it really likes to fly away.

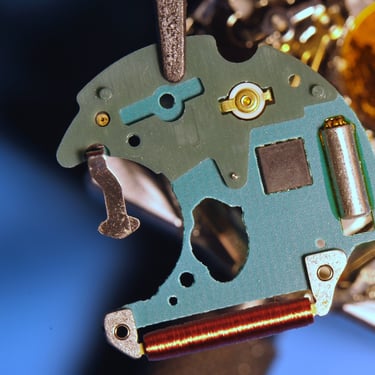
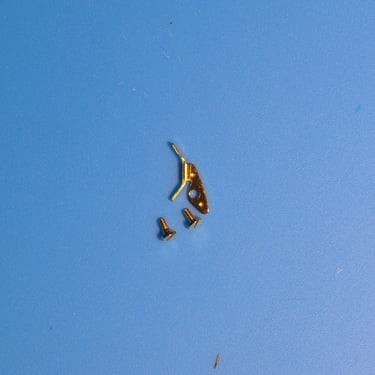

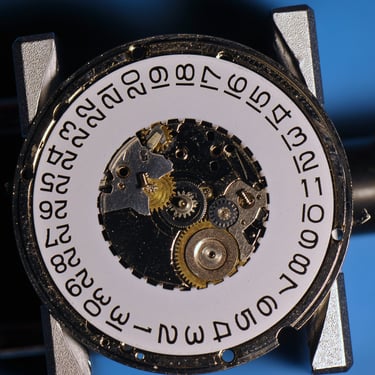
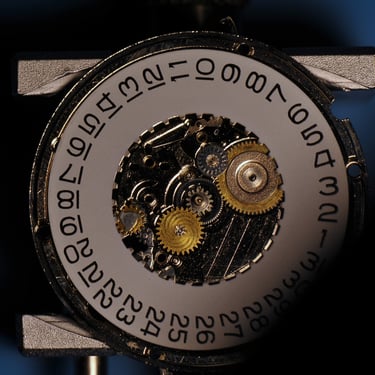
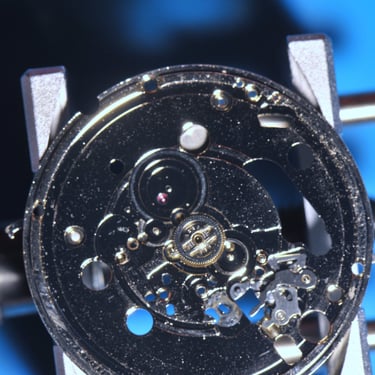
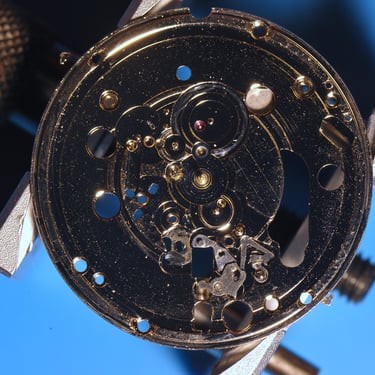
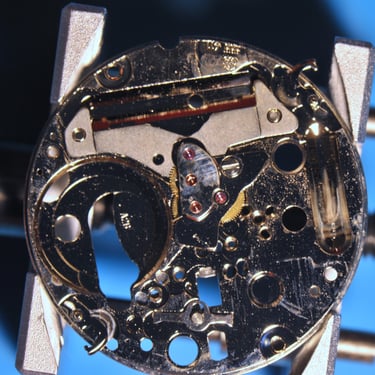
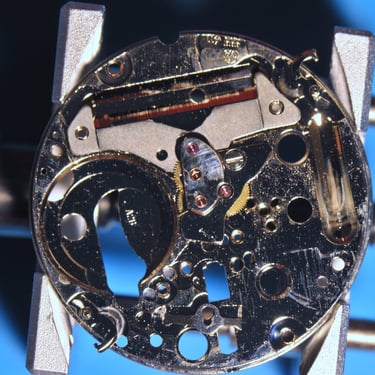
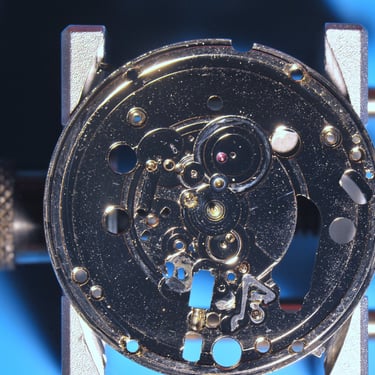
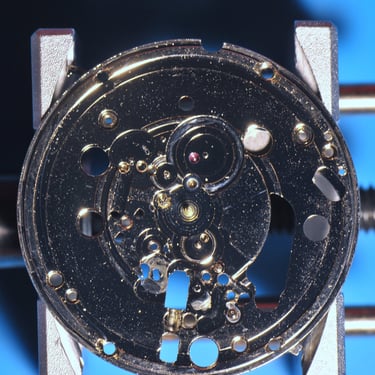
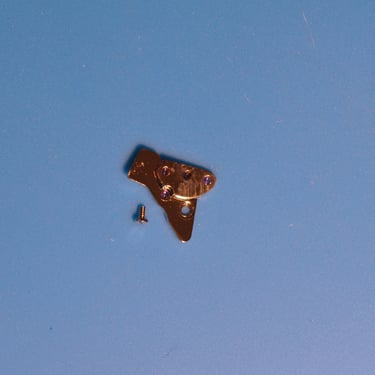
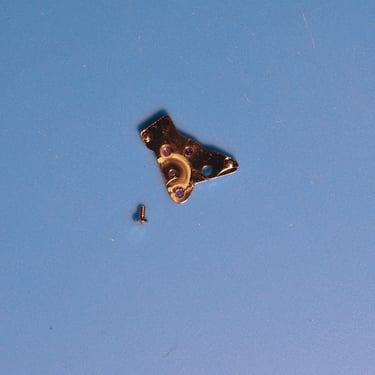
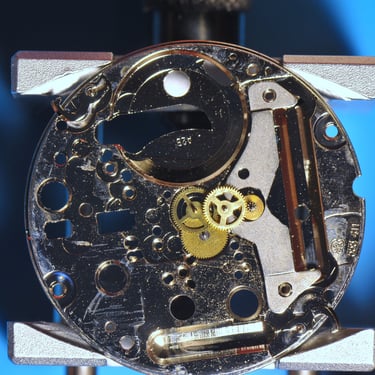
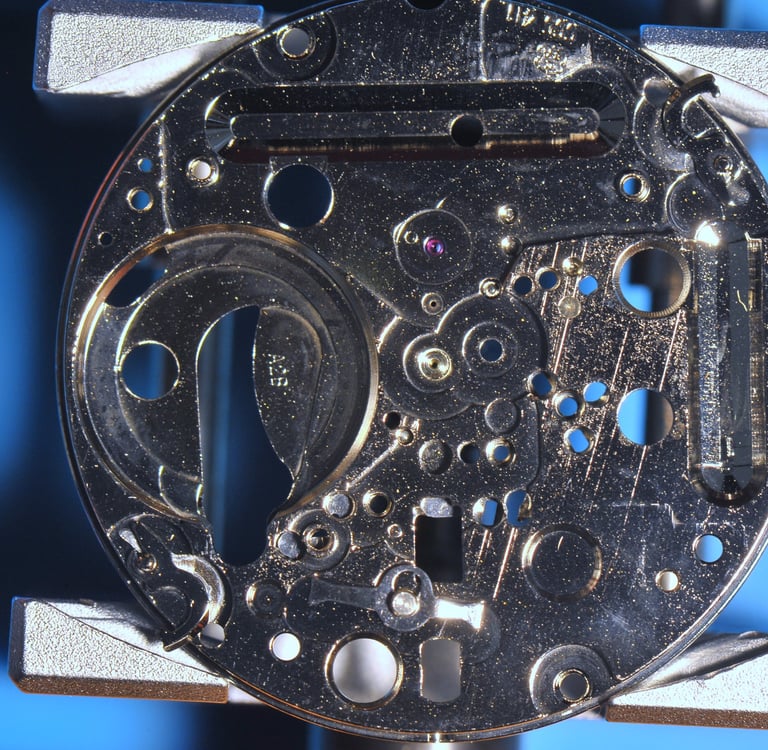
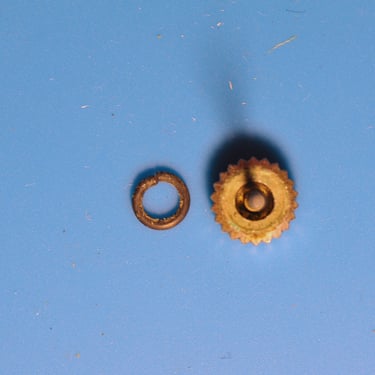
The gallery below shows the parts in the order I took them apart. If I don’t highlight or comment on something, it simply means there’s nothing tricky going on—just basic watchmaking common sense (watch out for those springy parts that love to fly).
Whenever there’s something worth noting, I’ll pick a picture and point it out clearly(or make a comment in the picture)—so you know exactly what to look for.
For the ETA Calibers you can find a lot of repair information online I like to use Esslinger as a source of information but I could not find this exact caliber there. Since most eta calibers are very similar I used the manual from the ETA caliber 956.111
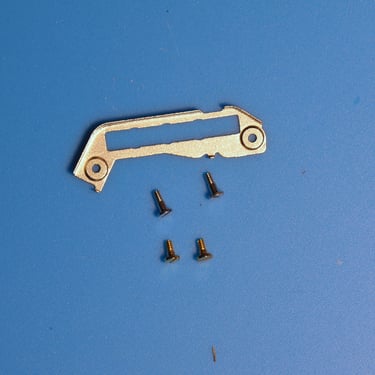
For this watch in particular, or for watches with this kind of spacers, I always find it easier to remove both screws that fasten the Spacer to the caliber with the caliber still installed in the watch case. That way I feel less inclined to do damage to the Dial or Hands. But That is probably just me not being a watchmaker.
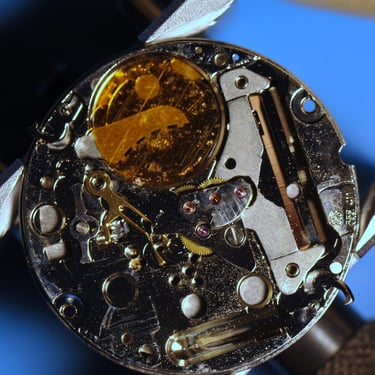
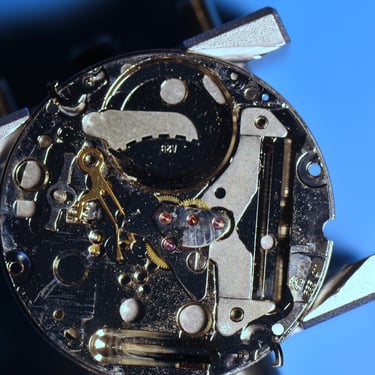
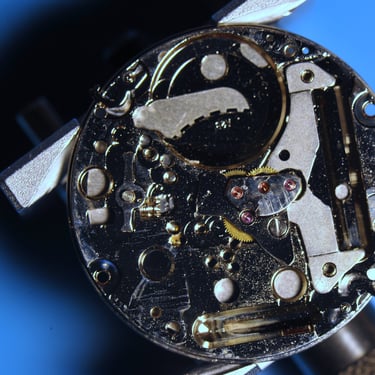
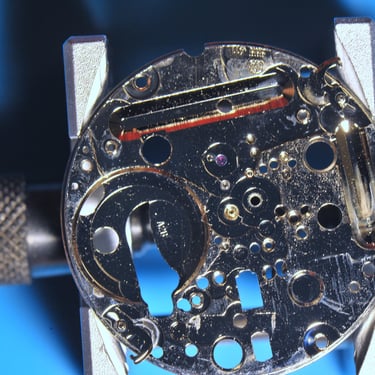
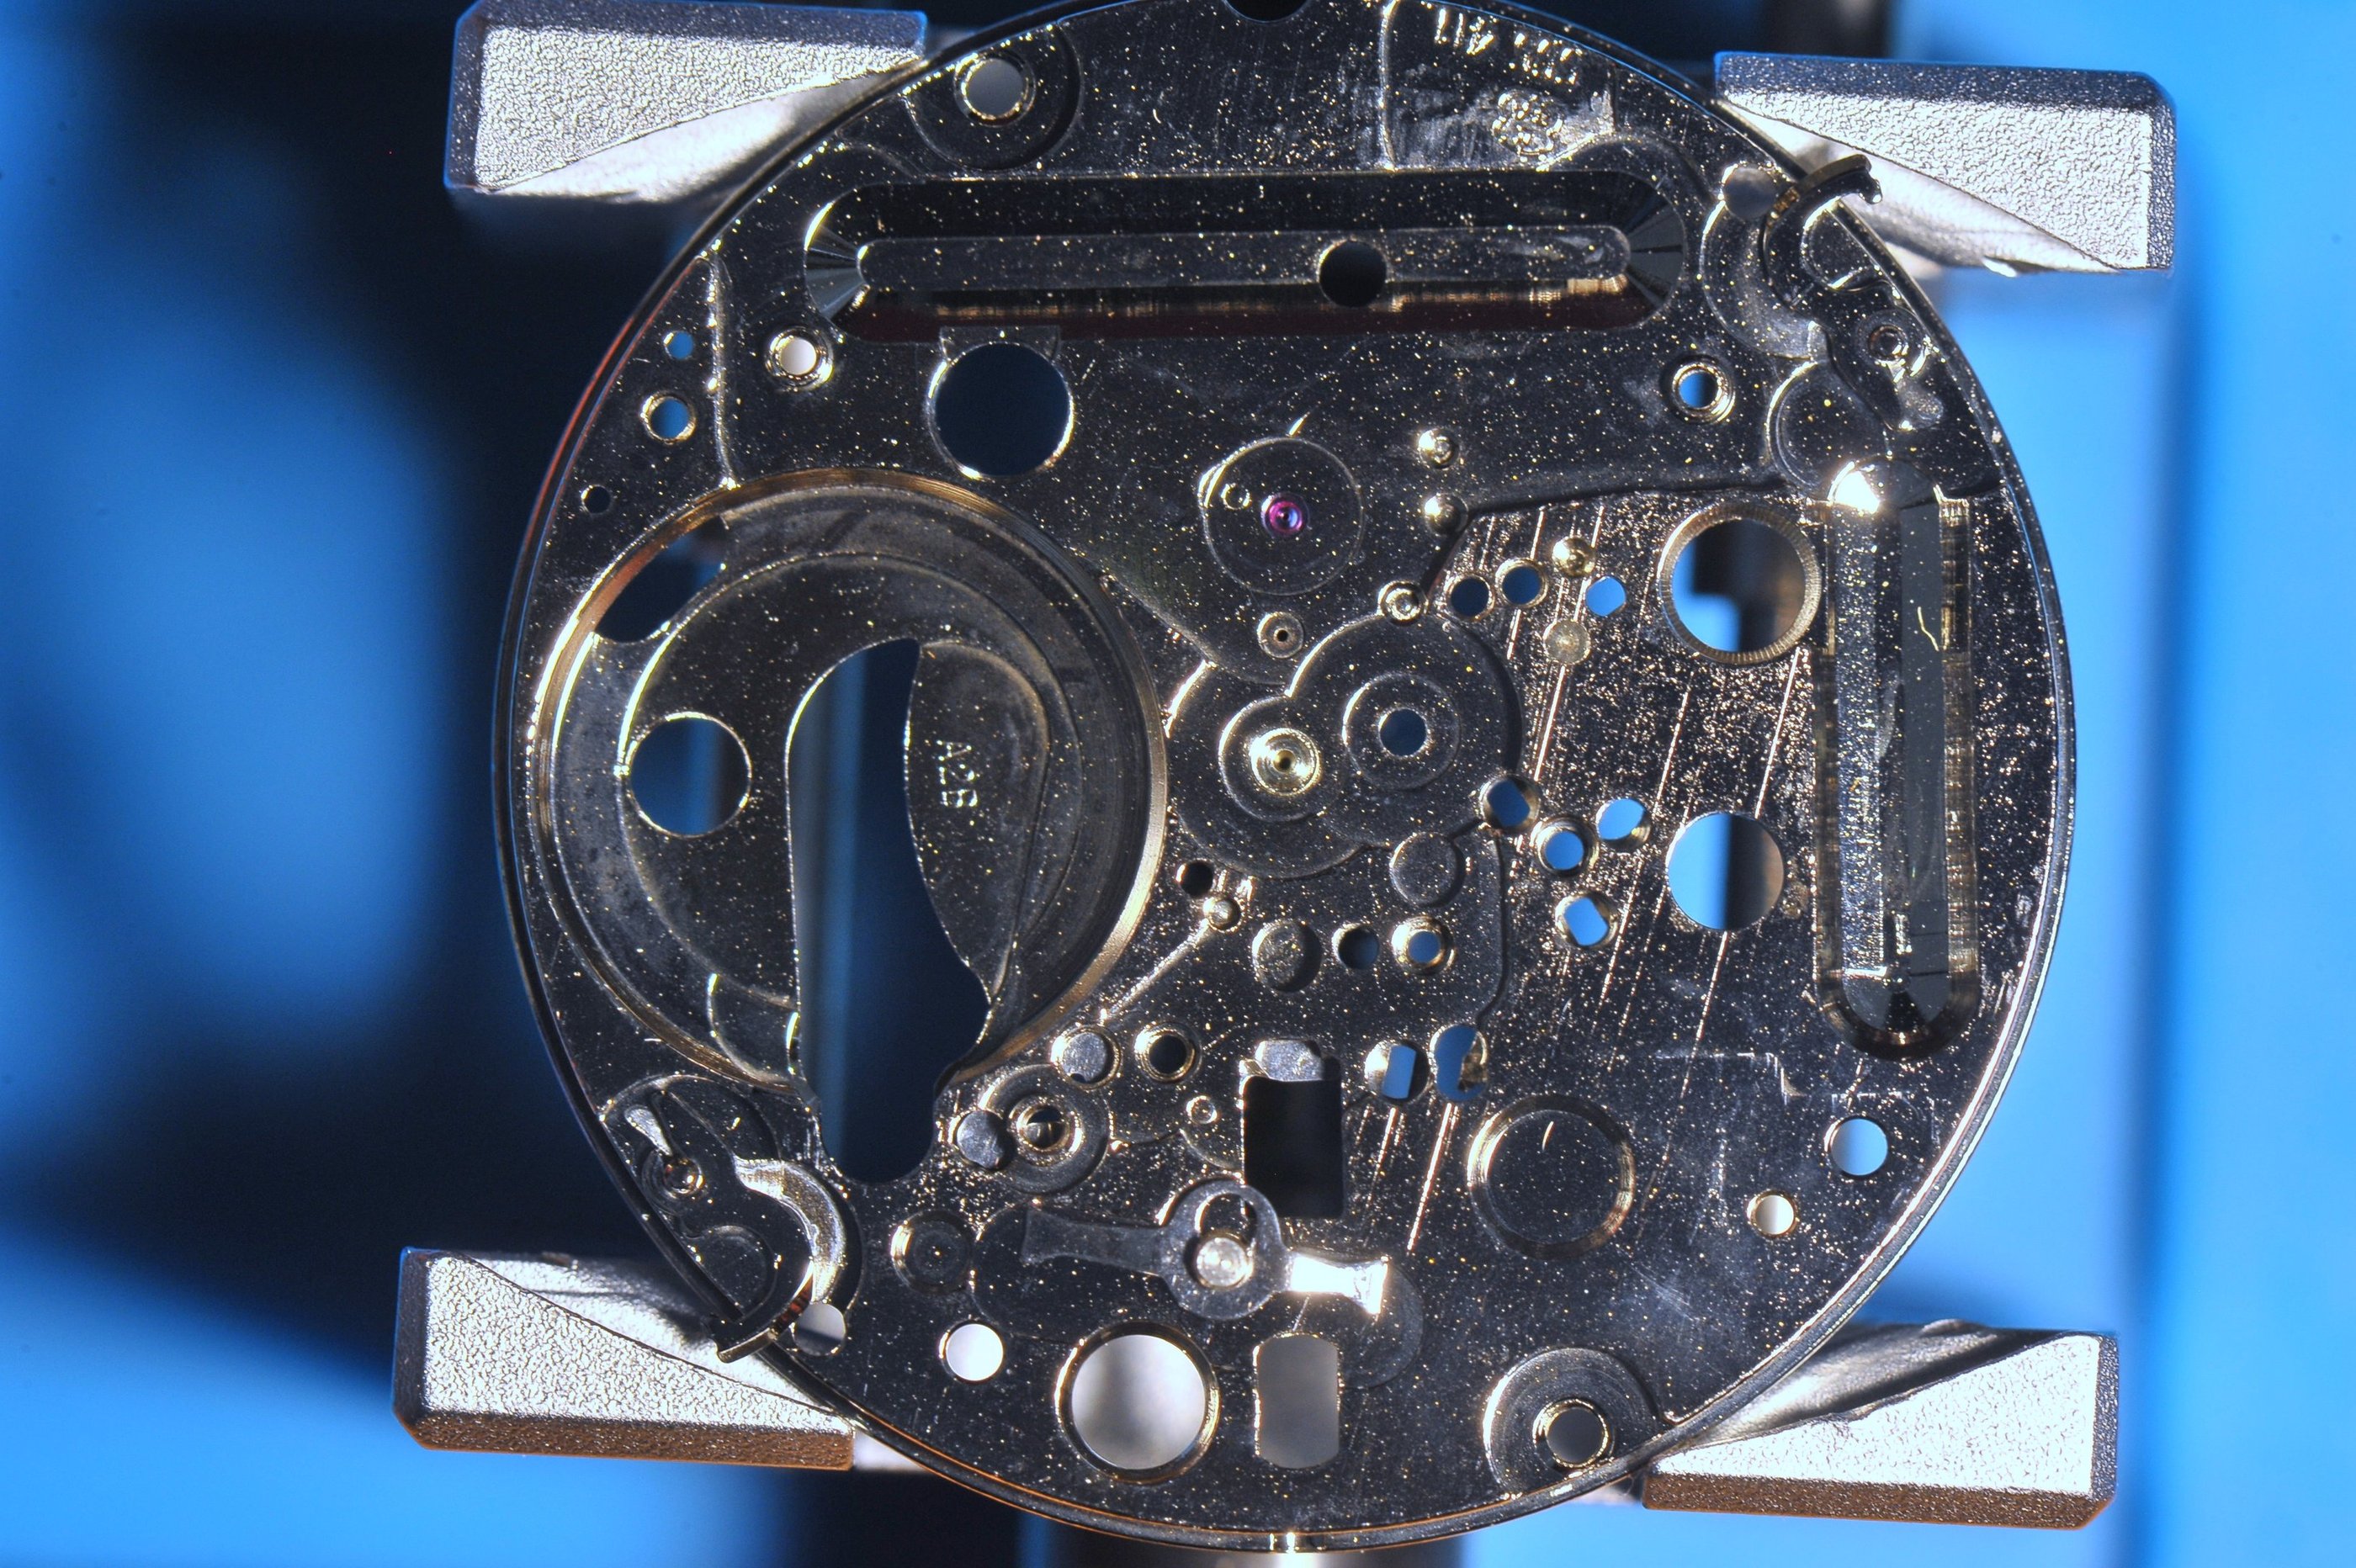
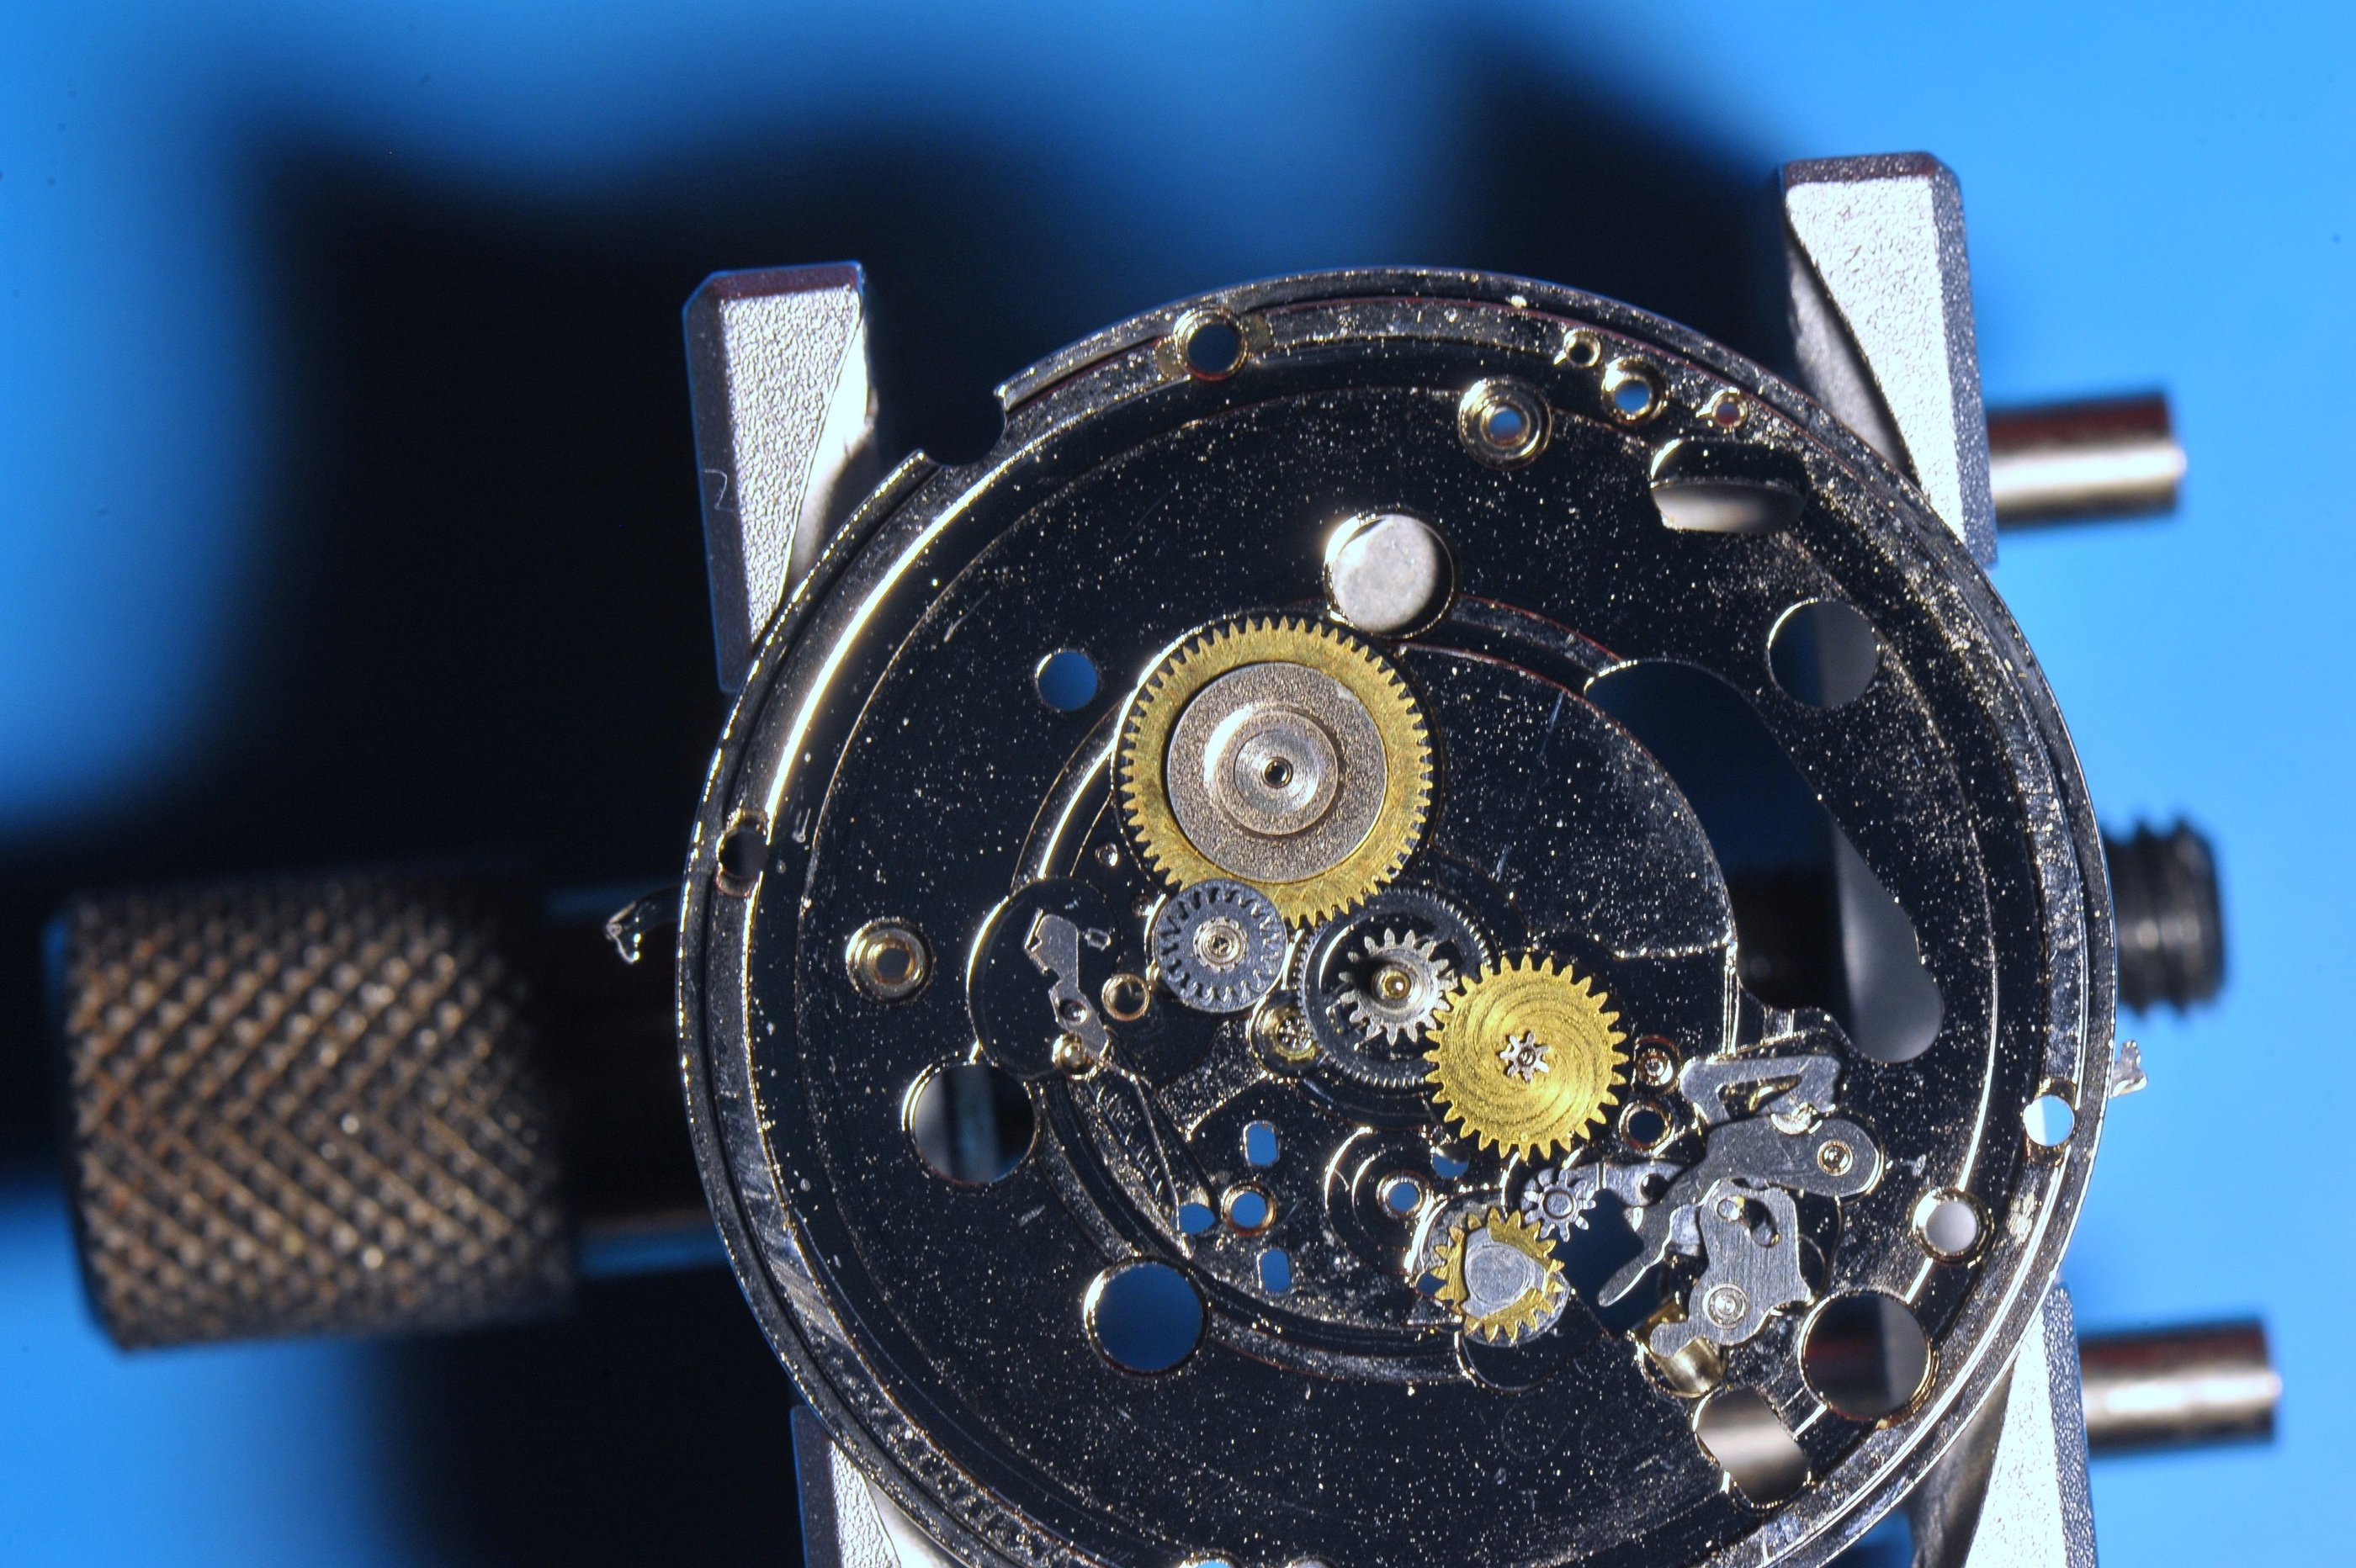
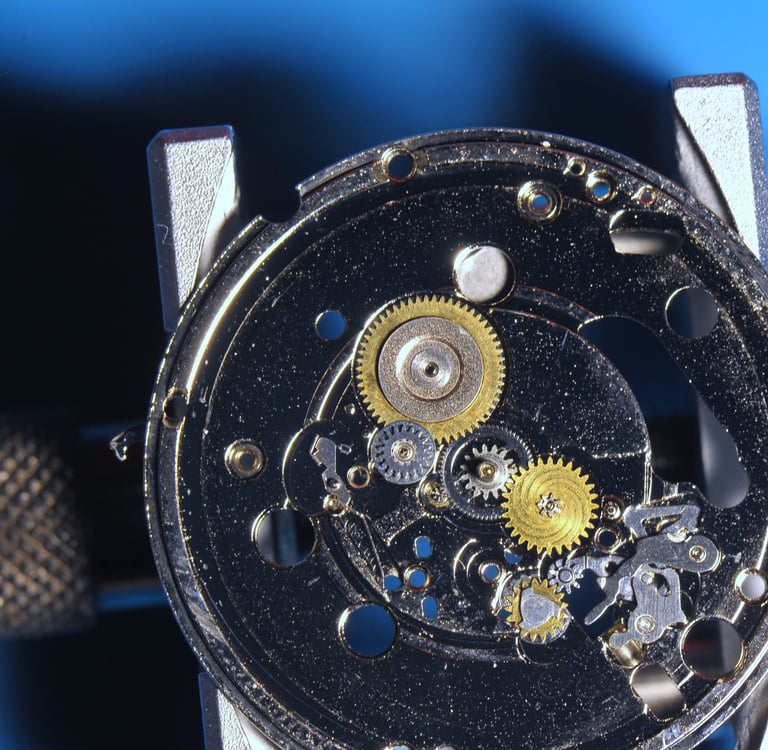
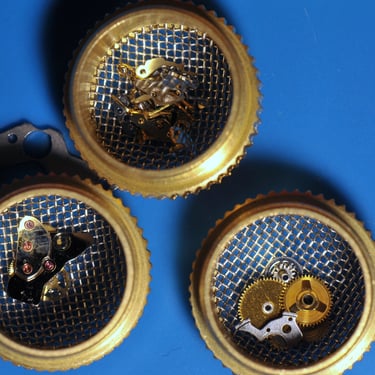
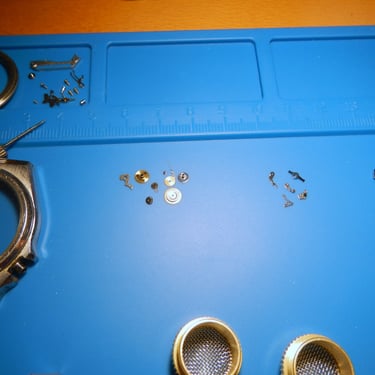
Stop by the pictures and mesmerize the dirt....
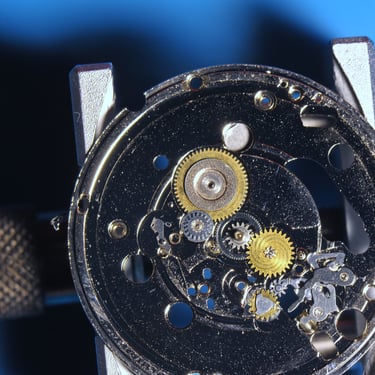
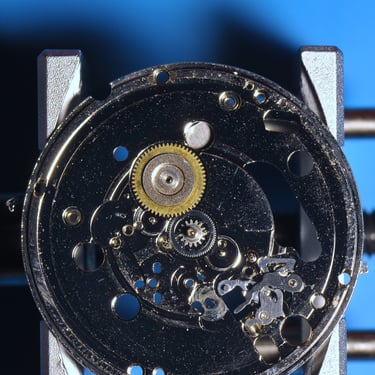
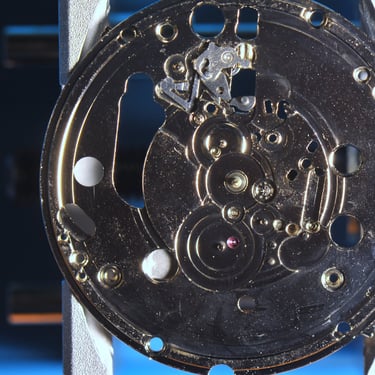
2. The Date wheel spring if the movement you are working on has one. This one is also a flyer
3. the geartrain plate can sometimes be a pain to assemble, especially if the rotor keeps flying out of its bottom jewel.

Cleaning
If you want to see how I clean my watches, read the cleaning section on my Raymond Weil, that is basically the same method I use.
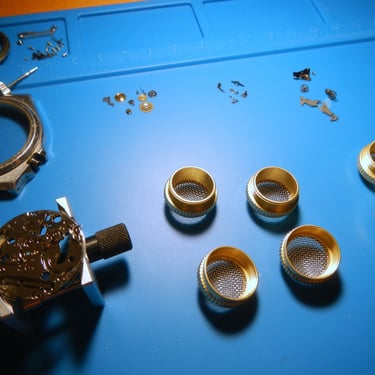
Again, motor is only cleaned with rodico. The small parts go into separate containers.
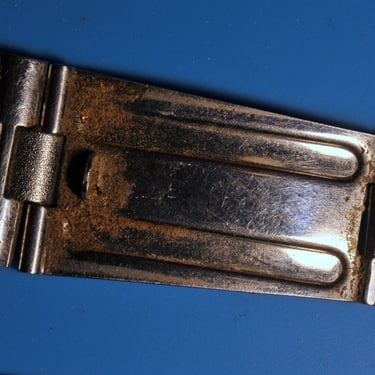
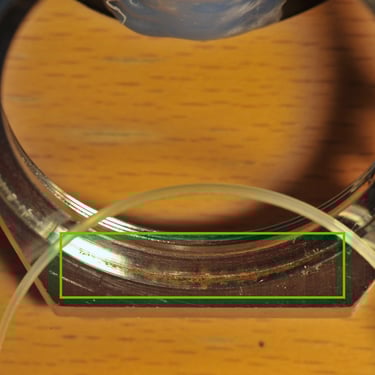
Notice that that whole watch watch case was taken apart, including the glass and top part of the case. Unfortunately between the nylon gasket and case a amount of rust has settled in, which I was unable to remove with my tools as I did not wanted to damage anything by using to aggressive means. I will not be exposing this watch to water anymore anyways, so I believe it will be fine with a bit of rust there.
Assembly
Putting these ETA movements back together as I said its pretty straight forward, you can find a lot of information online or you can scroll backwards through my disassembly gallery.
Testing
It is an ETA caliber and these seem to be pretty reliable actually, I only encountered one so far where the previous "watchmaker" had destroyed the coil and thus ruined 50 bucks worth of electronics module (part nr. 4000). For this Pierpoint you can see that I had tested the caliber before disassembly so I was expecting it to work 100%. And it did! the way I checked it was without the second hand, by simply looking at the wheel train and observing if there was any movement.


Hour and Minute Hand Restoration
First of all. I believe it is very important to notice that the lume on this watch was originally made with the radioactive element Tritium, therefore I keep a special container with water that I contaminate when cleaning the hands. I then properly discard the container in a dedicated institution.
I simply had the hands thrown in the container and with the aid of the ultrasonic cleaner, the rest of the lume was simply dissolved away from the hands, leaving them "naked". After that I mixed the lume with the glue and applied it on the back of the hands, making sure I was applying just enough so not to make the hands too thick. Once I was satisfied I left the lume to dry over night and assembled them to the watch's face the other day. Notice how the ultrasonic cleaning (first in the contaminated water, then clean water, then rinsed with isopropanol) made the hands nice and shiny again!
Finishing touches
Every story eventually comes to an end, and this one ends with a fully functioning watch, a polished case, a new gasket and two new high-quality spring bars, that will endure a couple of fights here and there (the chinese e-bay spring bars are ok on cheap watches that you can afford to loose, for serious work buy serious Minott Swiss Made ones). Hopefully this timepiece will be able to reliably serve its owner for another couple decades.

Contact Me
If you are interested in nerding out about photography or want to see a bit more of my pictures, kindly leave a message in the form below. I'd also appreciate it if you let me know about any typos or errors you find on this website.
Subscribe
Or mail me at:
info@thiago-silva.com
If you are interested in ordering prints, calendars, or cards, or if you'd like to book me for product or event photography or photography workshops, kindly leave your contact along with your request. This way, we can discuss your needs in detail and ensure everything is tailored to your preferences. I'd also appreciate it if you let me know about any typos or errors you find.